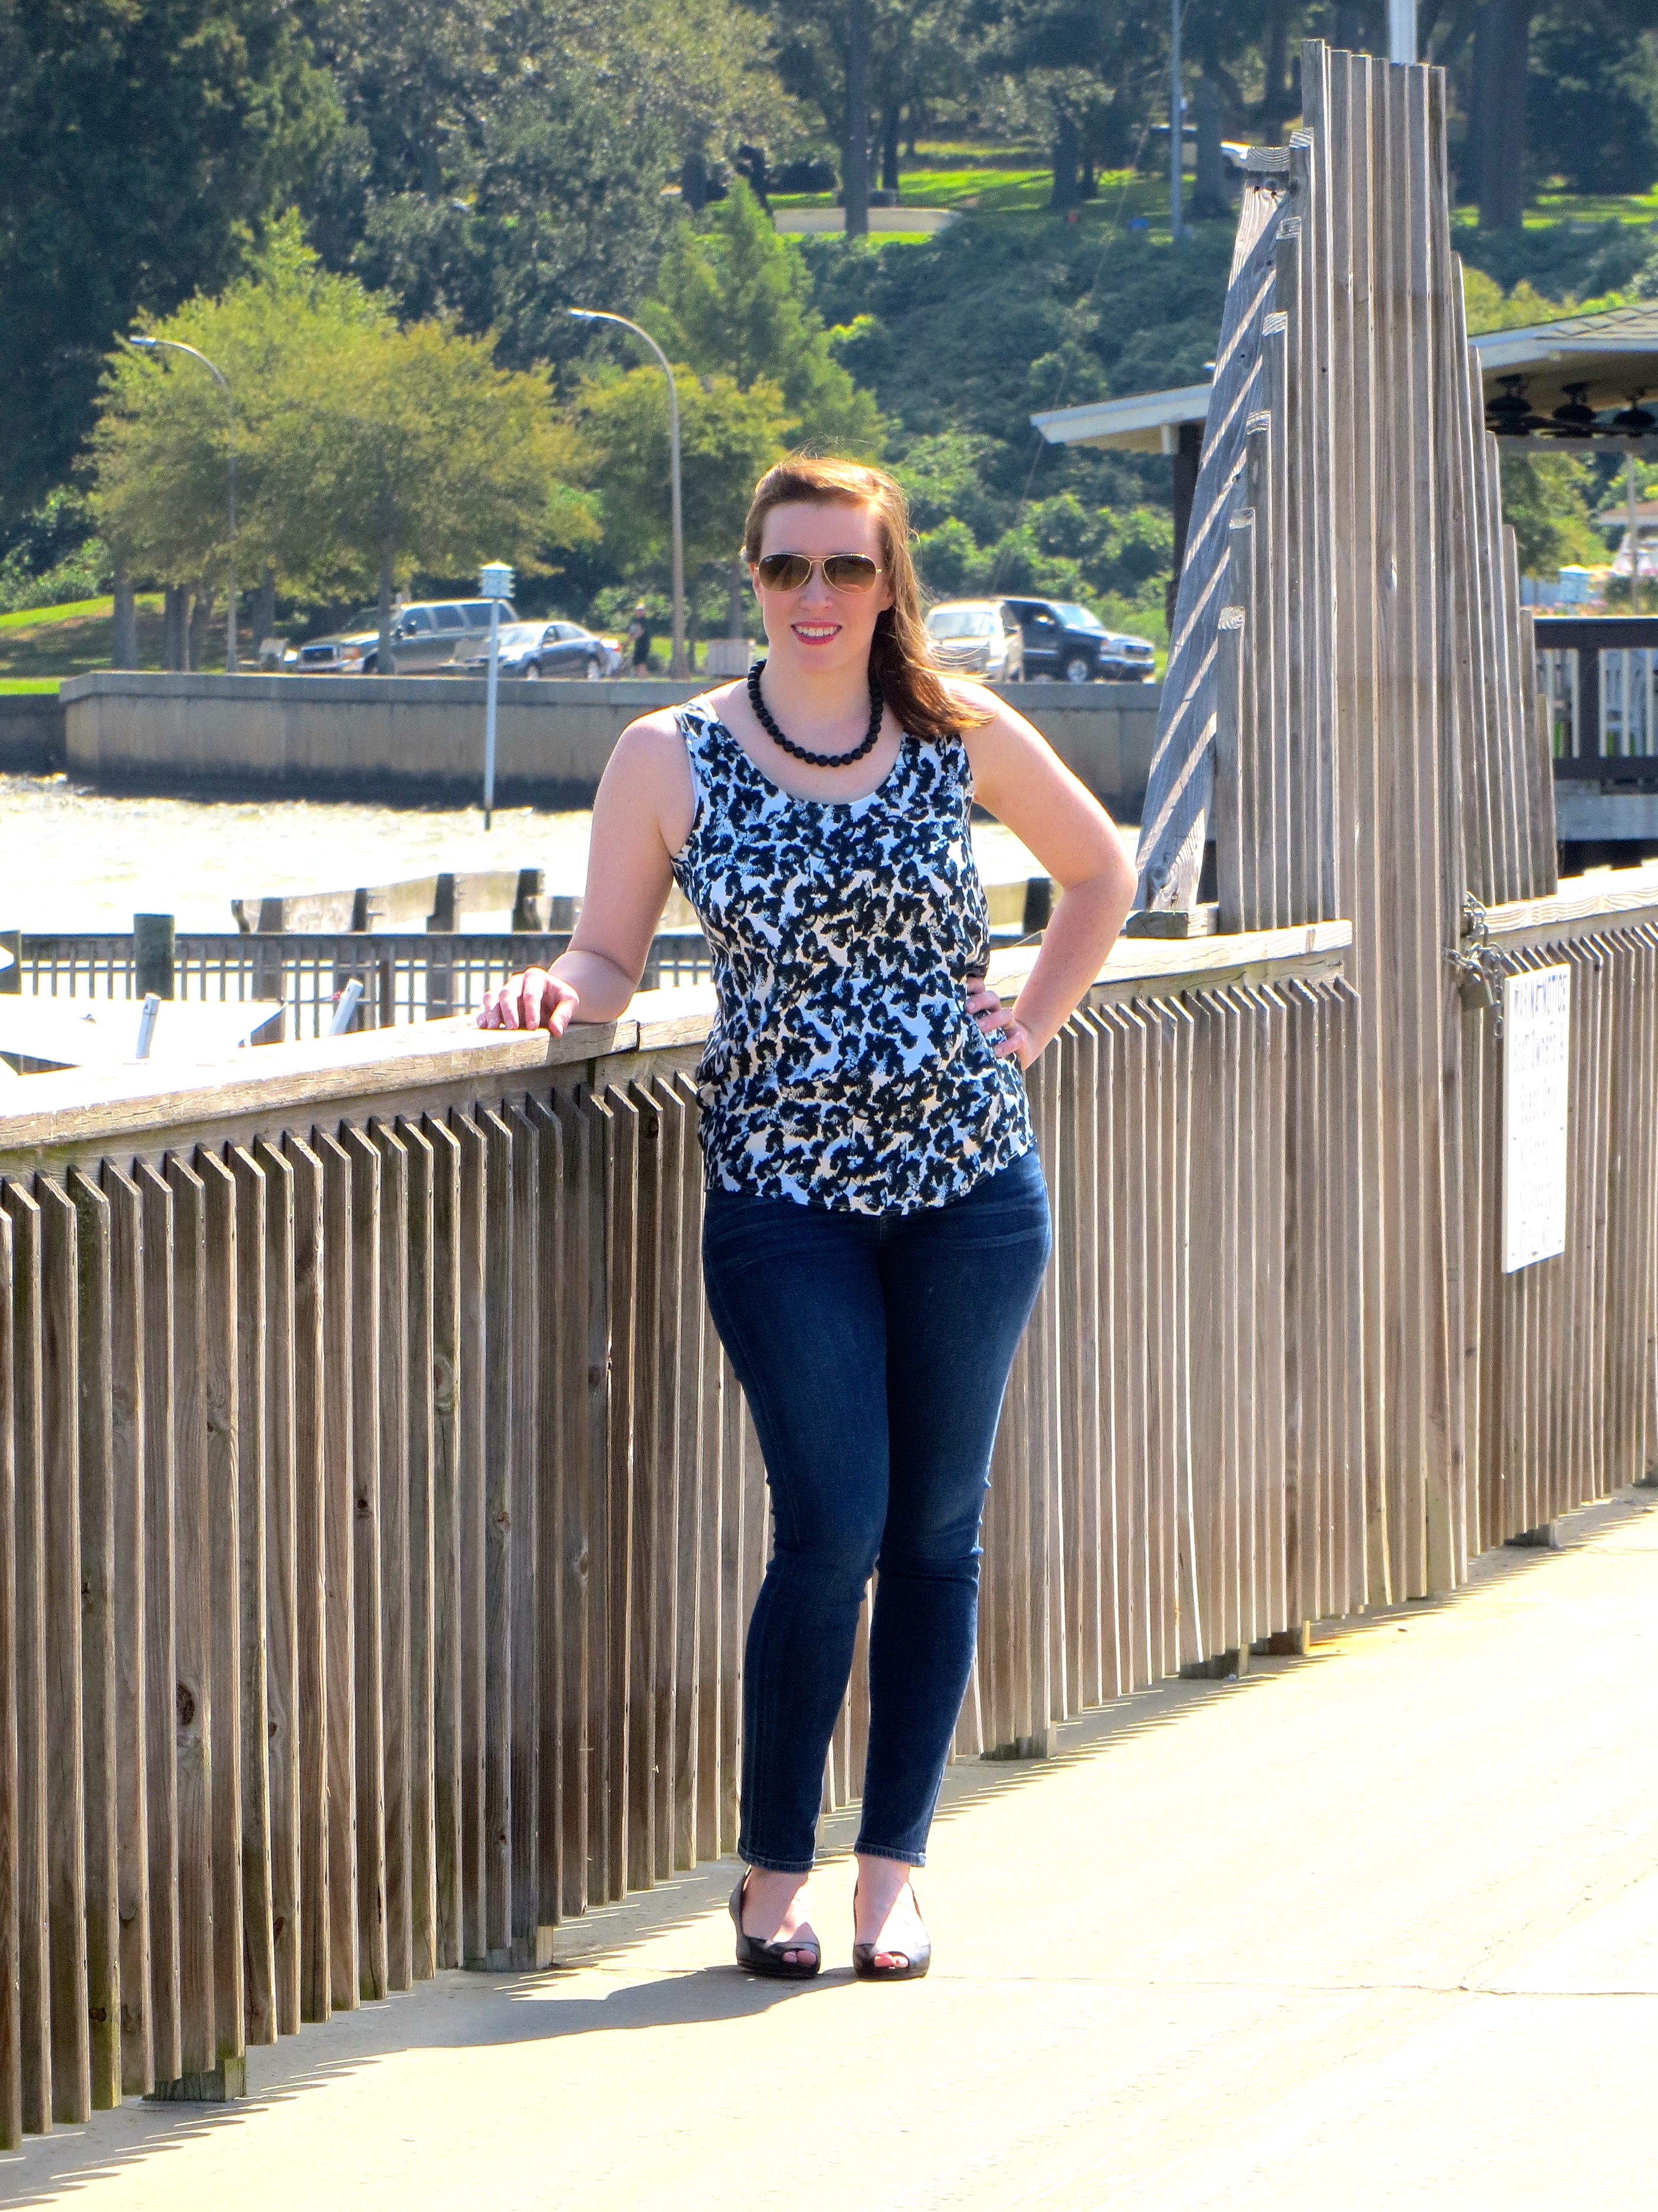
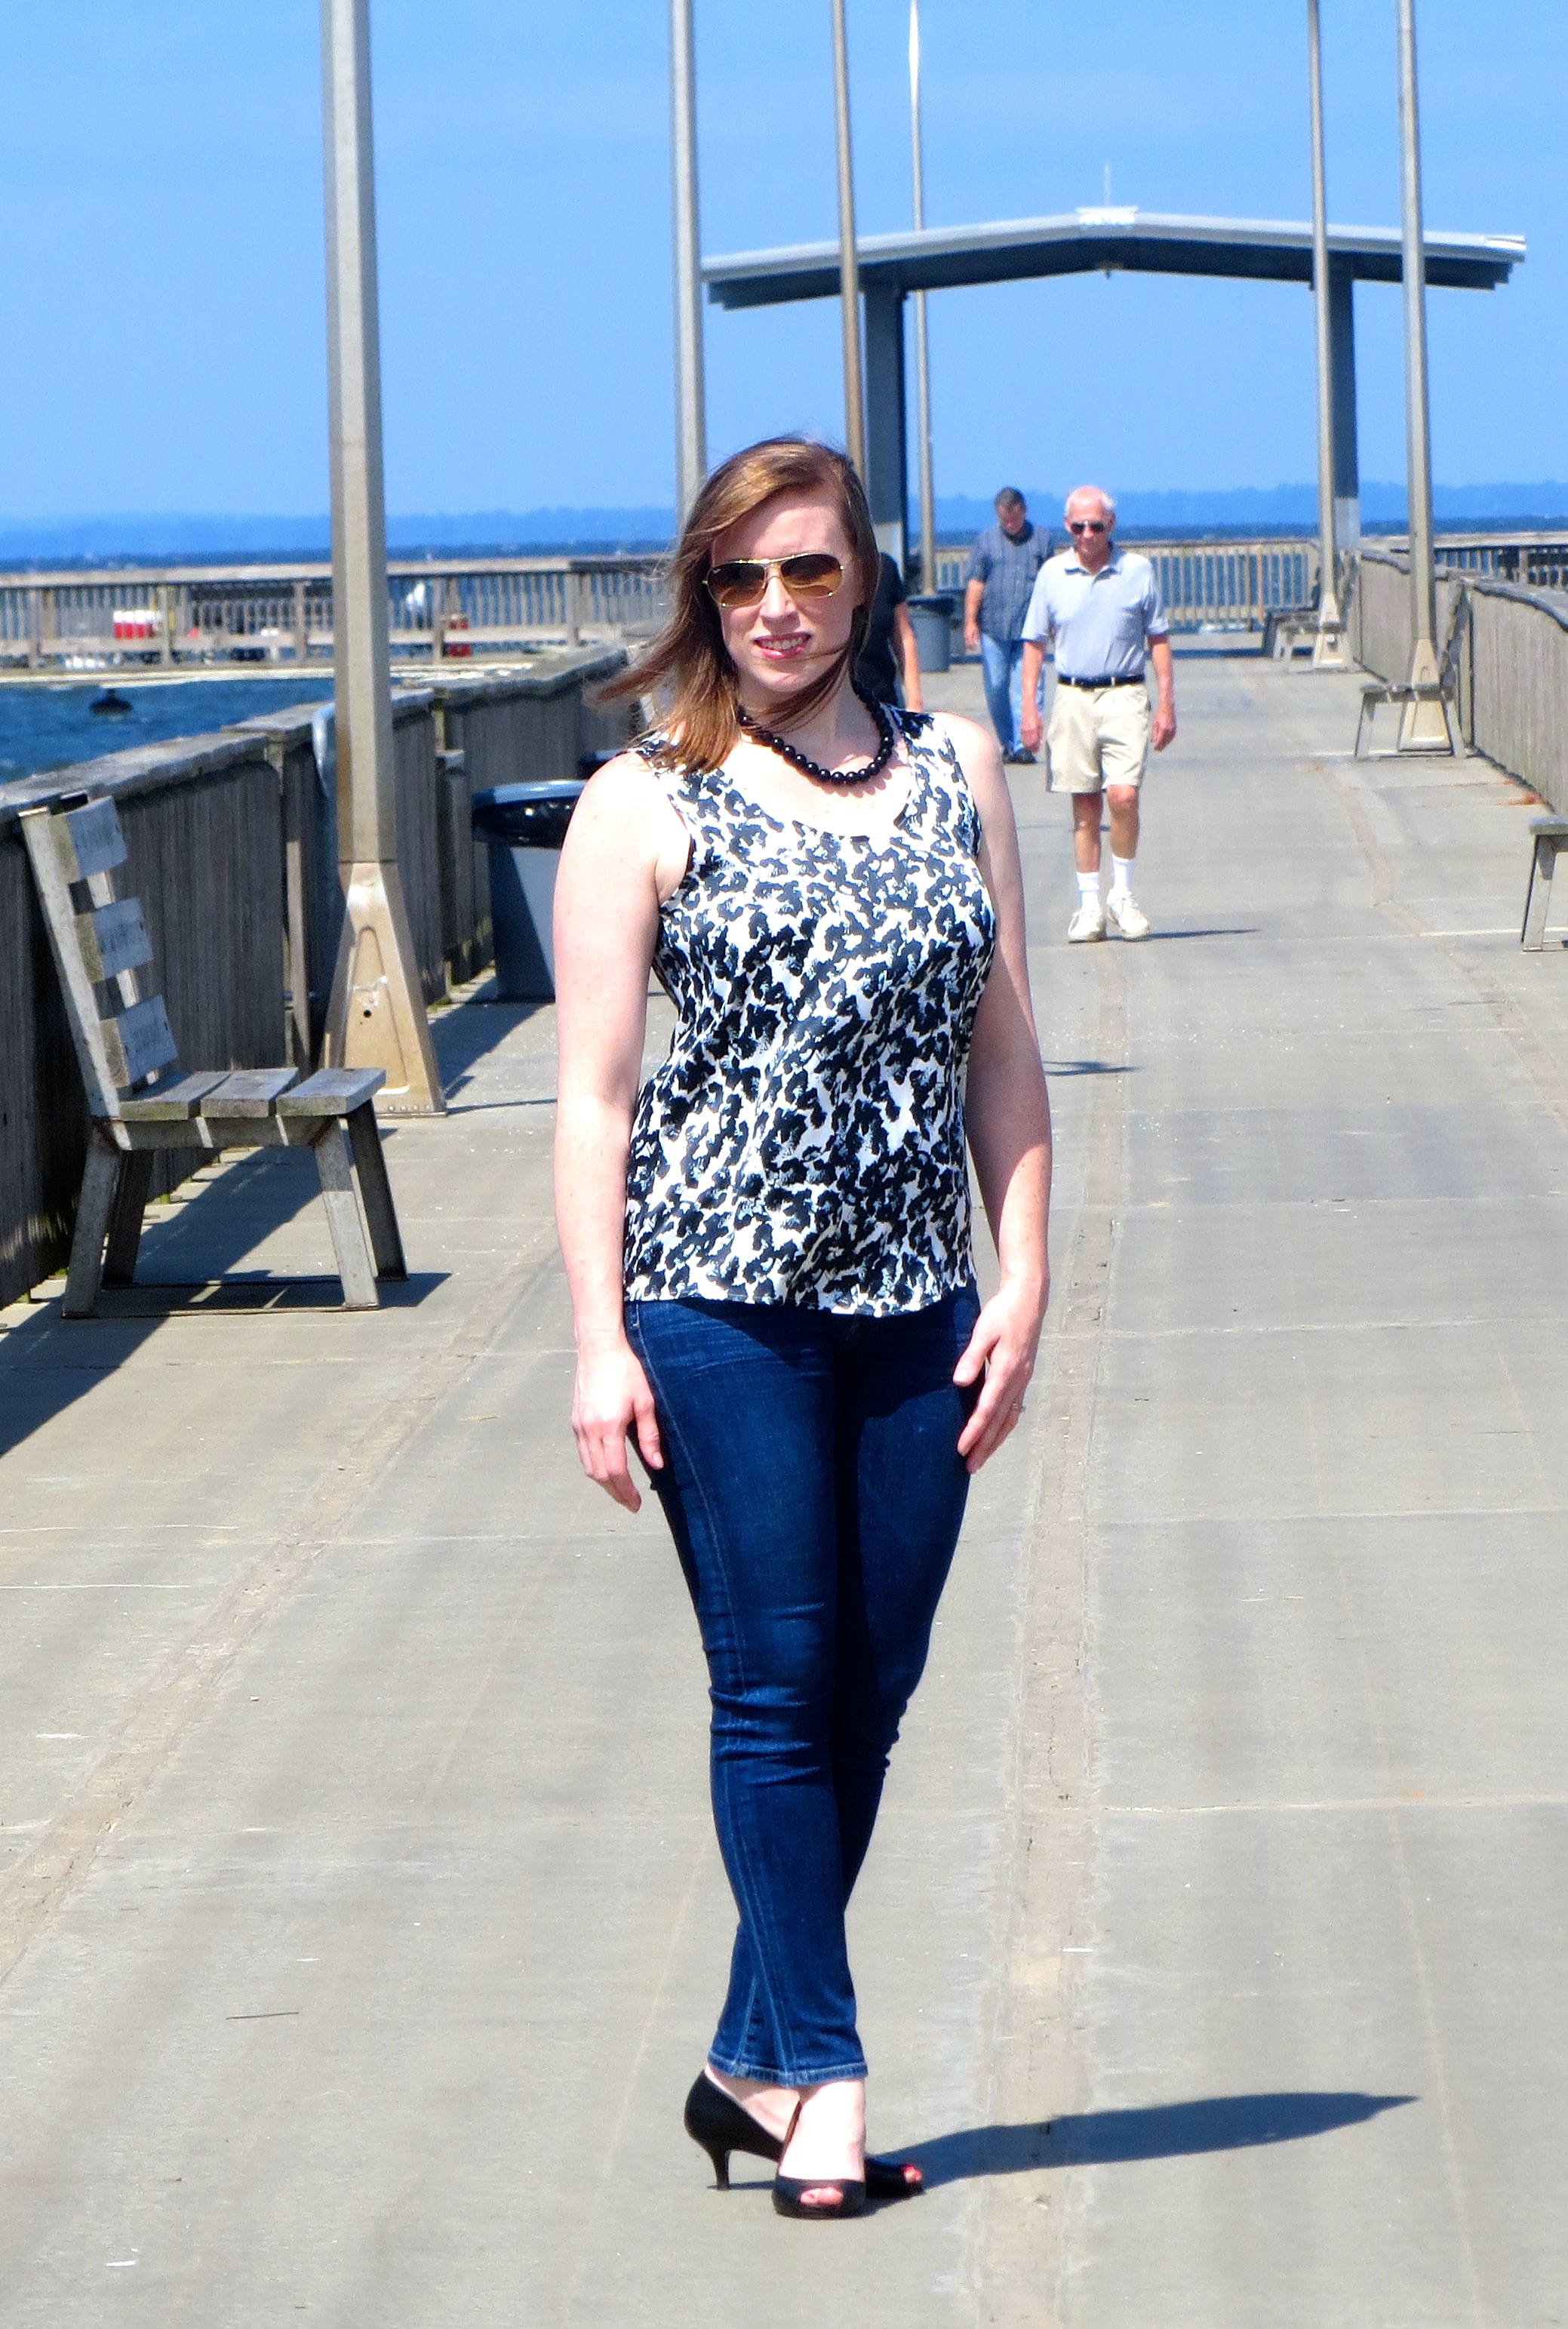
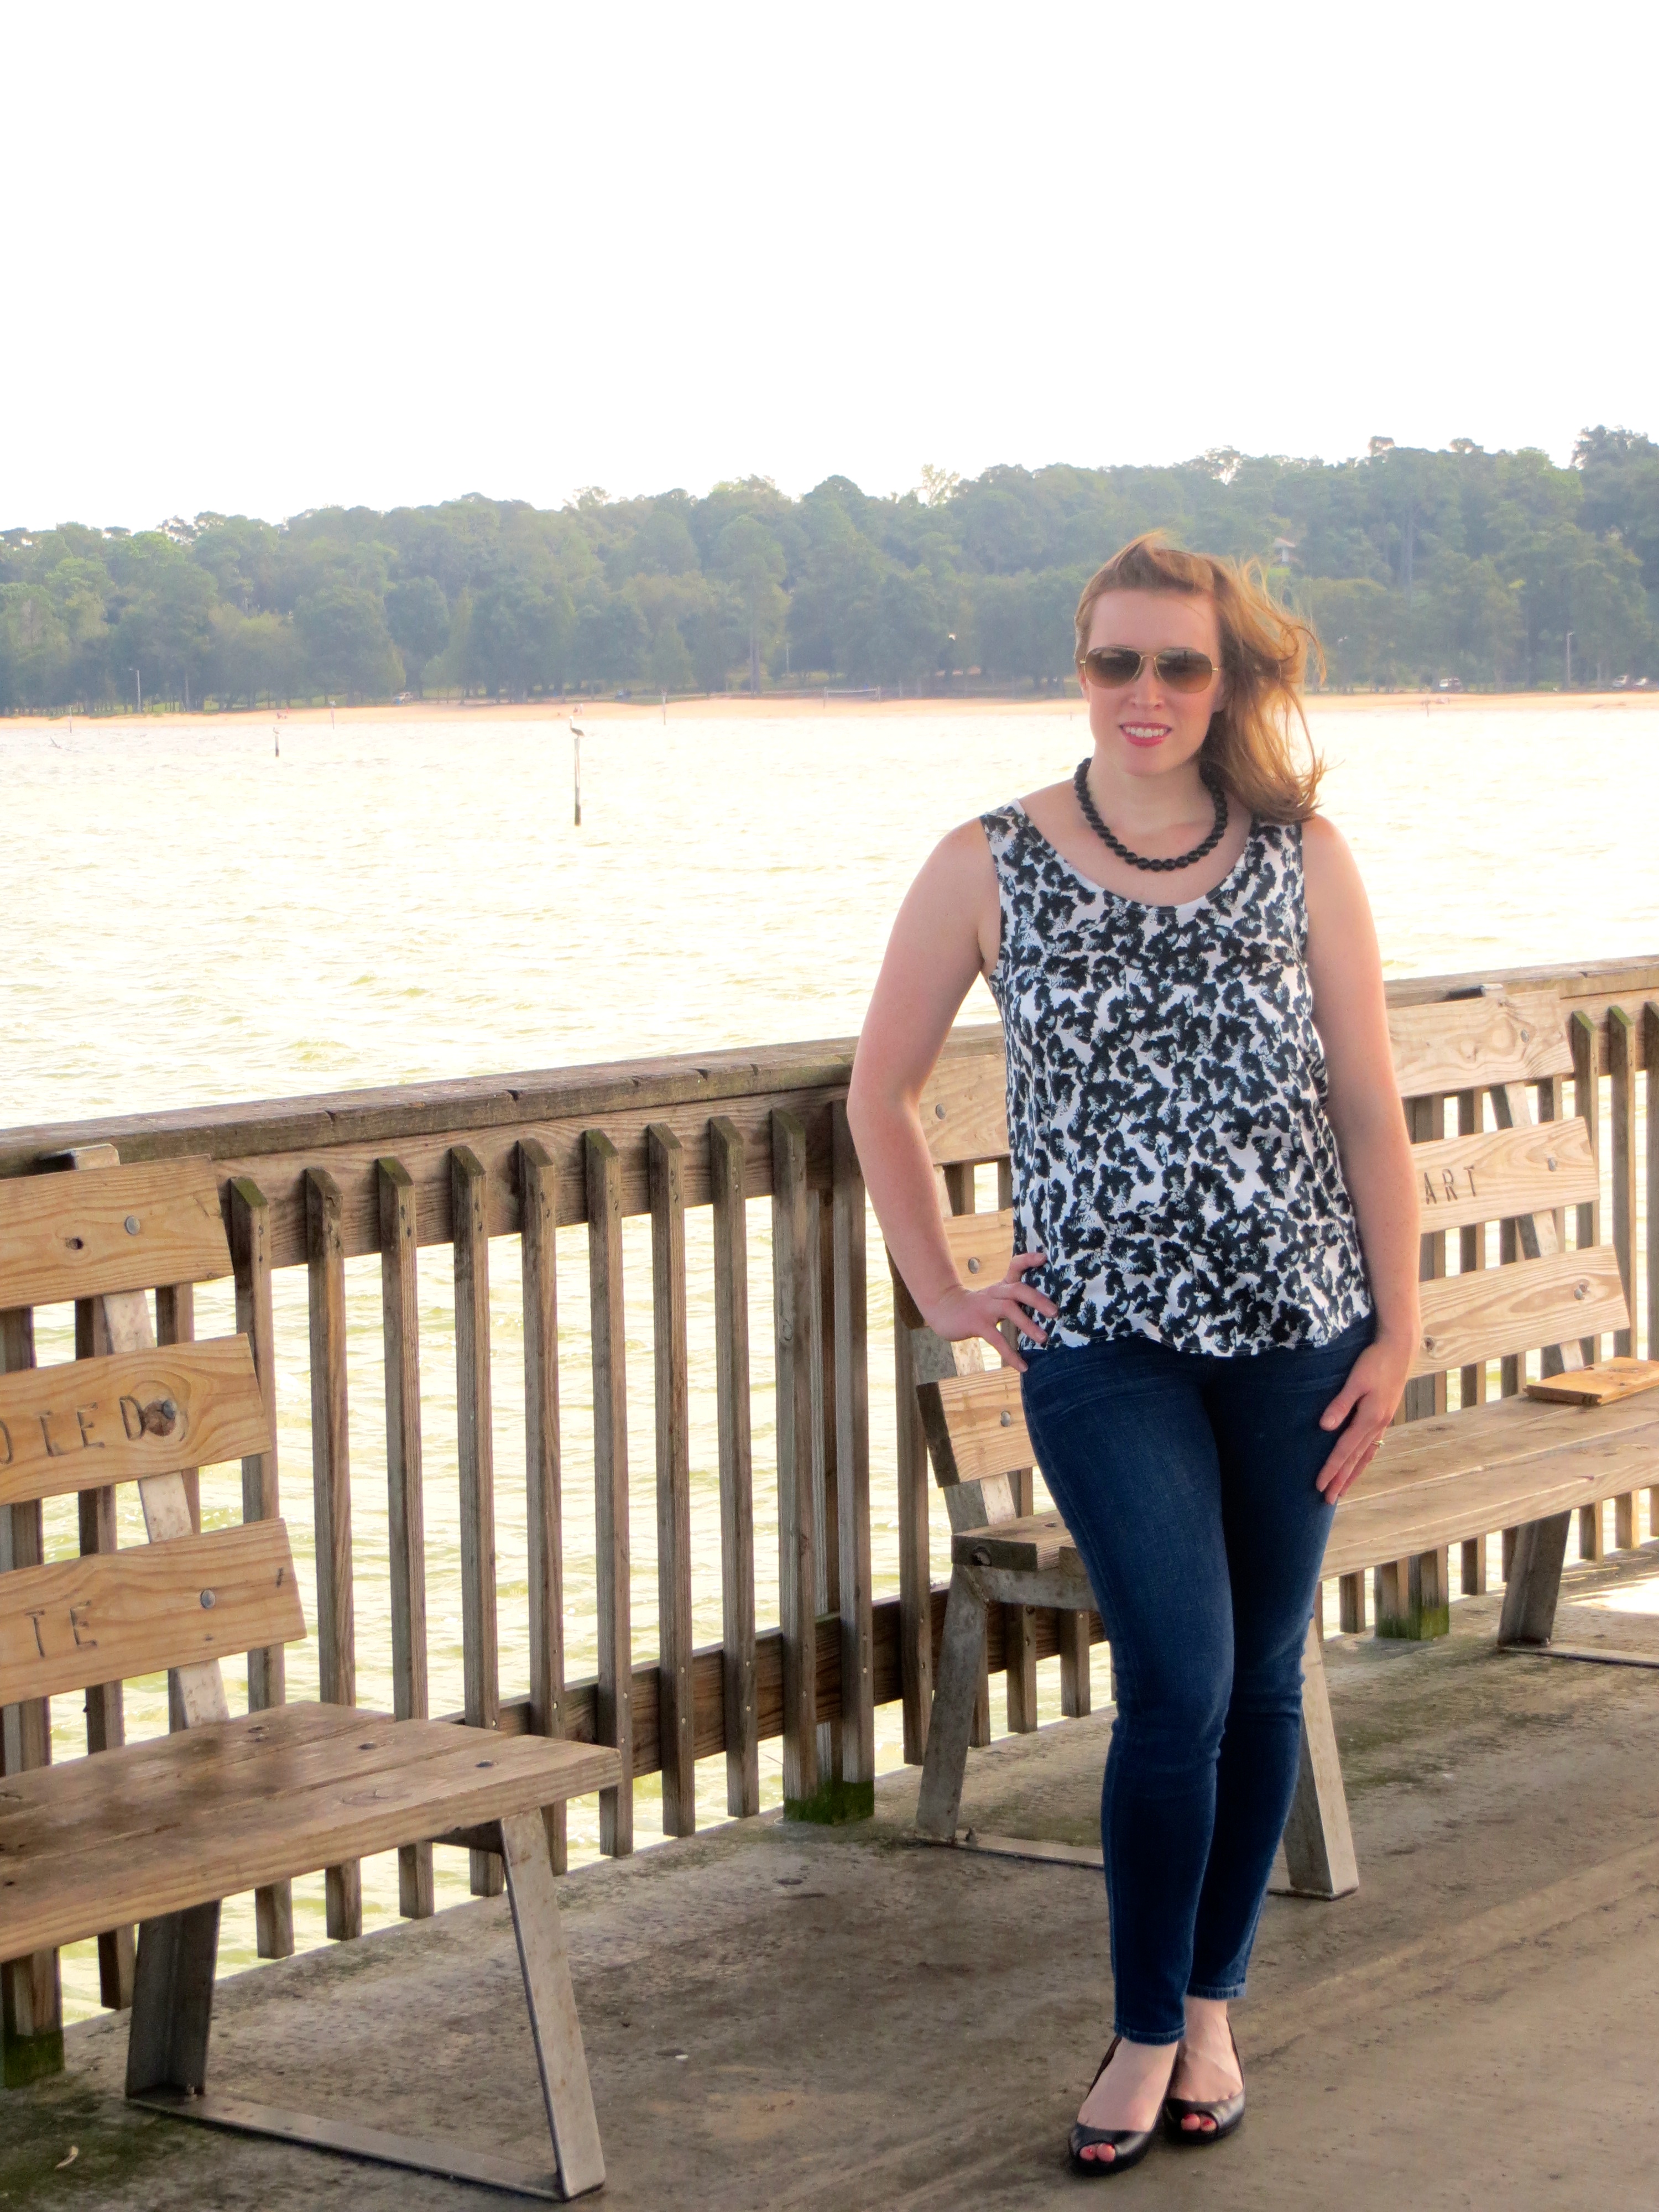
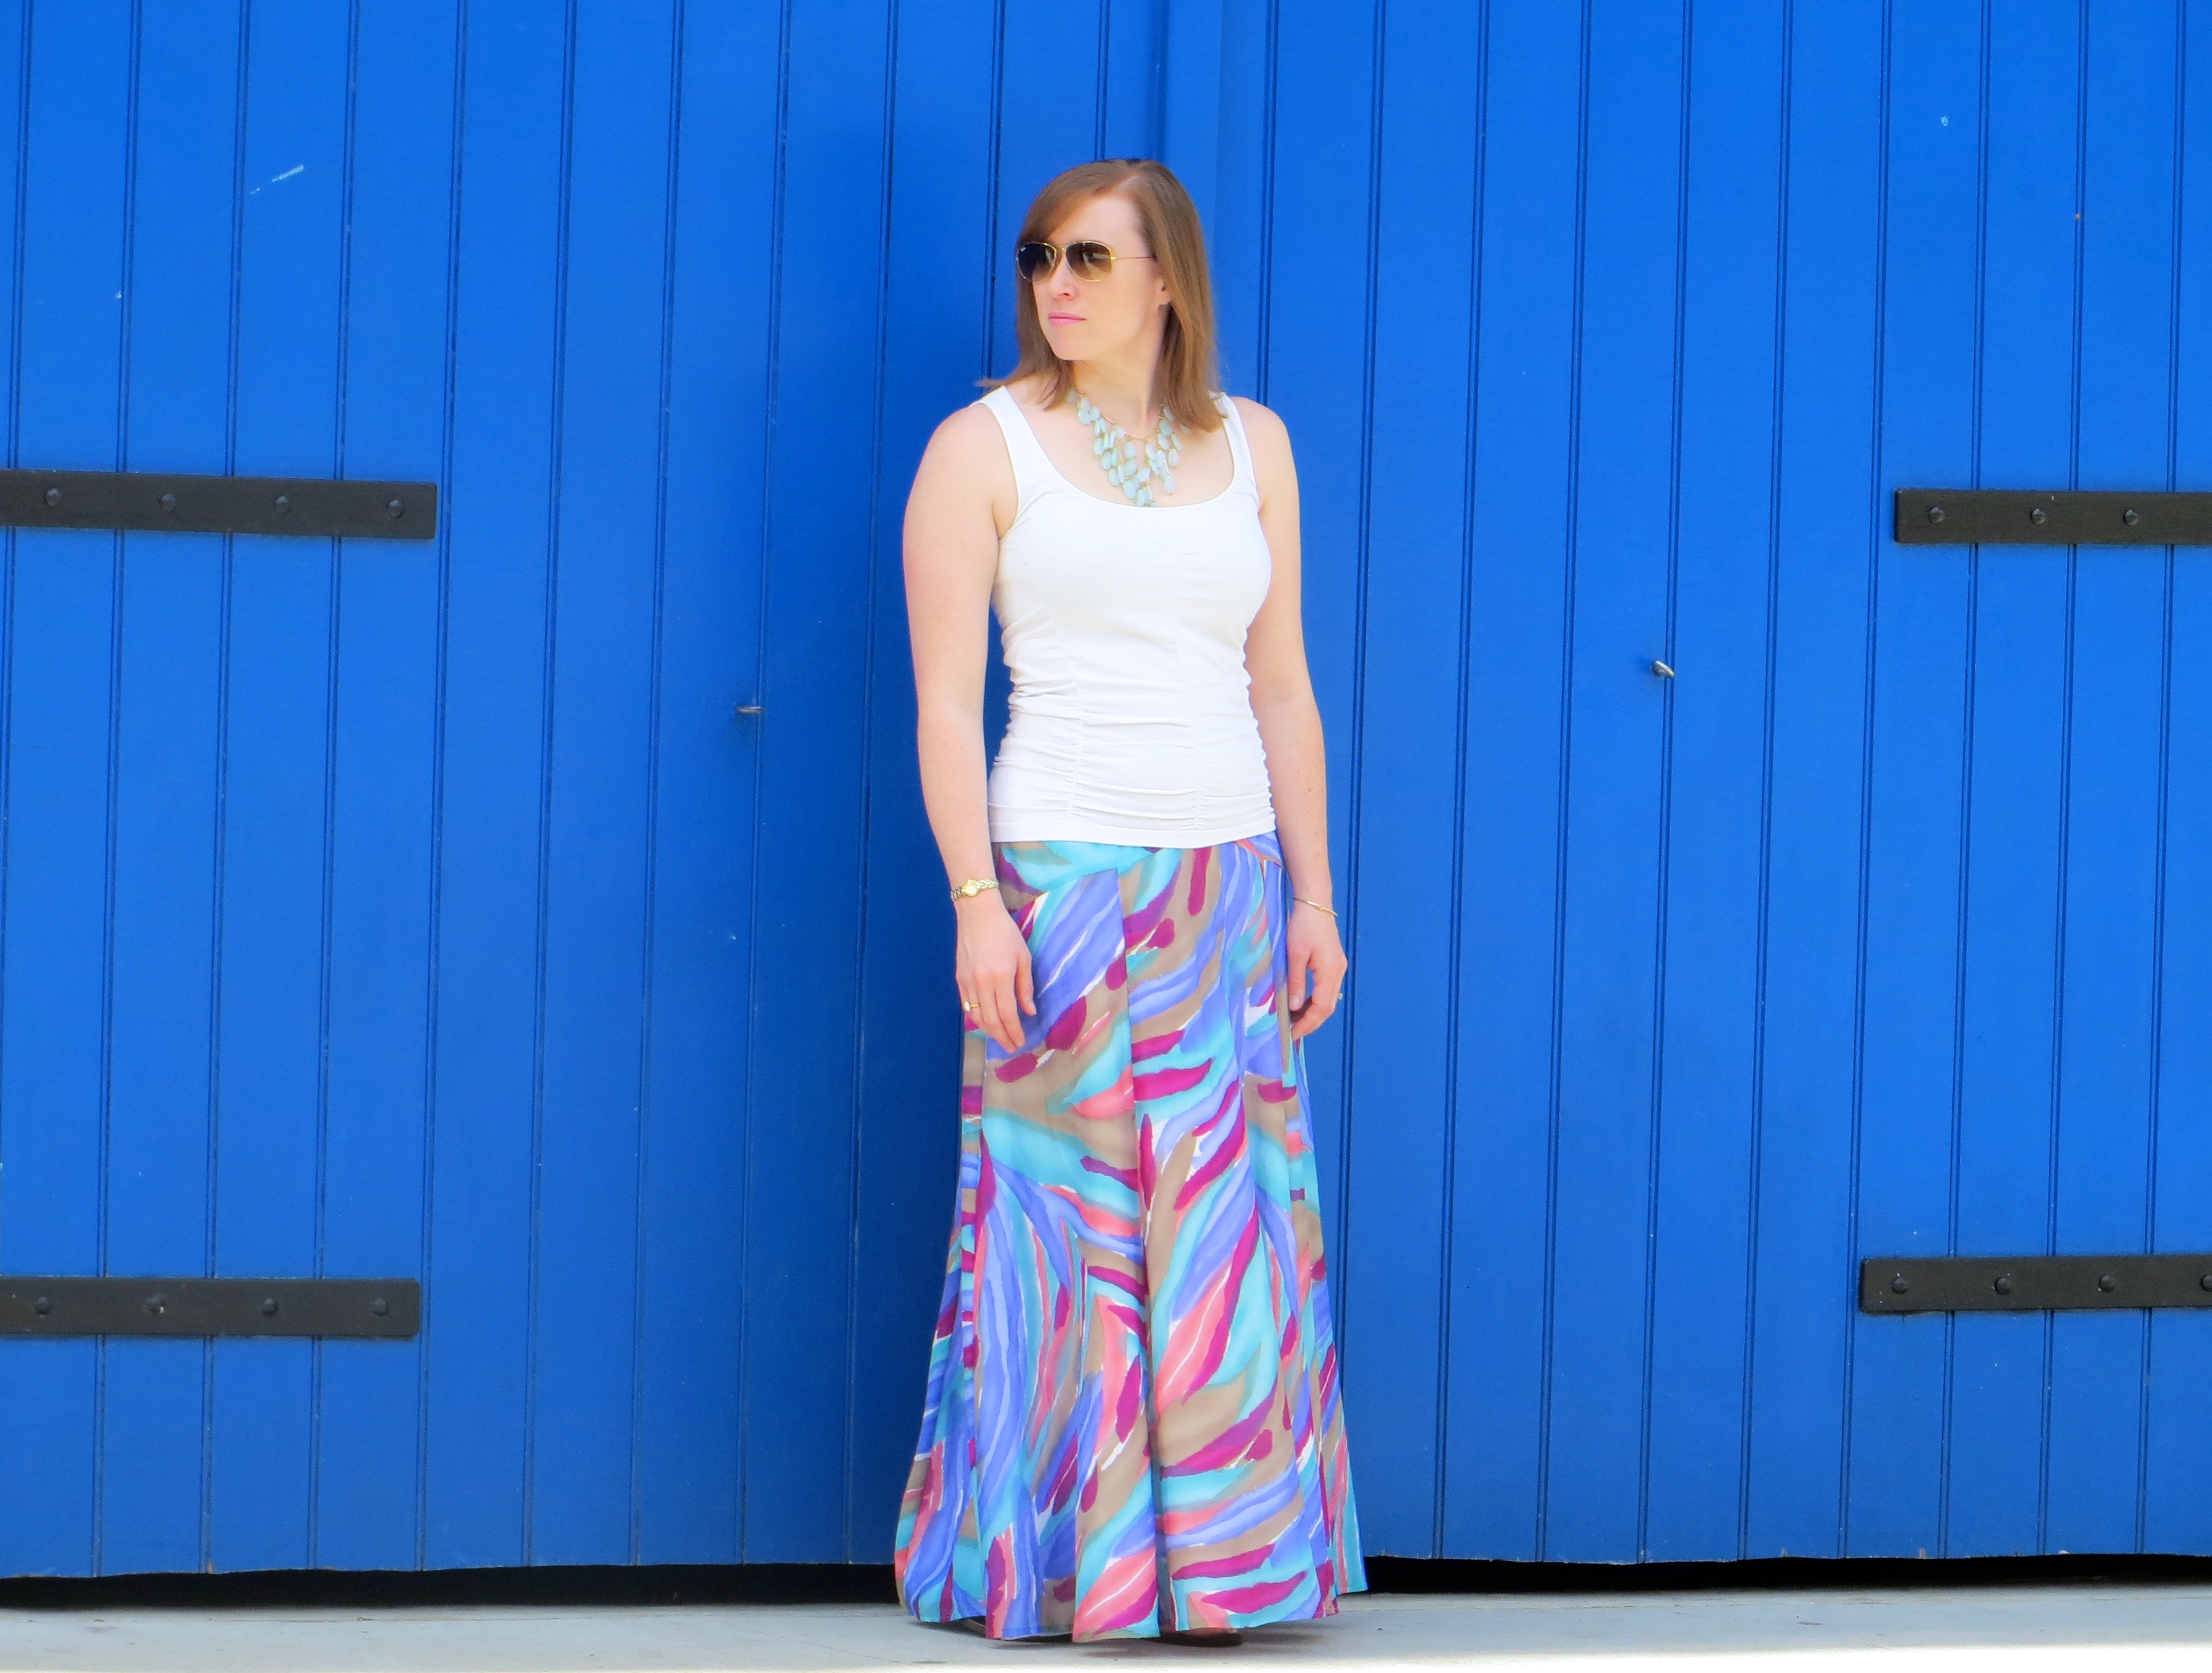
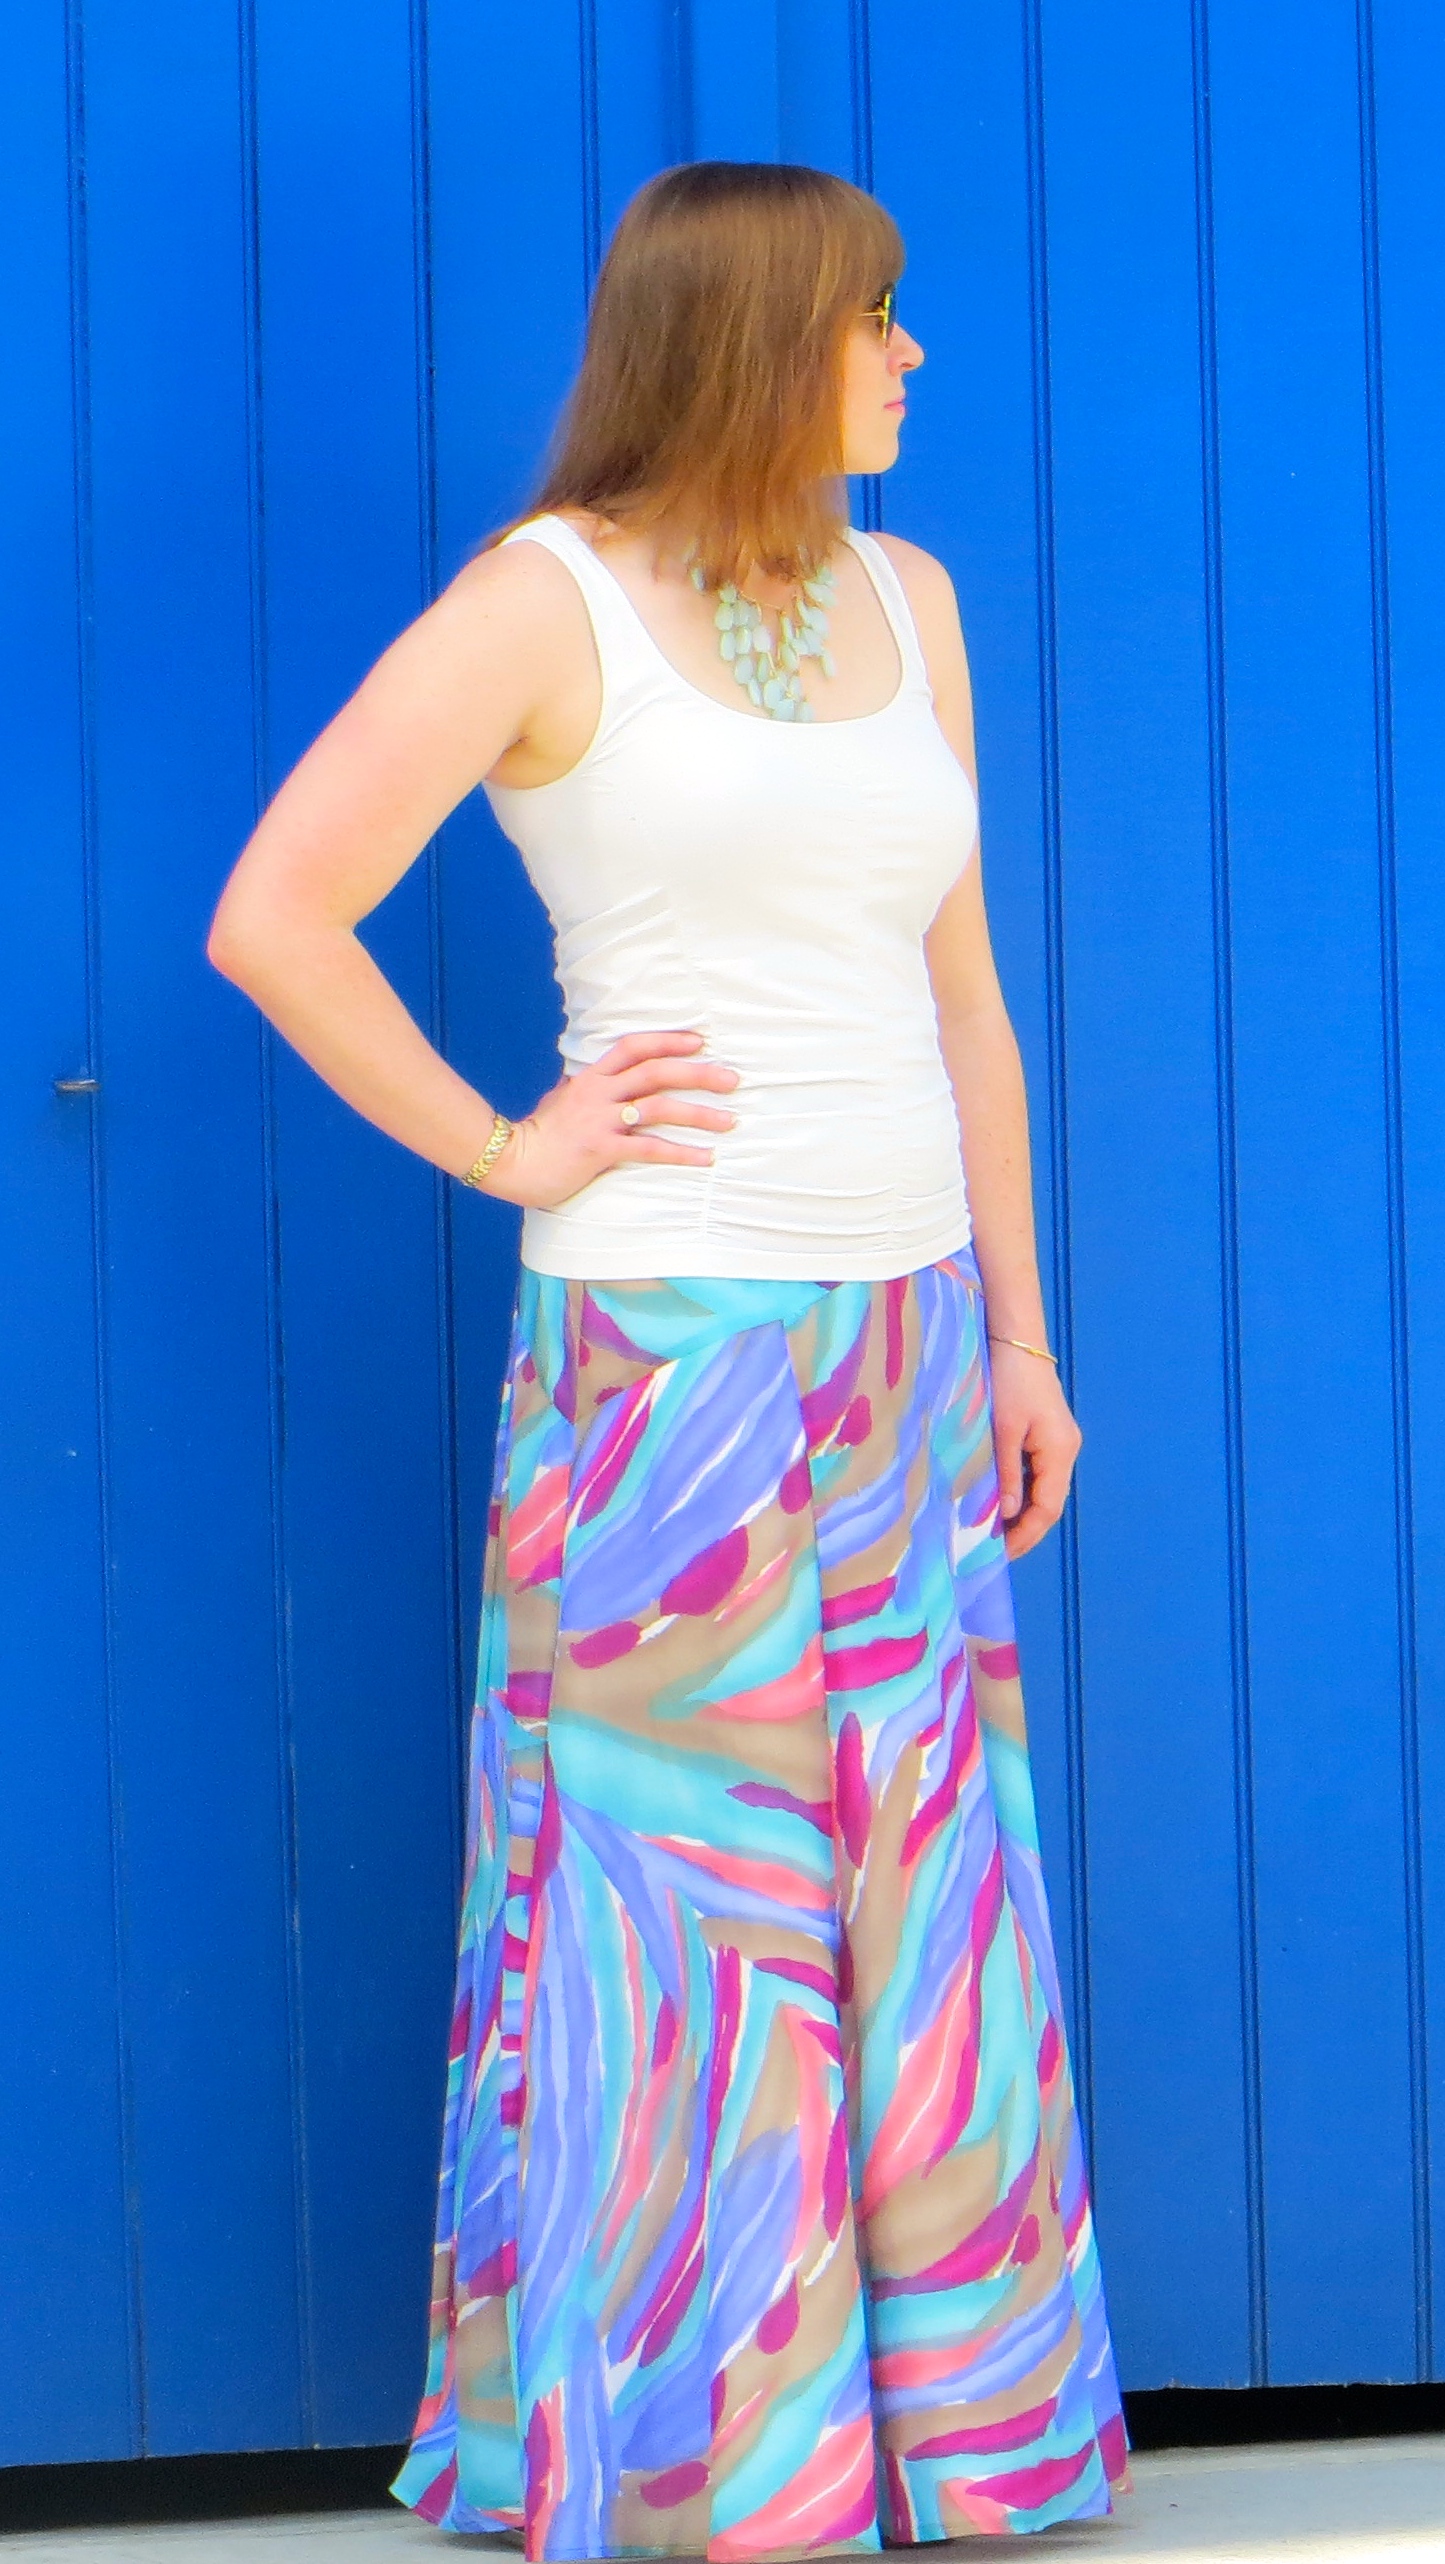
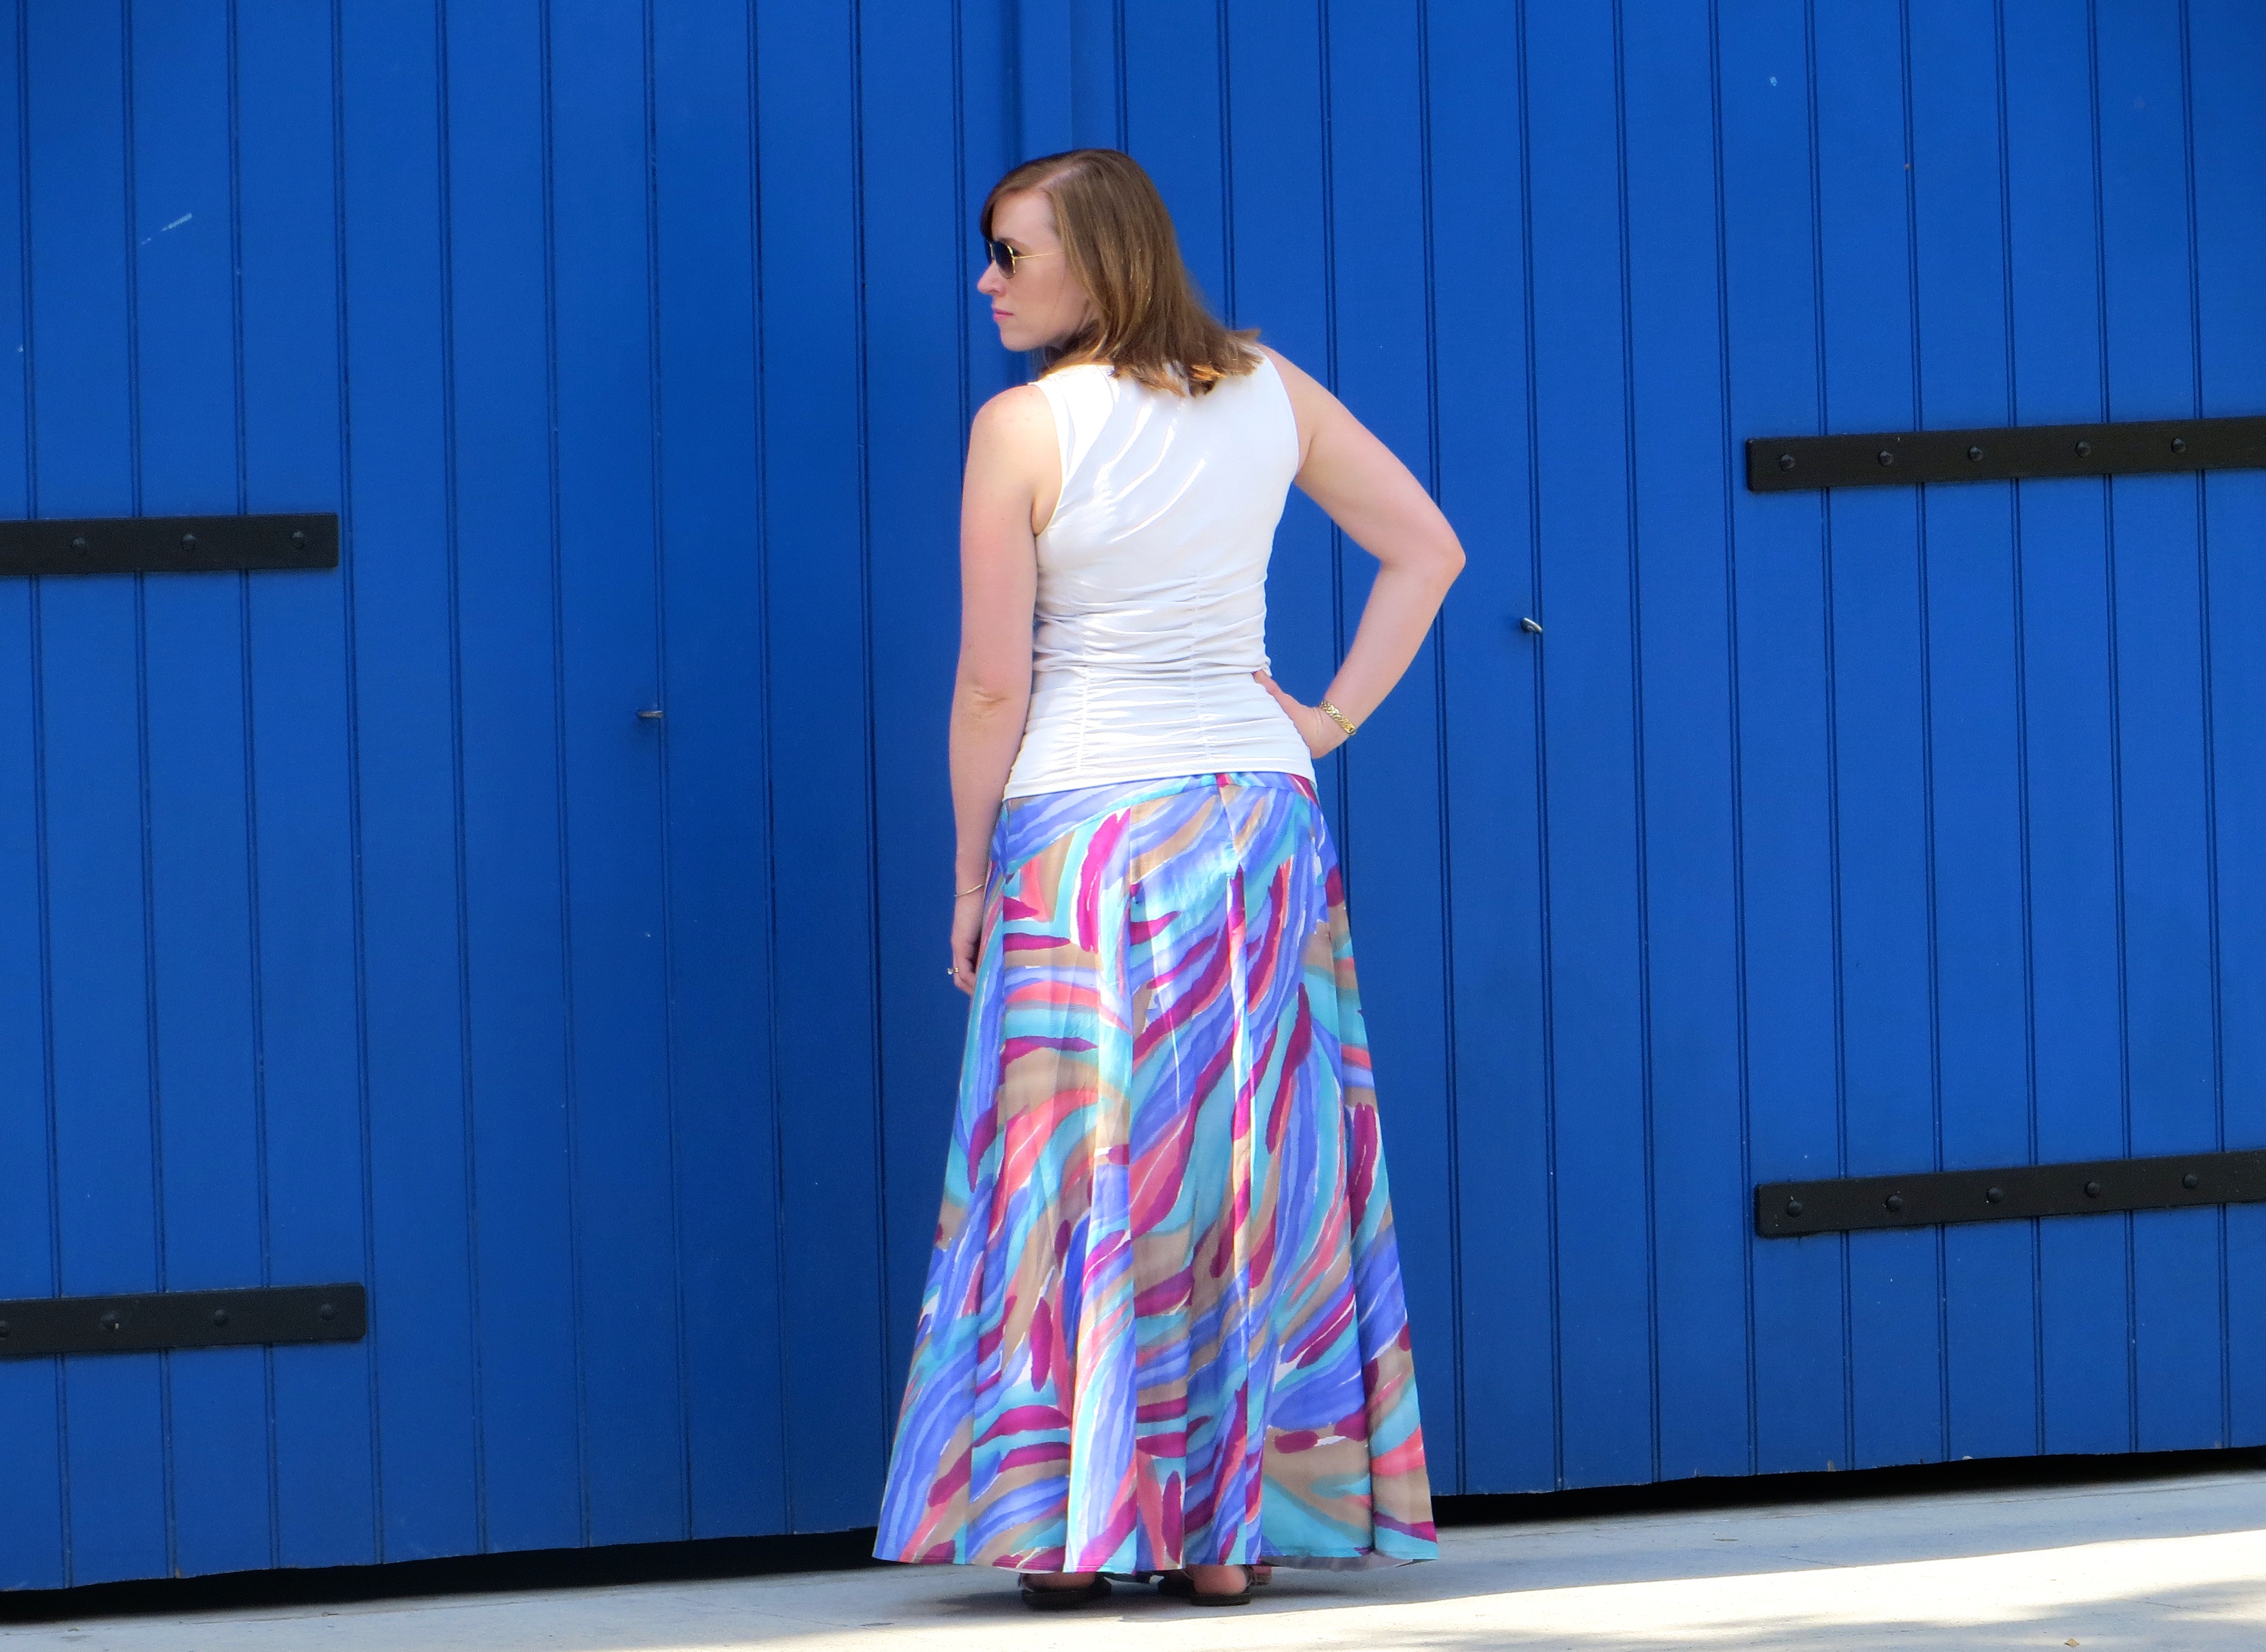
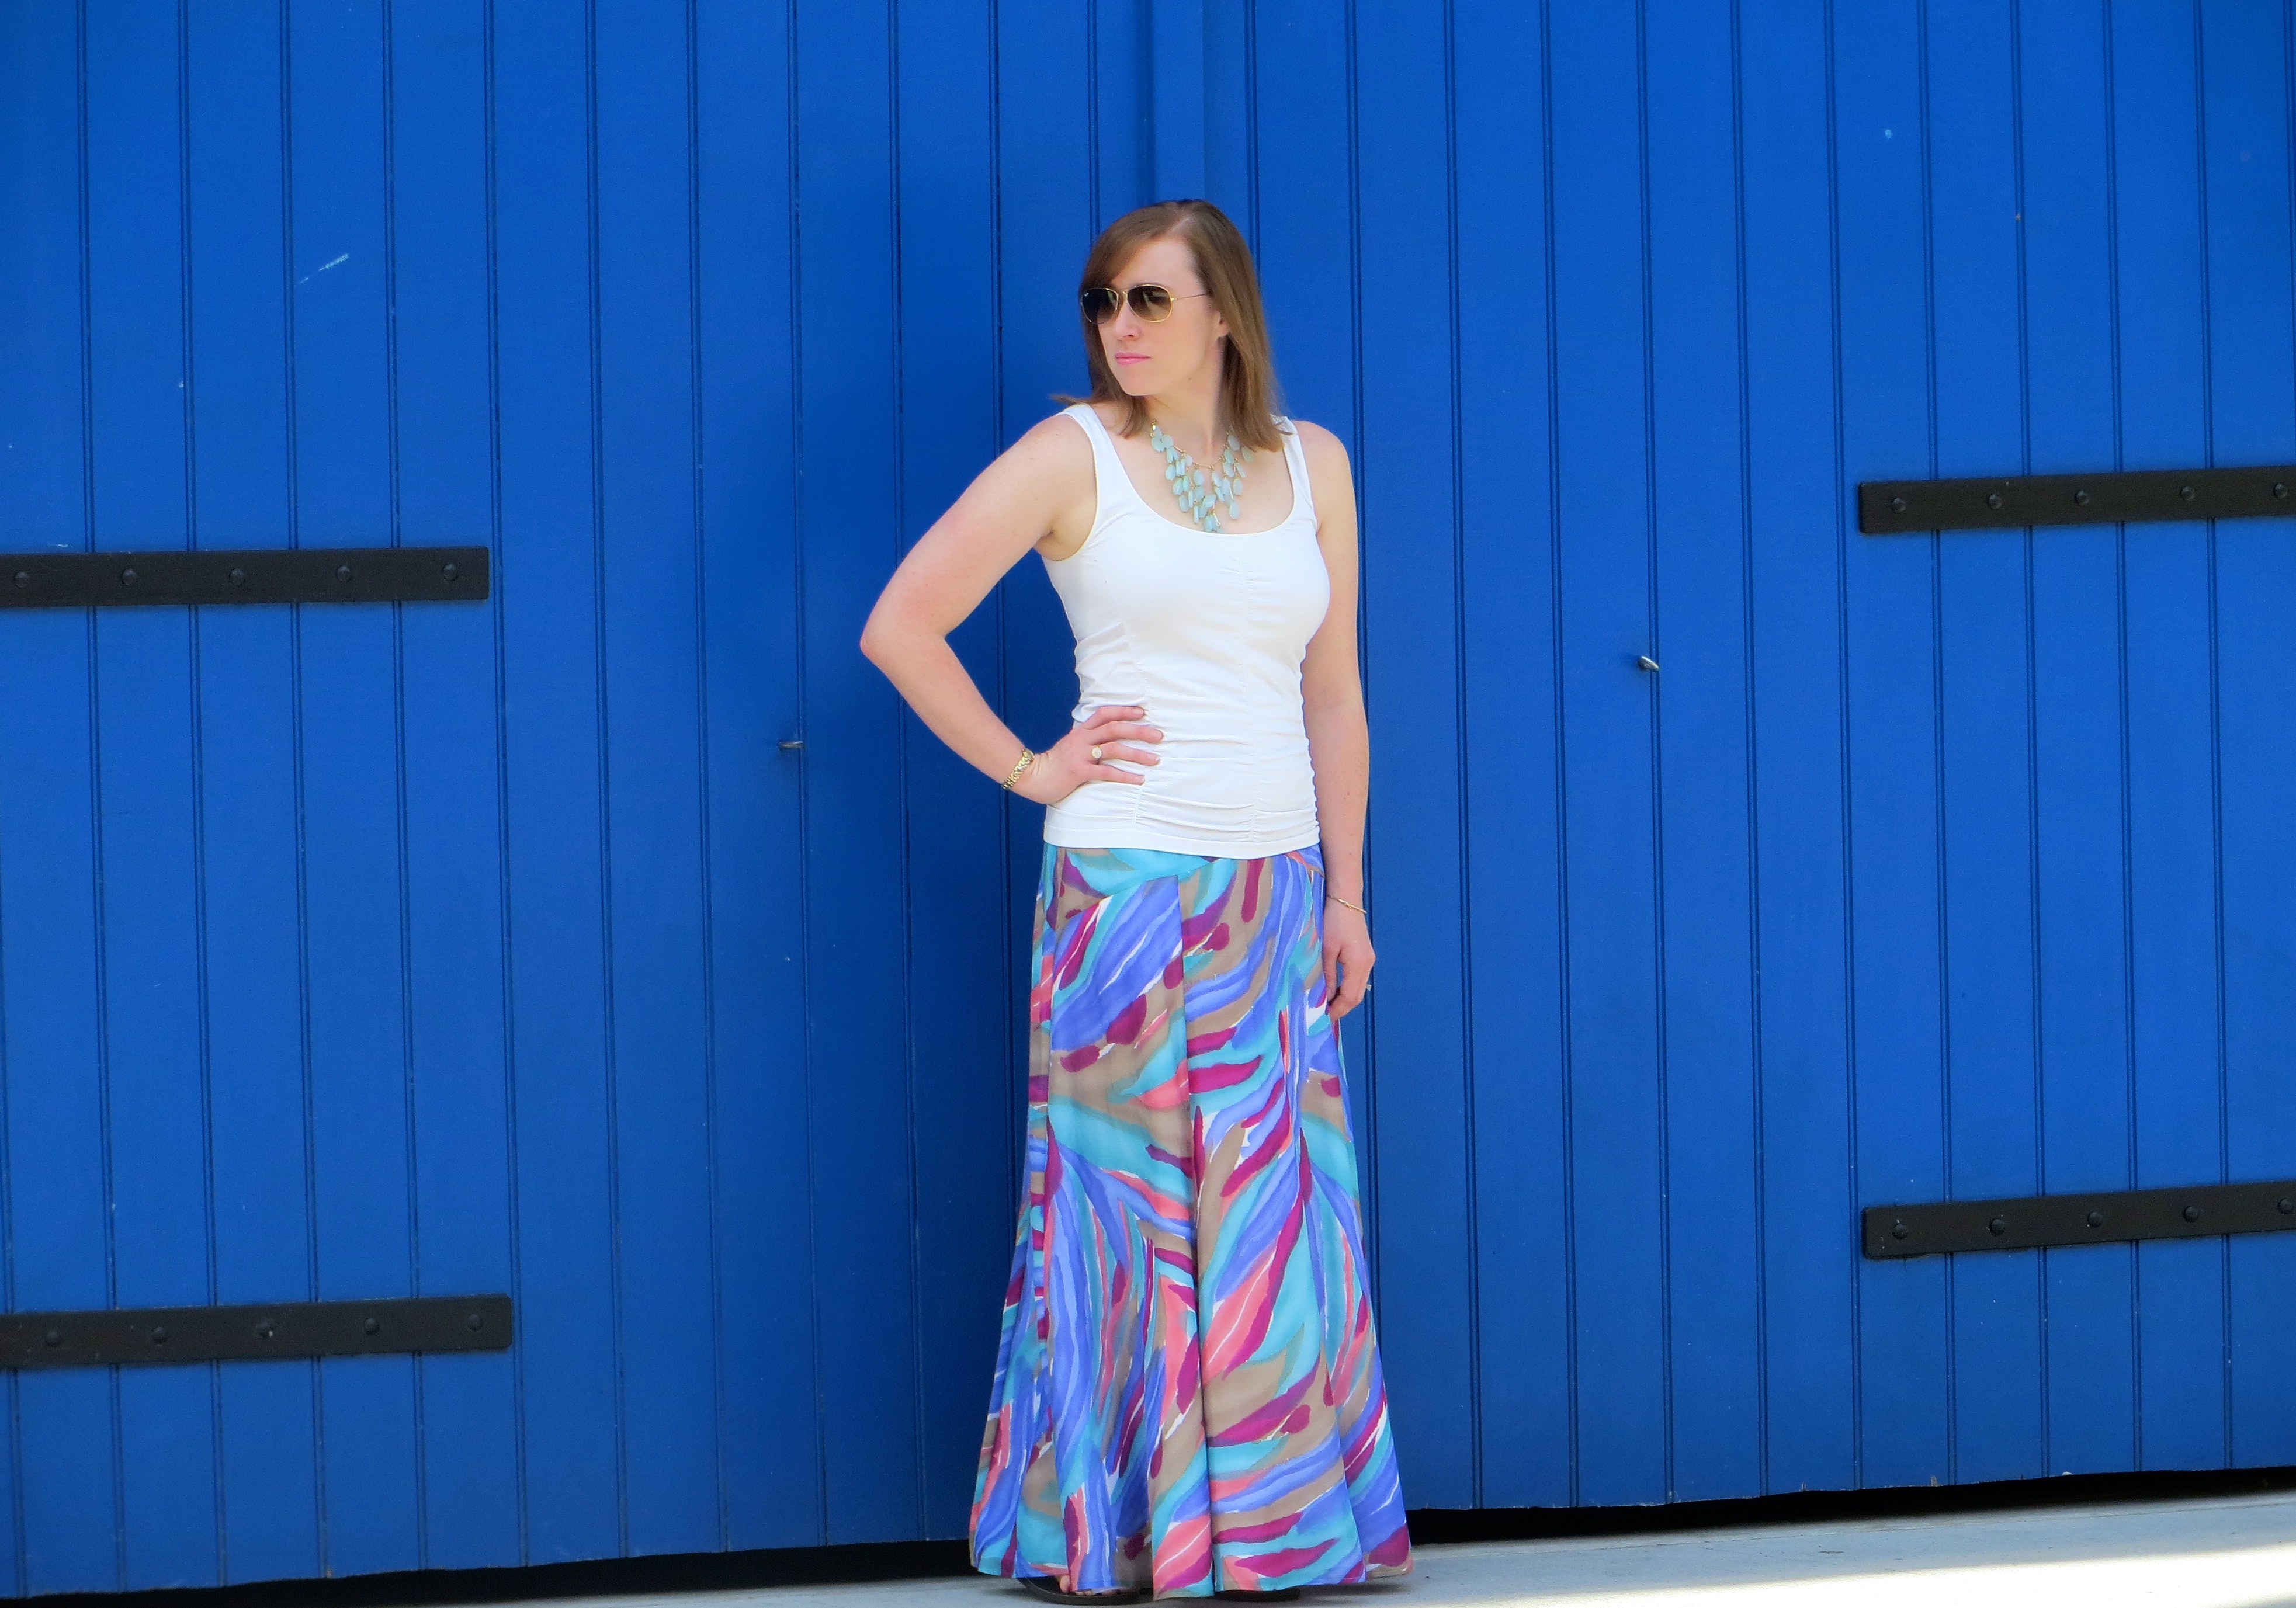
Howdy, friends! I have another completed sewing project for you today! But before you get too excited, this is a project I completed sometime last year (probably Summer 2014), and just never got a chance to get good enough photos to blog.
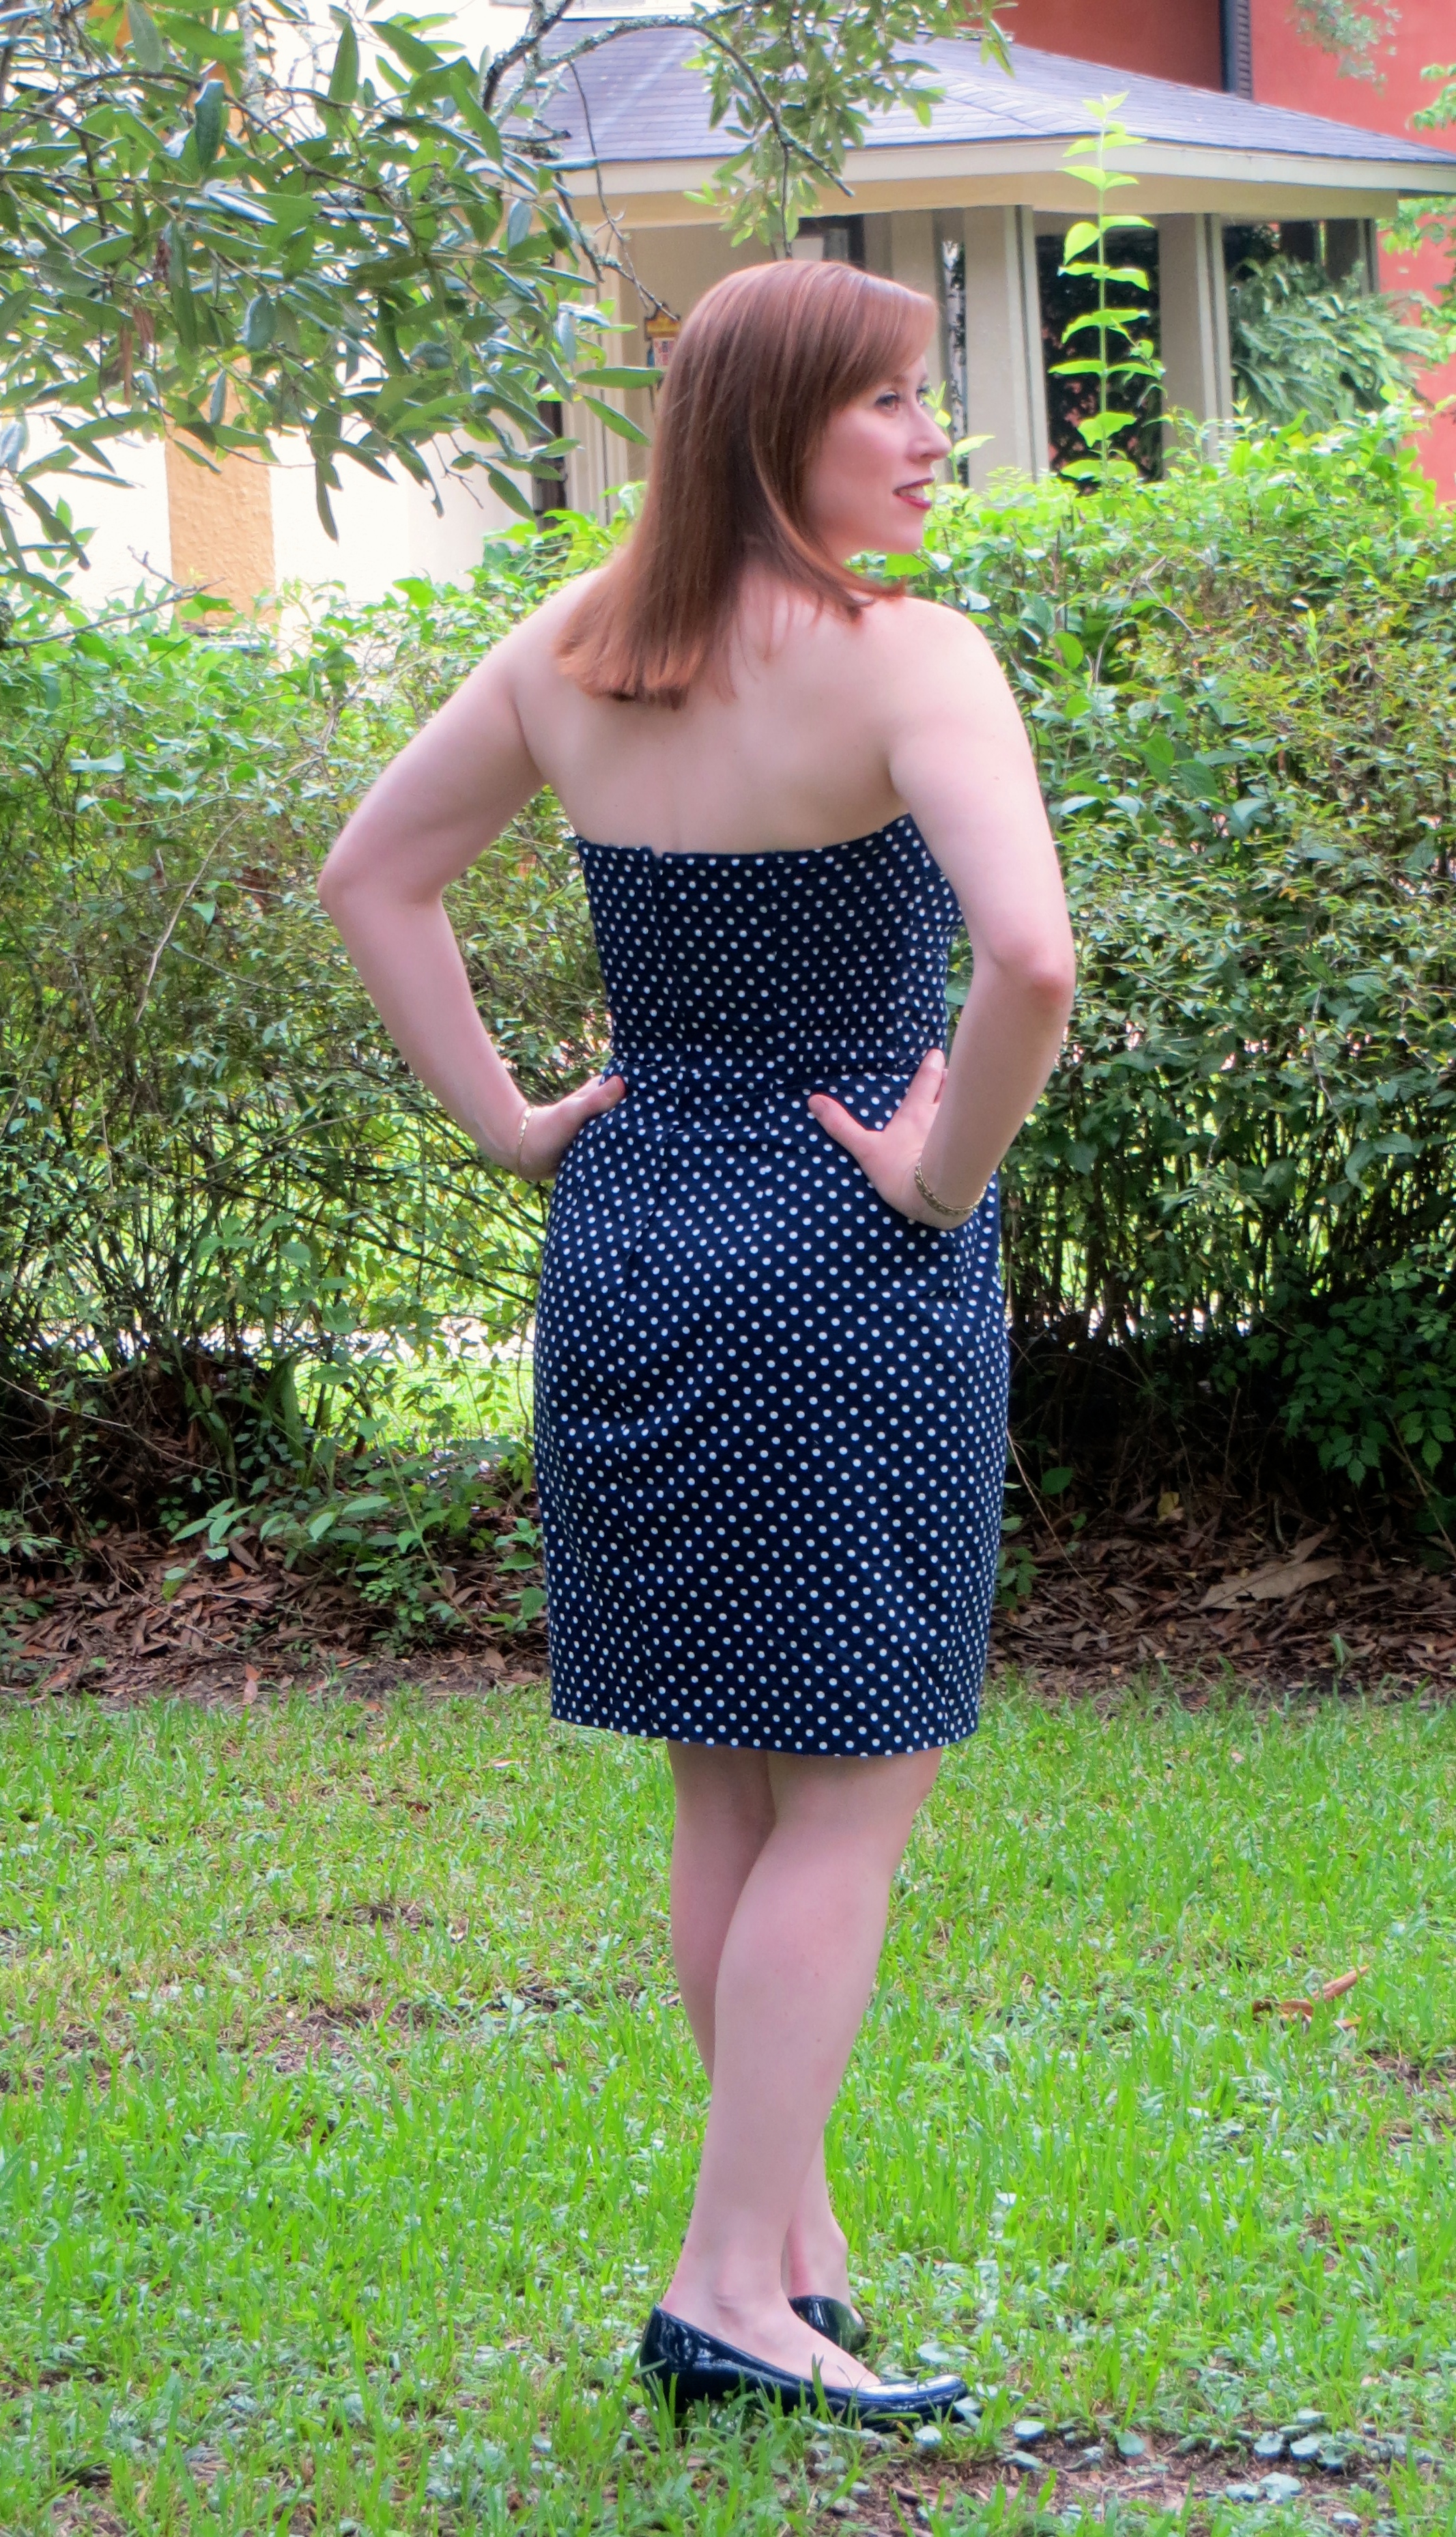
Luckily, we finally had some pretty weather this past Sunday and there is a cute spot outside our new condo, so I took advantage and enlisted my handsome stepson to play photographer. Unfortunately, I didn’t realize until after the photo shoot that there was a large smudge on the lens so you will have to excuse the blur around my feet 🙂

This skirt started with the fabric. I found it at Promenade Fine Fabrics in New Orleans, one of my favorite fabric haunts. It was milled for Carolina Herrera and is a silk organza with blue flowers with black outlines embroidered on it. Maybe there’s a better term for the way this fabric is embellished but I don’t know it. The black outline appears to be clipped to have exposed threads, kind of reminds me of velvet, but the blue looks like embroidery. Any info on this type of fabric would be appreciated. The fabric was very pricey ($58/yd) so I knew it had to become something that didn’t require much yardage and that I could make without any errors.
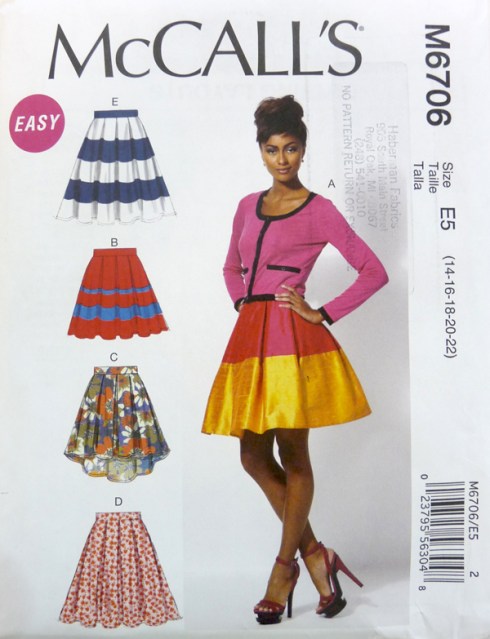
I decided on McCall’s 6706 (rendered once before in a drapey rayon challis), to create a simple, elegant, pleated knee-length skirt.

Then I found this photo of the designer herself wearing a very similar skirt in an almost identical fabric. I never could find any garments in the exact fabric.

I decided to underline the fashion fabric with plain silk organza so I could finish the raw edges like I did in my red Hollyburn skirt and to give it a little more opacity and body.
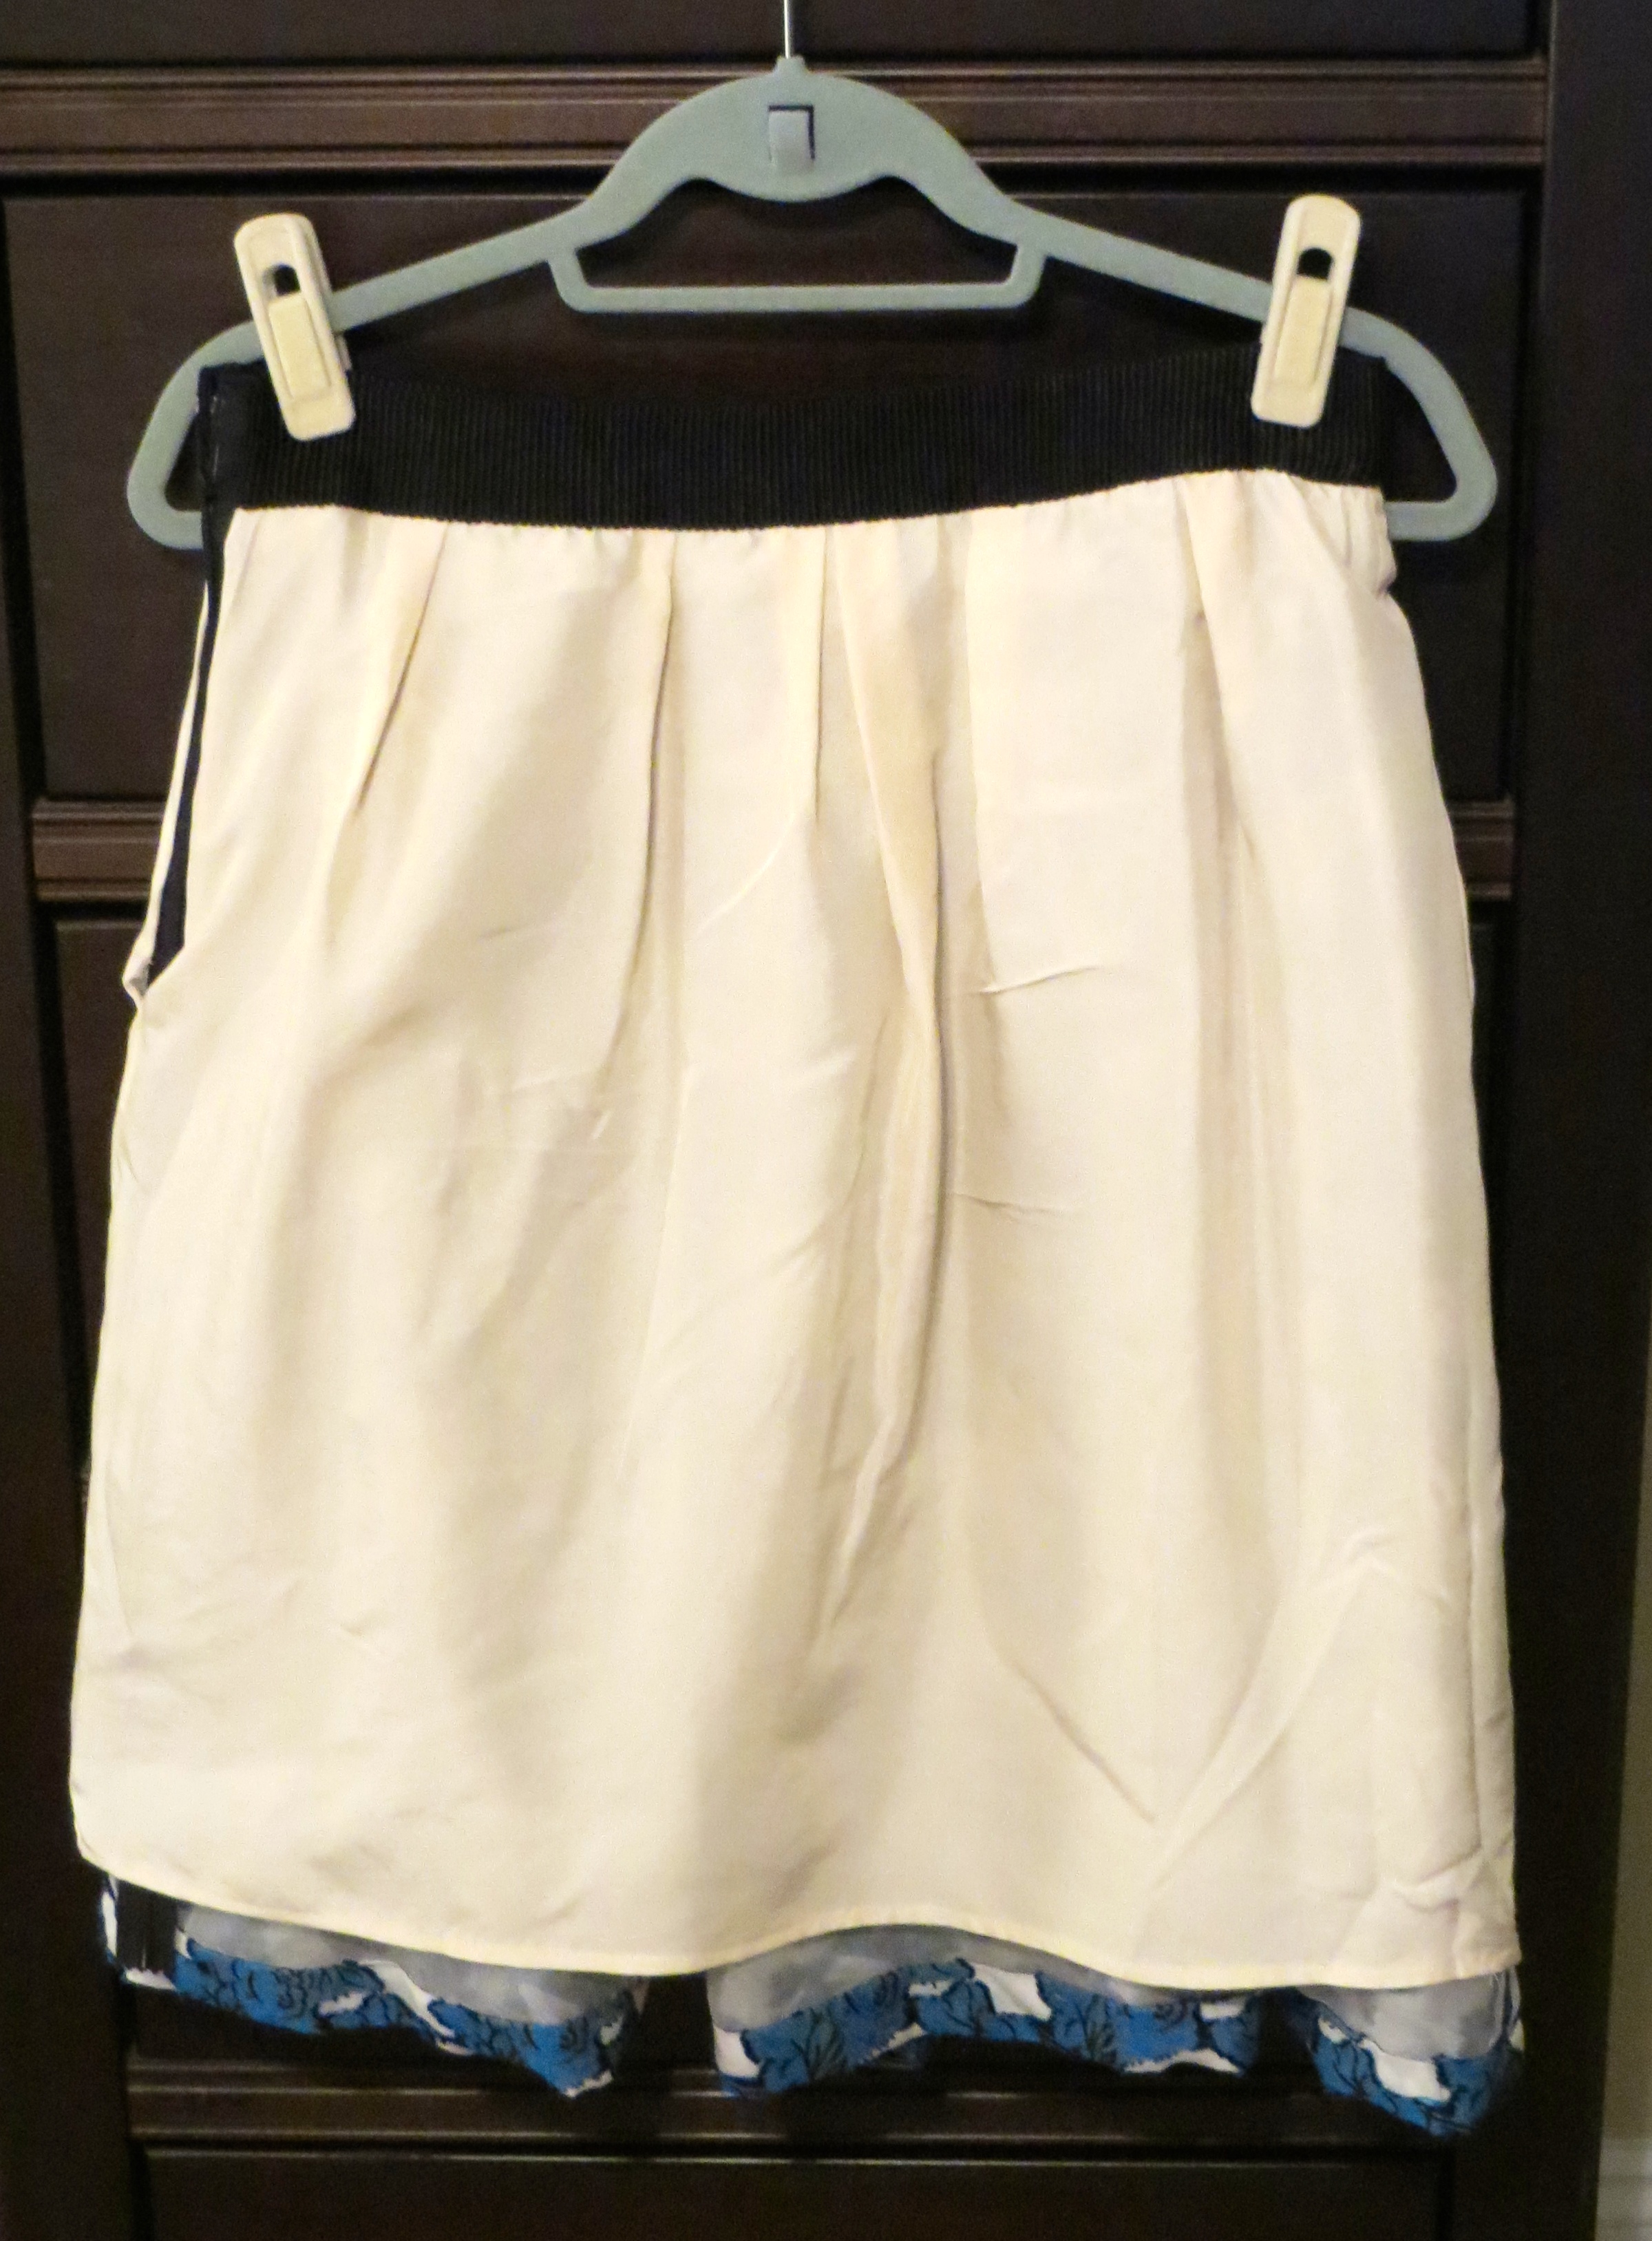
I also lined the skirt with a bone colored silk crepe de chine from Promenade. At first I thought I would line it with black, but the neutral silk really made the white of the organza stand out.

Finally, I decided to use some fabulous, authentic Petersham ribbon for the waistband. This notion also came from Promenade and Herbert says that it is some of the only truly legit Petersham that is still made. I wish you could feel it through the computer — it is so thick and luxurious. Another pricey option ($32/yd), I purchased just enough to go around my waist twice for the waistband and facing.

Construction was pretty straightforward. As I mentioned above, I underlined the skirt panels with organza then hand basted the pleat lines and lightly pressed the pleats into place then machine basted them across the top.
For the lining, I basted it to the skirt along the top then treated it and the outer skirt as one piece when applying the waistband. I laid the Petersham ribbon directly on the waist seam line and used my edgestitch foot to stitch just inside the outer border of the ribbon. Then I matched the other piece of ribbon (the waistband facing) up with the top and edgestitched along the top border to connect the two. The I did one final row of stitches to secure the bottom of the facing to the bottom of the waistband. Fortunately, these stitches just melt right into the ribbon and you can’t see them, otherwise I would have been doing a lot of handstitching!

I finished the lining with a 1/4″ machine hem and the outer skirt is finished with a 1″ hand stitched hem, catching my stitches in the organza underlining.
All in all, I love this skirt even though it was not the cheapest project. It is one of a kind and I feel like it looks like a designer piece. I think I will be able to enjoy wearing it for many years so I don’t mind the little splurge to create it.
What about you, my fair readers, have you ever splurged a little bit on a project? Did you play it safe with a pattern you knew would sew up well or did you do something more daring? I would love to hear in the comments!
I hope to be back soon 🙂

![photo 1[1]](https://susiehomemakermd.com/wp-content/uploads/2015/02/photo-11.jpg)