Tag Archives: fabric

McCall’s 6706 | Carolina Herrera Skirt

12 Mar

Howdy, friends! I have another completed sewing project for you today! But before you get too excited, this is a project I completed sometime last year (probably Summer 2014), and just never got a chance to get good enough photos to blog.

Luckily, we finally had some pretty weather this past Sunday and there is a cute spot outside our new condo, so I took advantage and enlisted my handsome stepson to play photographer. Unfortunately, I didn’t realize until after the photo shoot that there was a large smudge on the lens so you will have to excuse the blur around my feet 🙂

IMG_3170

This skirt started with the fabric. I found it at Promenade Fine Fabrics in New Orleans, one of my favorite fabric haunts. It was milled for Carolina Herrera and is a silk organza with blue flowers with black outlines embroidered on it. Maybe there’s a better term for the way this fabric is embellished but I don’t know it. The black outline appears to be clipped to have exposed threads, kind of reminds me of velvet, but the blue looks like embroidery. Any info on this type of fabric would be appreciated. The fabric was very pricey ($58/yd) so I knew it had to become something that didn’t require much yardage and that I could make without any errors.

M6706

I decided on McCall’s 6706 (rendered once before in a drapey rayon challis), to create a simple, elegant, pleated knee-length skirt.

carolina-herrera-bal-harbour-shops-boutique-opening-carolina-herrera3-photo-by-manny-hernandez

Then I found this photo of the designer herself wearing a very similar skirt in an almost identical fabric. I never could find any garments in the exact fabric.

IMG_3201

I decided to underline the fashion fabric with plain silk organza so I could finish the raw edges like I did in my red Hollyburn skirt and to give it a little more opacity and body.

IMG_3200

I also lined the skirt with a bone colored silk crepe de chine from Promenade. At first I thought I would line it with black, but the neutral silk really made the white of the organza stand out.

IMG_3199

Finally, I decided to use some fabulous, authentic Petersham ribbon for the waistband. This notion also came from Promenade and Herbert says that it is some of the only truly legit Petersham that is still made. I wish you could feel it through the computer — it is so thick and luxurious. Another pricey option ($32/yd), I purchased just enough to go around my waist twice for the waistband and facing.

IMG_3177

Construction was pretty straightforward. As I mentioned above, I underlined the skirt panels with organza then hand basted the pleat lines and lightly pressed the pleats into place then machine basted them across the top.

IMG_3179

For the lining, I basted it to the skirt along the top then treated it and the outer skirt as one piece when applying the waistband. I laid the Petersham ribbon directly on the waist seam line and used my edgestitch foot to stitch just inside the outer border of the ribbon. Then I matched the other piece of ribbon (the waistband facing) up with the top and edgestitched along the top border to connect the two. The I did one final row of stitches to secure the bottom of the facing to the bottom of the waistband. Fortunately, these stitches just melt right into the ribbon and you can’t see them, otherwise I would have been doing a lot of handstitching!

IMG_3174

I finished the lining with a 1/4″ machine hem and the outer skirt is finished with a 1″ hand stitched hem, catching my stitches in the organza underlining.

All in all, I love this skirt even though it was not the cheapest project. It is one of a kind and I feel like it looks like a designer piece. I think I will be able to enjoy wearing it for many years so I don’t mind the little splurge to create it.

What about you, my fair readers, have you ever splurged a little bit on a project? Did you play it safe with a pattern you knew would sew up well or did you do something more daring? I would love to hear in the comments!

I hope to be back soon 🙂

Spring Sewing Swap 2014

13 Jul

Hi, everyone! I hope your weekend has been fun/relaxing/productive according to your wishes. I’m here with just a quick note to share my Spring Sewing Swap parcel with you. This year I was paired with Jinju over at Toile and Trouble. We were a great match because we have similar (read: expensive) taste in fabric. We chatted via email for a while before selecting and sending our gifts and I really enjoyed making a new sewing acquaintance. And I am very jealous of the Liberty lawn Jinju finds in the $4 bargain bin at her local quilt shop!

So without further ado, here is the wonderful package I received the mail.


IMG_2829


1. New measuring tape, which is great because the measuring tape I got in last year’s swap just broke 😦

2. Vogue 1241

3. Three lengths of fabric: two of cotton lawn/voile and one of a beautiful silk cotton floral print

4. Vintage hand sewing needles

5. Zipper and notions for making included pattern

6. My favorite, homemade green and white polka dot bias tape

7. A sweet handwritten note


I am so grateful for this wonderful package of surprises which suits me perfectly! Thank you, Jinju! And thanks to Kerry for organizing the swap again!


Me Made May 2014, Part 1

13 May

MMM14logolarge


How’s everyone’s May going? I’m off to a pretty good start around here with a different me-made garment each day so far. I’ve also worn a few things that I haven’t shared with you yet and I have plans to do dedicated posts on some of them soon. But before we get too much further into the month, a round-up of my daily me-made picks:


IMG_2286

Top: Me Made Sammy Cami Jacket: LOFT Pants: Womyn Shoes: Me Too Necklace: Kenneth Cole


Thursday, May 1 — I worked in the office for most of the day then left a little early to catch a plane to Philadelphia for a conference. Two of my wonderful employees accompanied my on the trip. I wore an unblogged Sammy cami from Iconic Patterns, available for free download! And with only two pattern pieces, it’s as quick as lightning to sew up. I made mine from a navy knit with printed on white polka dots. I used white fold over elastic for the neckline and sleeves. I hemmed it with two-sided fusible tape, no stitching.


IMG_2299

Top: Me Made McCall’s 6898, unblogged but highly recommended Jacket: LOFT


Friday, May 2 — I attended some conference sessions to learn more about the EMR (electronic medical records) we use in my office. I skipped out mid-morning to check out Philadelphia’s Fabric Row and shipped myself home a nice little box of goodies including silks, knits, sequins, leather, trims, and zippers. That night we had a delicious dinner at Parc Brasserie. If you are ever in Philly, you should go there if for nothing other than the pureed potatoes!


may 3

Left: with Zoe from Zo Sews at the Workroom Sewcial meet up Right: at Per Se Both: wearing Me Made Elisalex in Leggy Roses


Saturday, May 3 — I attended more conference sessions then we caught the afternoon train to Penn Station in NYC to spend an exciting 24 hours before heading home. That night for dinner, I got to pop in at the Workroom Social party before heading to dinner at Per Se in Columbus Circle. You may remember me talking about my excitement about trying the restaurant. While it was good, it wasn’t quite what I had built it up to be but it was still a wonderful evening out with two lovely ladies.


IMG_2326

Skirt: Me Made McCall’s 6654, similar version already blogged Jacket: Nordstrom Shoes: Me Too


Sunday, May 4 — I squeezed in a little time in the Garment District and picked up some more silk, knits, and cottons.  Paron’s shipped my purchases home for a very reasonable charge (even purchases from other stores). The weather deteriorated as the day progressed and I ended up looking a little silly with my long skirt and trench coat, not to mention stringy, windblown hair. Before catching our late evening plane home, we popped into a local joint called Jack’s, just around the corner from the big button, and had a nice little meal with entertainment by a charming Irish bartender.


IMG_2298

Top: Me Made Renfrew Pants: Dillard’s Shoes: Cole Haan Necklace: Kenneth Cole


Monday, May 5 — Not getting into bed until almost 1 AM made for a rough start to the day. I opted for an oldie but a goodie that I could rely on for comfort while I saw patients in clinic.


IMG_2300

Top: Me Made Jalie 2921, unblogged Pants: Elie Tahari Shoes: Pliner


Tuesday, May 6 — Another normal office day.


IMG_2302

Top: Me Made Renfrew Jeans: Citizen of Humanity Rocket high-rise Shoes: Me Too


Wednesday, May 7 — My day out of the office and I spent it running errands.


IMG_2307

Top: Me Made Simplicity 2599 Pants: Limited Cardigan: Talbots Shoes: Stuart Weitzman Necklace: Premier


Thursday, May 8 — Back to the office.


may 9

Left: with my sister and parents and our husbands, wearing Sewaholic Gabriola Right: after dancing to the Molly Ringwalds


Friday, May 9 — I was able to take the day off to attend my sister’s graduation from her doctorate of nursing program. I am so proud of her! That evening we attended the annual Steak Cook-off in our town and got to dance the night away to the awesome 80s cover tunes of the Molly Ringwalds. I actually wore two different me-mades this day!


IMG_2327

Dress: Me Made McCall’s 6559, unblogged but 2 blogged versions on the site


Saturday, May 10 — I did a lot of housework this day so I wore a simple cotton knit tank dress that was my muslin of McCall’s 6559 — you can see my other two versions here and here. I know this picture is crazy but I sent it as a joke to my office RN who HATES mayonnaise! 🙂


IMG_2715

Dress: Me Made Simplicity 1810 Shoes: Cole Haan Necklace: Dillard’s


Sunday, May 11 — My new dress, Simplicity 1810, got its official debut at church and afterwards at Mothers’ Day lunch. Blog post to come soon.


IMG_2319

Top: Me Made Vogue 1291 Jeans: Citizens of Humanity Shoes: Me Too


Monday, May 12 — Vogue 1291, which I made last year during the Sandra Betzina workshop. I don’t really like this top because I forgot to center the pattern and the bottom is too snug to stay where I want it to on my hips so I have never given it a blog post. If you make this shirt, consider using a knit, not a woven. If you use a woven, you may want a larger neck opening and more ease at the hips.


IMG_2321

Skirt: Me Made Vogue 8603 Top: Limited Cardigan: Boden Shoes: Chinese Laundry Necklace: Kluster Stethoscope: Littmann (haha, just seeing if anybody is reading the fine print:)- )


Tuesday, May 13 — Another normal day at the office. I wore my Vogue 8603 skirt which is one of my favorite makes.


On a side note, Kluster, the Etsy seller I purchase many of my bead necklaces from (including the coral one in the last photo), is having a huge sale through the end of the weekend. Check out her shop and score an extra 40% off sale items with the code FINAL40. I am in no way financially connected to the Kluster Shop (other than being a normal customer), but I love their products and wonderful customer service so I thought I would share this sale with y’all.


That’s it so far, friends. I will be back soon with more details on the new dress. Have a great night!

Susie Does Housekeeping… And Me Made May ’14!

30 Apr


MMM14logolarge


Hi, y’all! I hope your week if going well. Ours is very wet here on the Gulf Coast. I don’t have anything new to show you today but I do have a few exciting things to tell you. First of all, I am squeaking in under the wire to say that I am participating in Me Made May for 2014:

‘I, Katrina of Susie Homemaker MD, sign up as a participant of Me-Made-May ’14. I endeavour to wear at least one handmade item each day for the duration of May 2014 and at least one hand knit item during them month of May.’

Alright, next on the agenda is an award — the Sunshine and Shine On blog awards to be exact. I was kindly nominated by Annette over at Mrs. Toad Sews. I am apologizing in advance for not fulfilling all the requirements of the award (listing 10 things about myself, nominating 10 others), but I hope you will forgive me because of the next item on the agenda…


popup1


I am packing as we speak to leave for a work-related trip but I have managed to squeeze a little sewing related fun into the mix and I will be joining my brothers and sisters of the needle and thread who live in the NYC area for the Workroom Social Sewing Swap Meet and Party! I am so exciting about meeting the faces behind some of the blogs I follow. I am also going to get to do a little fabric shopping in Philly and NYC so I will tell you all about it when I get home.

The last little bit of excitement may not seem like much to most of you but I finally get to eat at a restaurant of my favorite chef, Thomas Keller, while I am in NYC — Per Se. I will let you know if it lives up to my expectations when I return.

That’s it for today — meeting adjourned! 🙂

DIY Moon Pies — Totally From Scratch

28 Feb

IMG_2142

Ever since I was a kid, I have associated Mardi Gras primarily with MoonPies — not beads, parades, etc — just the tasty treats with marshmallow sandwiched between two graham cookies and enrobed in chocolate. Yes, there are other flavors of MoonPies, and even more choices in recent years, but I have eyes only for one variety.

From what I have read, our area (Mobile, Alabama), seems to be more fond of the MoonPie because we throw them more at parades than New Orleans does. We even have a giant, light-up MoonPie drop over the city on New Year’s Eve.

moonpie-over-mobile

The MoonPie was not created as a Mardi Gras throw, however. In the early 1900s a bakery in Chattanooga, Tennessee, concocted the treat in response to requests from coal miners. It wasn’t until the 1970s that the MoonPie became the preferred throw of revelers. You can read more about the MoonPie’s history here.

I have been going through a big cooking phase lately, and one of my favorite places to get recipes has been magazines — Bon Appetit, Garden and Gun, Food and Wine, etc. When I saw this recipe for DIY MoonPies in a recent Garden and Gun, I knew I had to try it. It would satisfy my sweet tooth and let me try my hand at homemade marshmallow for the first time.

IMG_2147

The recipe is simple although it does involve multiple steps best conducted over a couple of days. It yields a tasty, satisfying treat reminiscent of the holiday classic but without the near stale texture that packaged MoonPies always seem to have. The graham cookie in this recipe is light and tender, the marshmallow sweet and fluffy, and the chocolate rich and silky.

Can you see my reflection in the chocolate? It was so shiny when it was first poured!

Can you see my reflection in the chocolate? It was so shiny when it was first poured!

My only modification from the printed recipe was to cut the cookies with a 2 1/4″ cutter rather than a 3″. This yielded 19 sandwich cookies. The recipe also made a ton of marshmallow so I have scaled down the recipe here for you so you won’t have a ton of leftover fluff.

IMG_2132

I also wanted to make mention of two fabric acquisitions recently added to my stash. The first was a gift from a very special lady who is a blog reader and mother of a sweet little patient. She is from Brazil and brought these fabrics back for me from her recent trip home. Each fabric represents different parts of Brazilian history and is made from very soft cotton. Can’t wait to use these in a project. Thanks, Bruna!

IMG_2153

The next two pieces of fabric were bought on the US Virgin Island, St. John, during my recent cruise. On our way back to the ship, we stopped in a little retail area for a bite to eat. Walking in, I noticed a store called the Fabric Mill. Of course I had to check it out! It was owned by a nice lady from New York City who had studied fashion design but moved to St. John (I am guessing for the weather or when she retired).  The wall behind her register was covered with bolts of beautiful rayon and cotton batiks. I picked up a few yards of my two favorite rayons. She also carried a nice selection of clothing and accessories, and I bought a cute sun hat to shade my pasty white face.

IMG_2151


Homemade MoonPies

Cookie Dough

6  ounces (1 1/2 sticks) unsalted butter
¼  cup light brown sugar, firmly packed
¼  cup cane syrup (I used Alaga)
¼  teaspoon vanilla extract
1½  cups all-purpose flour
1¼  cups graham cracker crumbs, ground fine (approximately 1 whole sleeve of crackers)
¾  teaspoon kosher salt
½  teaspoon baking powder
½  teaspoon baking soda
¼  teaspoon ground cinnamon
2  Tablespoons whole milk

Cream butter, brown sugar, syrup, and vanilla in the bowl of an electric mixer fitted with the paddle attachment for 1 minute. In a separate bowl, combine the dry ingredients and whisk to combine.

Add the dry ingredients to the butter mixture and mix on low speed; slowly stream in the milk.

Continue mixing until the dough comes together. Press the dough into a disk, wrap it in plastic, and refrigerate it for at least 1 hour (I refrigerated mine for a day and let it thaw at room temperature for 30 minutes).

Preheat the oven to 325 degrees.

Turn out the chilled dough onto a floured surface, then roll it to ¼” thick. Stamp out cookies using a 2- or 3-inch round cookie cutter (yield will depend on size and thickness).

Place cookies 2″ apart on a parchment-lined baking sheet and bake for 10 to 12 minutes. Remove the cookies from the oven and cool completely.

You can start the marshmallow while the cookies are cooling if you are making it all at one time.


Marshmallow

2 3/4 teaspoons powdered gelatin
5 Tablespoons plus 1 teaspoon water, ice-cold, plus ¼ cup at room temperature
2 Tablespoons plus 2 teaspoons light corn syrup
2 Tablespoons honey
1/2 cup granulated sugar
2 large egg whites

Sprinkle gelatin over ice-cold water and set aside.

Combine room-temperature water, corn syrup, honey, and sugar in a small pot, insert candy thermometer, and simmer until mixture reaches 240 degrees. When the thermometer reaches 200 degrees—but not before—place egg whites in the bowl of an electric mixer fitted with a whisk attachment, and whip on high.

Once the sugar mixture hits 240, remove it from the heat, and stir in the bloomed gelatin. Then, while egg whites are whipping, slowly drizzle the hot sugar mixture down the inside of the bowl to avoid spattering the hot syrup. I find this easiest to do using a glass measuring cup with a pour spout (like a Pyrex). Continue whipping for an additional 8-10 minutes, until the mixture stiffens. The mixer bowl will still feel warm to the touch but no longer hot.

Match up the cookies in pairs according to size. Flip over half of the cooled cookies. Lightly coat a spoon with nonstick cooking spray, and spoon approximately a quarter cup of marshmallow onto each flipped cookie (less if you used a smaller cutter). Use the remaining cookies as tops; gently push down until you can see the marshmallow come just to the edge. Chill in refrigerator for at least 15 minutes while making the chocolate coating.


Chocolate Coating

1  lb. bittersweet chocolate (61%–70% cacao)
2  tbsp. vegetable oil or canola oil

Melt chocolate in a heatproof bowl in the microwave in 30 second intervals, stirring after each interval. Once only a few unmelted chunks remain, remove from microwave and stir until chocolate is smooth. Let it cool slightly and once the chocolate is no longer hot, slowly whisk in the oil in a steady stream. Allow the chocolate to cool for about 5 minutes before proceeding with assembly. Depending on your cookie yield, you can probably get away with 12 ounces of chocolate and 1 1/2 tablespoons of oil. With my 19 two-inch cookies, I had a fair amount of chocolate left over.


Assembly

Line a cookie sheet with parchment or foil and place a cooling rack inside. This will allow extra chocolate to drip off the cookies while they set. The lining will make clean up easier. Submerge chilled cookies in the melted chocolate, using a fork to gently lift the sandwiches out of the bowl, scraping excess chocolate on the side of the bowl. Place on cooling rack and let set until shell hardens (several hours in my case). Store in an airtight container.

Adapted from Garden and Gun Feb/Mar 2014.


IMG_2149

Grand Summer Ball Ensemble, or Vogue 8849 and a Self-Drafted Skirt!

8 Sep

Happy Sunday, everyone! I hope your weekend has been a fun and productive one. Mine has been very busy but I have been hammering away on the sewing machine as much as possible. A few weeks ago, my husband and I attended the annual fundraiser gala for the hospital where I have privileges. I always look forward to this event because I love any excuse to get dressed up and be “fancy.”

The event takes place at the beautiful Marriott Grand Hotel, right on the shore of Mobile Bay. I love visiting the Grand Hotel (and have since childhood), because it is old, Southern, and charming. There is lush vegetation everywhere, the staff is friendly and gracious, and the whole atmosphere is very relaxed.


IMG_1901


As I have been honing my sewing skills in recent years, I have begun to enjoy creating outfits for specific occasions, and the Grand Summer Ball was the perfect opportunity. I first started dreaming up my ensemble around the end of last year but didn’t actually finalize my plans until about two months before the ball. But no matter how much I plan and brainstorm in advance, I was still stitching a hem and sewing in the zipper the day of the event (but with plenty of time to spare to get ready).

Want to see a picture of my handsome date before I go into the details of the outfit (and I might get a little wordy)?

IMG_1906

Alright, now on to what I wore. First, I decided I wanted to wear separates this year — long skirt and top. I started with Vogue 1310, a Chado Ralph Rucci number. You will notice that my colors are similar to those in the pattern photo; I think this is why I initially gravitated toward this pattern. I muslined the skirt and it was awful! The wrap tie created a huge poof across my midsection and it just wasn’t flattering.

V1310

So I decided to draft my own skirt. I wanted something that would skim my hips then flare out at the bottom. I relied heavily on my copy of Patternmaking for Fashion Design (given to me by a sweet friend who was a fashion major). I started with creating a basic one-dart skirt sloper (one dart in front and one in back). Then I closed the darts and transferred the fullness to the hemline, pivoting at a point around knee-level.

IMG_1904

I also added a godet to the back center seam for extra fullness. I decided to create the V-shaped yoke as an added design feature. I cut the yoke on the bias thinking it would skim my hips better but I think this just created more trouble with ripply seams (even though I interfaced the seam lines). I added a simple 1″ waistband and handpicked a centered side zipper. The clincher with the skirt came when I realized that somehow part of the back hemline was 2″ shorter than the front, resulting in a skirt that hit at my ankle instead of grazing the floor like I had planned. Overall, the skirt was wearable and served it purpose, but it isn’t my most favorite make and all of its silk may get repurposed at a future date.

bustier flat pics

On to the top. It is my favorite thing that I have sewn so far and I am so proud of it! I started with the bodice of Vogue 8849 and made 4 muslins before I got the fit just right. For construction, I referenced this blog post by Ann of Gorgeous Fabrics, who described her experience of sewing a lace bustier during a Susan Khalje class.

I started with a base shell of some sort of poly satin. Then I constructed my boning layer from muslin and inserted 6 channels for spiral steel boning along the bust princess seam lines, back dart lines, and side seam lines. I used boning casing to house the boning and these supplies came from Corset Making Supplies. I then hand-basted the muslin to the shell fabric and treated them as one for the duration of the construction.

Next, I cut my lining from the same fabric as my outer shell, then sewed the lining to the shell, right sides together, along the top seam. then I inserted the boning and sewed the lining to the shell right sides together along the bottom seam. Once turned right side out, I had clean-finished seams along the top and bottom and two open ends. These open ends were important and you will see why in a minute.

Next, I placed the bustier on my dressform for draping the lace. This is the most use I have ever gotten out of my form. I decided I wanted the lace edge to run along the bottom edge of the bustier, so I positioned the lace as such and started pinning it to the shell layer underneath, easing as I went. Because lace is very moldable, you can shape it over the curves of your body without having to use seams and darts. If you look closely at my detail photos, you will see the seams of the bustier shell underneath but no seams in the lace. I was very glad it worked like this because I was terrified of having to match lace patterns!

For the top of the bustier, I folded the lace over to the inside and did not try to use the lace’s border here. Next, I started tacking the lace to the shell/muslin layer by hand, using the open ends to access the area between the shell and lining. This was the most time-consuming part but also the most enjoyable. I have never been much of a hand sewer but I thoroughly enjoyed the process of making this bustier. I worked on my handstitching in the evenings, at the office between patients, and any other time I could squeeze in. All total, I probably spent 4 hours tacking the lace down.

Bustier Detail collage

Next, I hand-picked a centered side seam zipper. I used the advice in Ann’s blog post and used a full-length dress zipper instead of a separating zipper. The longer zipper makes it easier to get in and out of the bustier and to zip yourself up in it without help, and the long tail is tucked up inside and snapped to the zipper tape. The bustier was finished off with a hook and eye at the top of the zipper.

And let me tell you how marvelous it was to wear! I didn’t spend all night hiking my top up or worrying about wardrobe malfunctions. I didn’t put a waist stay in yet, but I plan to add one soon. Photos from the event can be found here, here, here (with my sis), and here. I purchased my garnet necklace from the Etsy seller Alison Storry.

My fabrics were all purchased locally at Ely’s Fabric Warehouse in Mobile, Alabama. They have a nice selection of formal wear fabrics and lace. The skirt is made from a beautiful crimson silk charmeuse and the bustier’s shell and lining are poly satin and the lace is a beautiful, heavier-weight lace with a finished border along both edges (sorry I don’t know my lace terms).

While I will have to revisit my skirt drafting skills, I will definitely be making more iterations of the bustier top in both casual and dress versions. I think even this bustier can be dressed down a bit, perhaps with jeans for date night or like I wore it today to church.

Bustier casual

If you’re still there, thanks for reading about my mini-venture into couture sewing. Stay tuned for more!

Would you vote for me, please?

6 Sep

Evening, friends! I am dropping you a quick line to let you know that my recent make, the halter maxi dress in the Anna Maria Horner Sinister Swarms fabric from Hart’s Fabric is entered in their weekly Sew Your Hart Out contest. You can help me win a $50 gift card to Hart’s by liking this photo. And while you’re at it, I would love for you to “like” Susie Homemaker, MD on Facebook, too.

IMG_2096

Think you would like to win a prize from Hart’s? They are giving away weekly prizes for items made from their fabrics. You can also enter to win the grand prize of a brand new Janome sewing machine (no finished garments required!).

I hope to get some sewing done this weekend and will try to bring you another completed project next week (and this next one may be quite fancy). I may also have a Thirsty Thursday in the works. Stay tuned and happy weekend! And thanks for voting on my photo!

Simplicity 1664 — Bustier-Style Peplum Top

4 Jul

IMG_1722

I’m back with another completed item and a sewing pattern review for you!

IMG_1724

You may remember seeing this top for the first time during Me Made May (on days 17 and 25). It is Simplicity 1664, a Threads magazine-designed sportswear set pattern, which I must confess I bought solely for the shirt pattern.  But at $1.99 who can resist?

IMG_1733

I was pleasantly surprised by this pattern as it didn’t have excessive ease and the instructions were excellent.

IMG_1750

Did I mention I used a pink satin lining? 🙂

Apparently they were written by someone from Threads so they included details like edgestitching the facing to the lining, a feature I have never seen in a commercial pattern. As written, the pattern yields a very professionally finished, well-fitted top.

IMG_1730

The only change I made was to ease some twill tape along the top neckline seamline to prevent some gape-age that was occurring.  This method was a trick that I learned from Gretchen Hirsch’s Bombshell dress class on Craftsy.  I cut the tape 1″ shorter than the neckline on each side of center and eased it onto the seam allowance and then sewed it just outside the seam line to make the top of the shirt hug my body better.  This trick worked like a charm!

IMG_1728

I didn’t do a full bust adjustment on this pattern, I just graded from a 14 at the should and neck to a 16 at the full bust, back to a 14 at the waist.

IMG_1735

Top: Me Made!
Skirt: “Vintage” Studio M white linen sailor style (med school era)
Shoes: Michael Kors wedges
Sunglasses: Ray Bans
Jewelry: Kenneth Cole bangles, Premier necklace

On my next version (which may show up as a dress), I will cut a 16 through the shoulder and bust as the underarm area is a little snug and the bust fits great, and I will taper the waist in to a 12 as there is a bit too much ease there. I will also add 1/2″ in length at the front center tapering to 0 at the side to account for the full bust.

IMG_1746

On this version, I didn’t have the separating zipper that was called for, so I used a regular zipper and left a 1″ seam sewn at the bottom and did a lapped zipper application above that. Since the zipper is purple and my top is navy, I have plans to eventually replace the zipper with the appropriate type and color. I also botched the hook and eye at the top of the zip so I plan to correct that eventually, too.

IMG_1756

All in all, this is an awesome top pattern that I can’t recommend highly enough.  The directions are excellent and the results are very professional.

IMG_1743

And if you haven’t noticed yet, this top features a peplum — are you starting to wonder if that’s all I know how to make (case in point)?

IMG_1738

I hope this review has been helpful and inspiring, and for my USA readers, I included a little red, white, and blue for you in honor of our country’s birthday — Happy Independence Day!

Spring Sewing Swap Reveal!

26 Jun


IMG_1703

Hi, friends!  As usual, I am a bit behind on posting things — my lovely parcel from the Spring Sewing Swap is no exception, considering that it is now officially summer!  Early last week I had the fun of receiving a nice little package all the way from Australia — from my new sewing friend Shelly at Shelly’s D.I.Y. Style.

Shelly and I chatted a bit before the swap and realized that we share similar tastes and sewing goals. That made shopping for Shelly both easy and hard — easy because I could buy her things that I would like myself, but hard because there was so much I wanted to send!  (If you want to see what I decided on, head over to Shelly’s post and check it out.)

So without further ado, let me show you the wonderful things Shelly sent all the way around the globe for me:

IMG_1697

1. Two yards of beautiful pink cotton lawn which is likely to become a summer top from a pattern I have been asked to test. The fabric looks a bit wrinkly now because I have already washed it for sewing 🙂

2. An adorable set of flower print buttons (perhaps to go with said top?).

3. Some needle gripper pads.  I have never seen these before but I will definitely love using them — I can see them saving me a lot of headache!

4. A new retractable measuring tape.  Shelly must have a spy in my sewing room because I just broke my favorite retractable tape and have looked at a new one every time I go to the store but haven’t bought one.  It’s a good thing because the one Shelly sent is so much better than what I’ve seen around here.

5. Aqua and brown bias tape.  I love print bias tape and this one has such a soft and supple hand I can’t wait to find a project to incorporate it into.

6. Red and white trim.  Red is one of my favorite colors so I know this will be easy to use.

7. And last but not least, that cute little ladybug you see is a darling thread cutter that can be stuck onto my sewing machine.  How adorable is that??

Thanks so much, Shelly, for sending me my lovely treats — I am so excited about giving them all a good home.  And thanks to Kerry at Kestrel Makes for organizing this swap.  It’s so nice to receive a sewing-related gift from someone who knows about sewing.  I look forward to doing it again soon!

Me Made May ’13 — Part 3

1 Jun

Well folks, the month has finally drawn to a close and I have successfully completed my first Me Made May challenge.  I must say it was a great confidence builder to be able to wear self-stitched or altered items each day for 31 days straight.  I even managed to make it more than 2/3 of the month without repeating an item!  As you have seen from my photos, I have several new items that have yet to be given official blog posts, but I will do my best to get those documented in the upcoming weeks.  So without further ado, here are the last 12 days of my month’s wardrobe:


IMG_1849

Me Made: Simplicity 2599 ruffle blouse
RTW: Nordstrom pencil skirt, Tessyla necklace, Cole Haan shoes


May 20 (Monday) — Today was a full day in the office.  Nothing exciting to report.


IMG_1638

Me Made: Refashioned David Kahn white jean capris
RTW: CAbi seahorse camisole and lacy jacket, turquoise necklace, nude patent flats


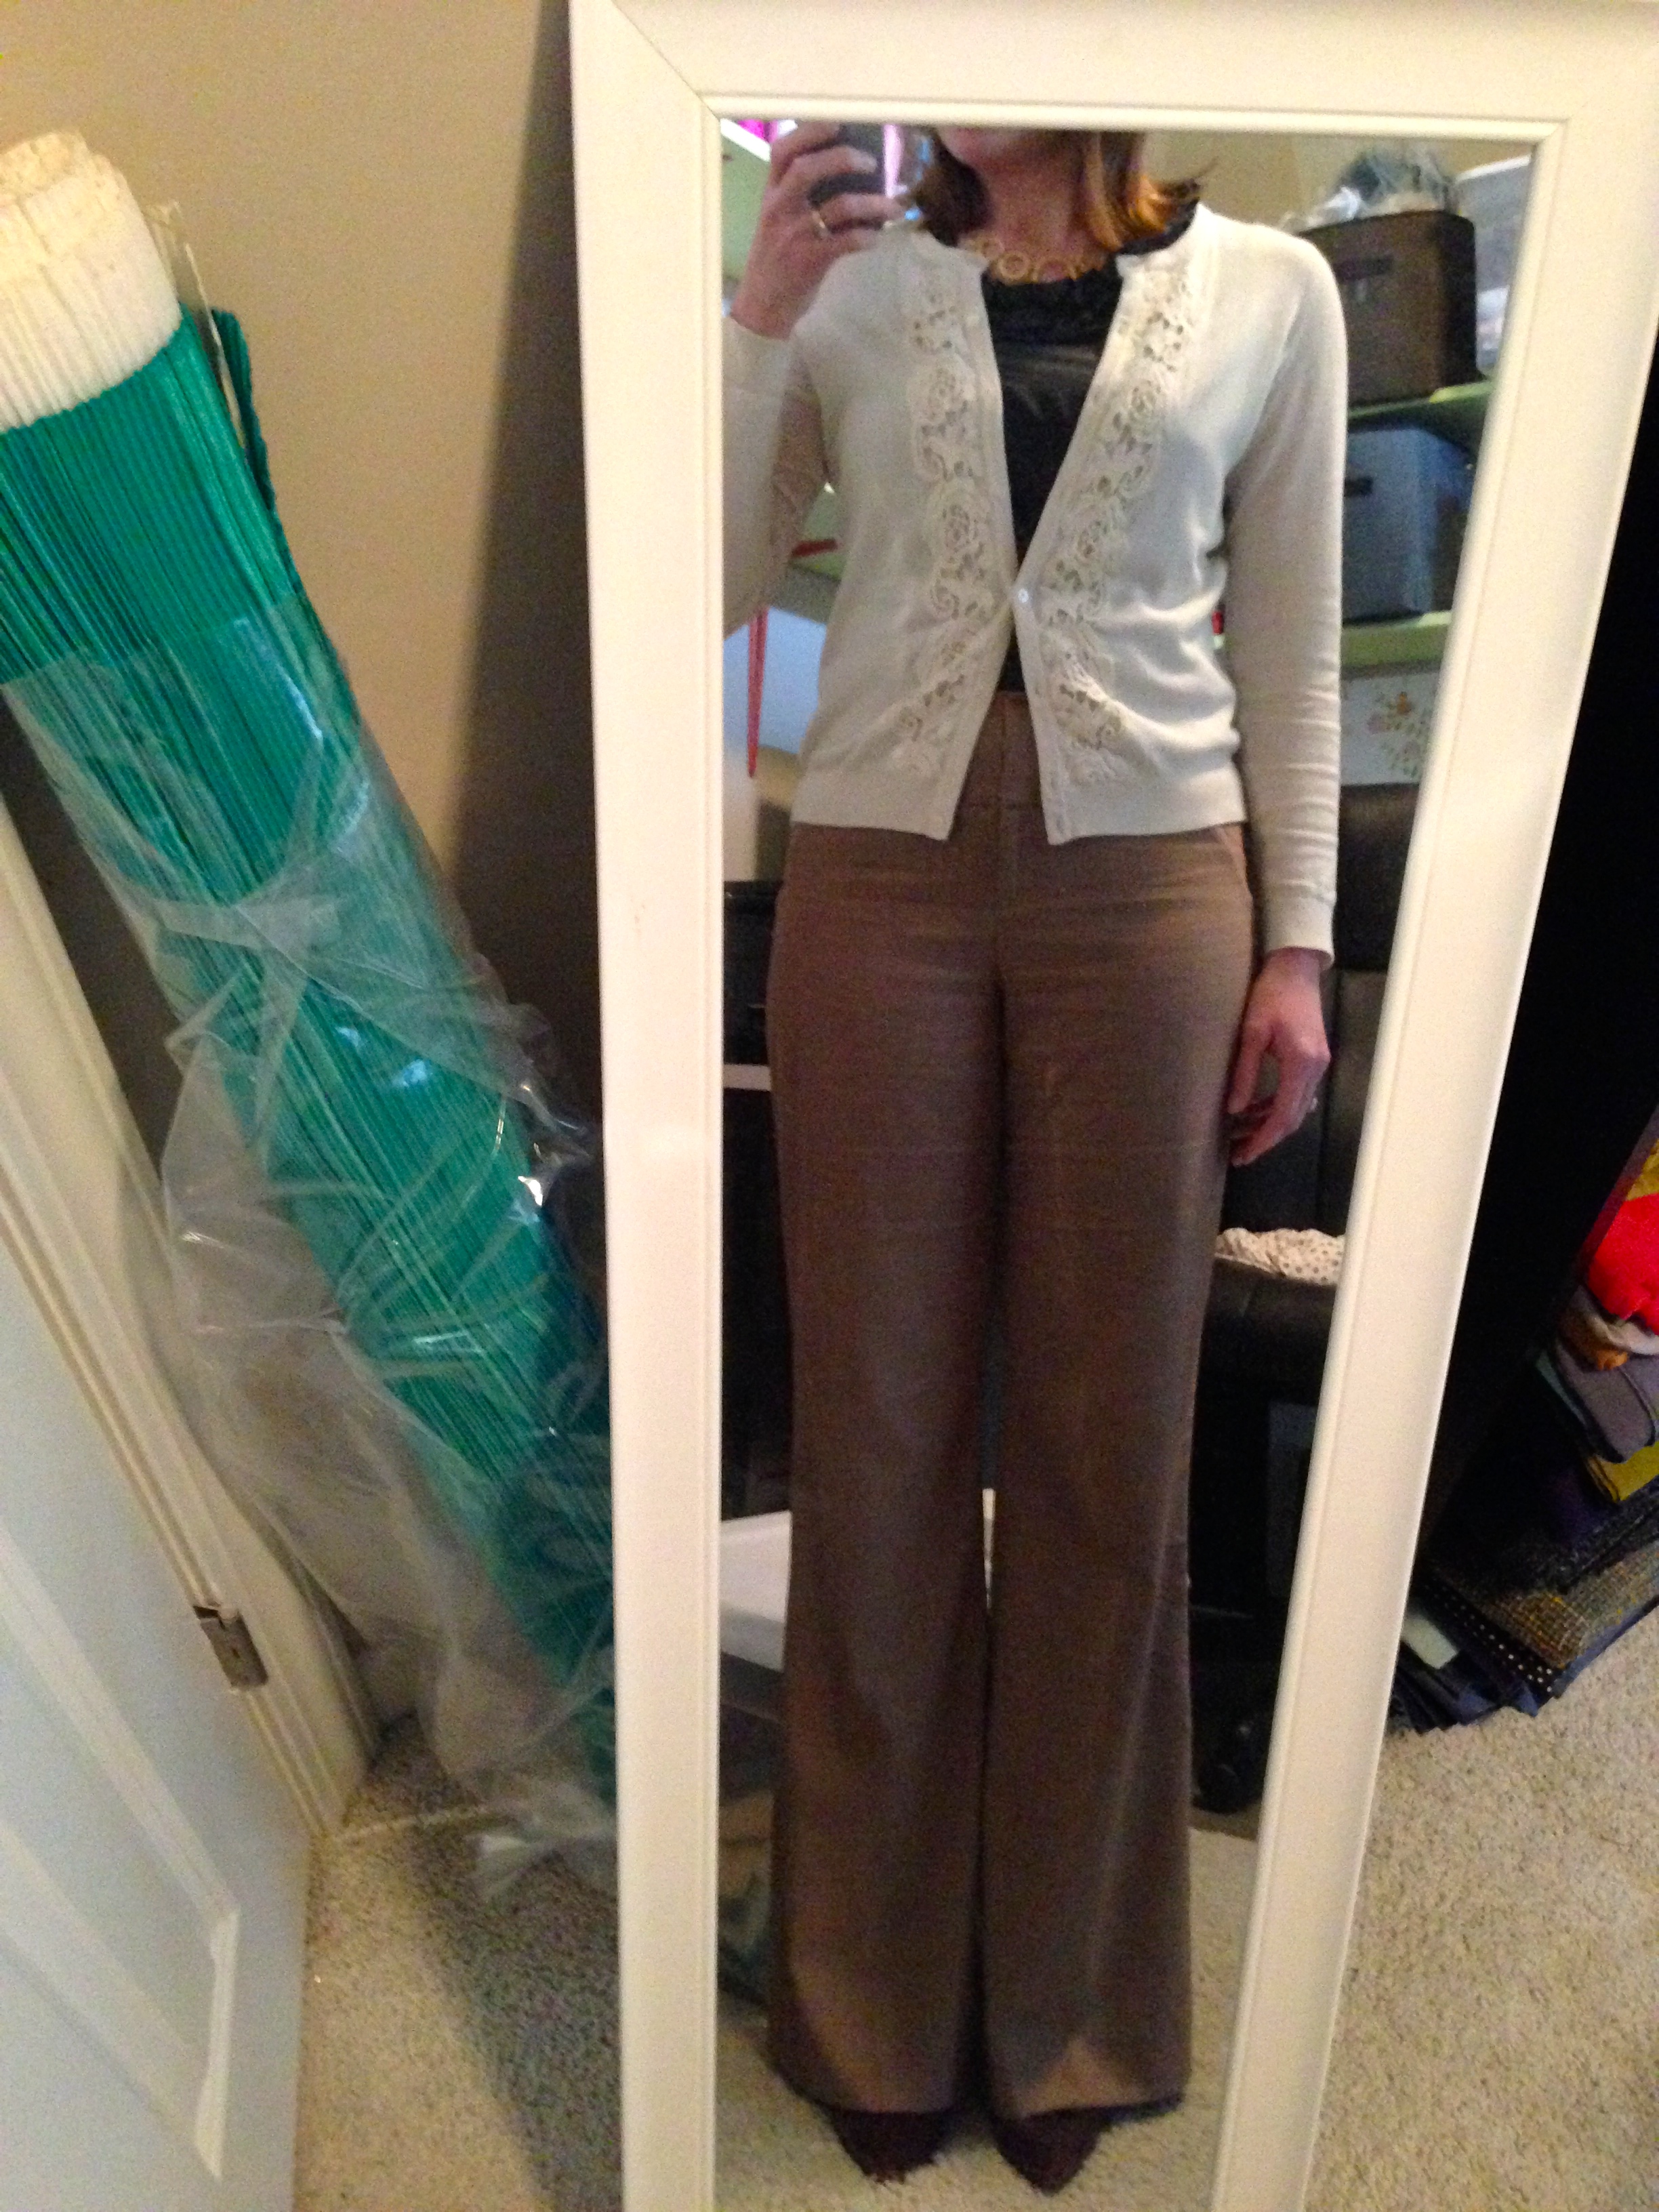
May 21 (Tuesday) — Another day at the office.  I hosted a CAbi party at my house the next night so my friend who sells the clothing brought her entire collection to my house a few days early so I could “test” things out.  I borrowed the cute seahorse cami and lacy jacket to wear to work this day with some refashioned white jean capris.  The capris are at least 5 years old and had a very flared hemline until I slimmed them down.  That was my first time to ever work with denim.  As long as no one looks up close at the seams and hems, I will be in good shape 🙂


IMG_1850

Me Made: In-House Patterns Belle Bow Blouse
RTW: Cookie Johnson straight leg white jeans, Kluster white coral necklace, Franco Sarto nude bow pumps (worn only for photo — being returned because they are too small)


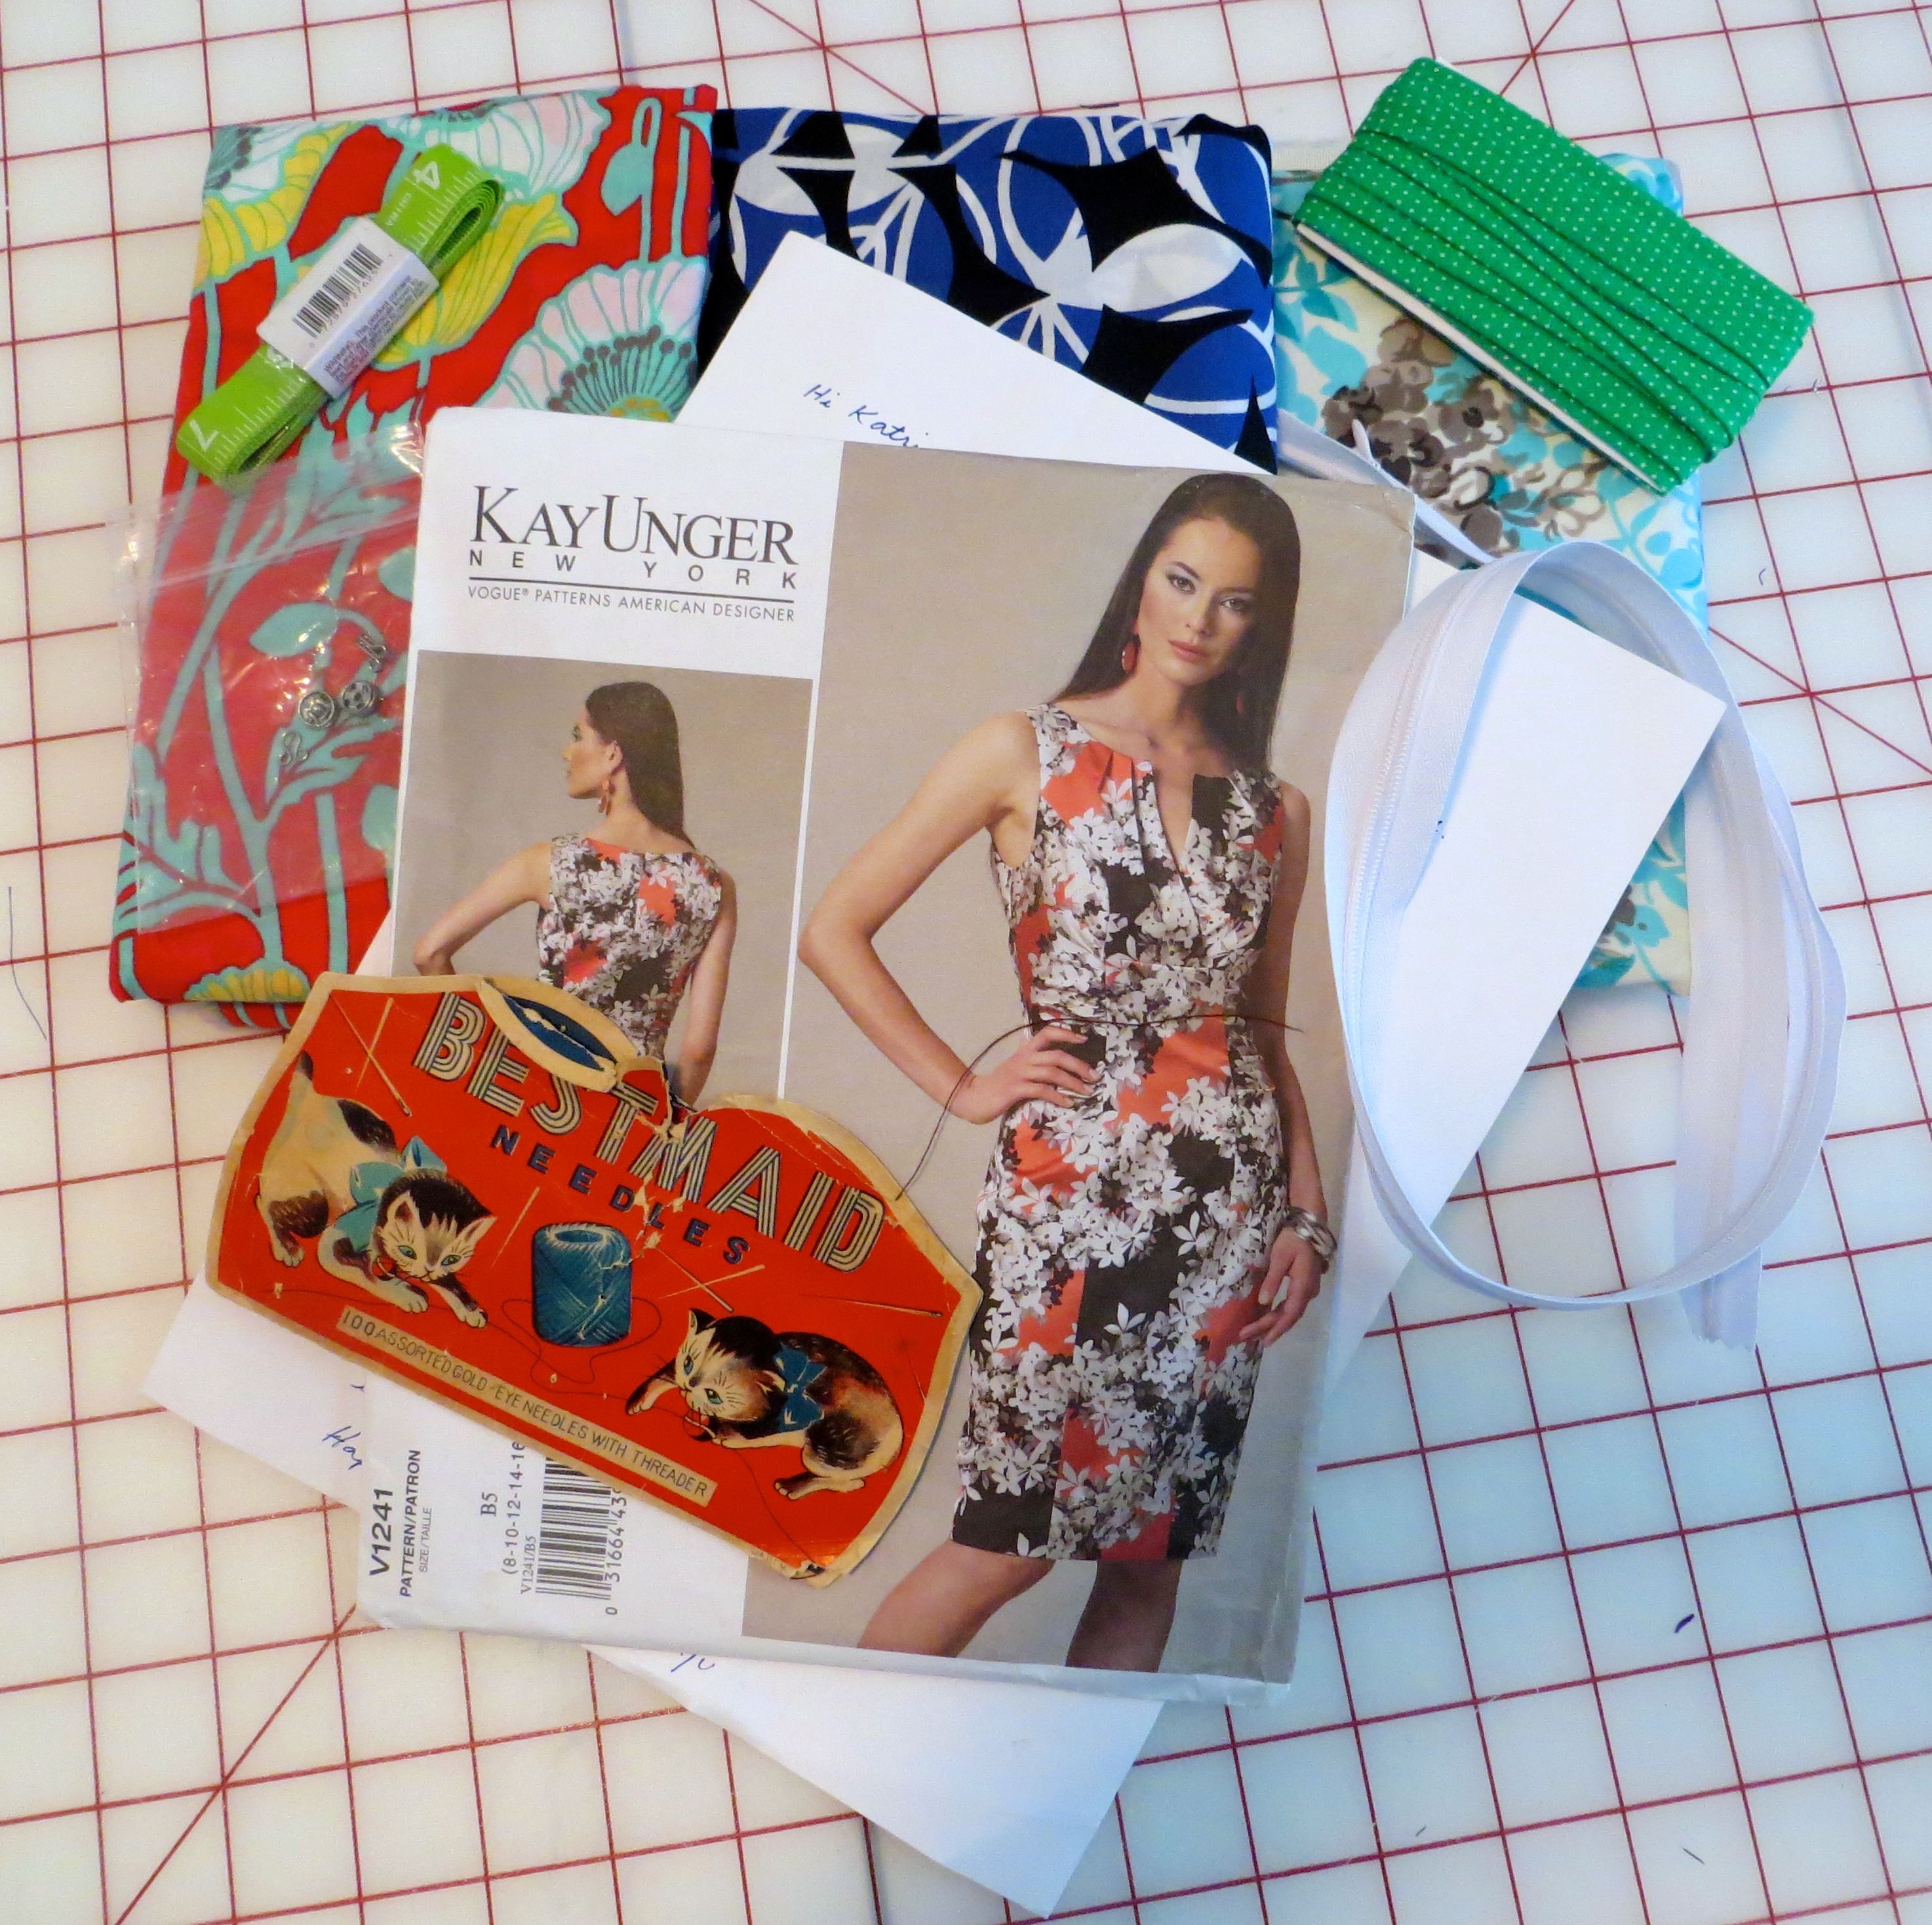
May 22 (Wednesday) — My day off and my first repeated item.  I spent the morning dropping my car off to get serviced then met a new sewing buddy for some fitting help with a jacket project (Thanks, Nancy!  You are incredible!!!)  Nancy was so sweet and sent me away with an armload of awesome sewing goodies — patterns, fabric, notions — I feel so spoiled!

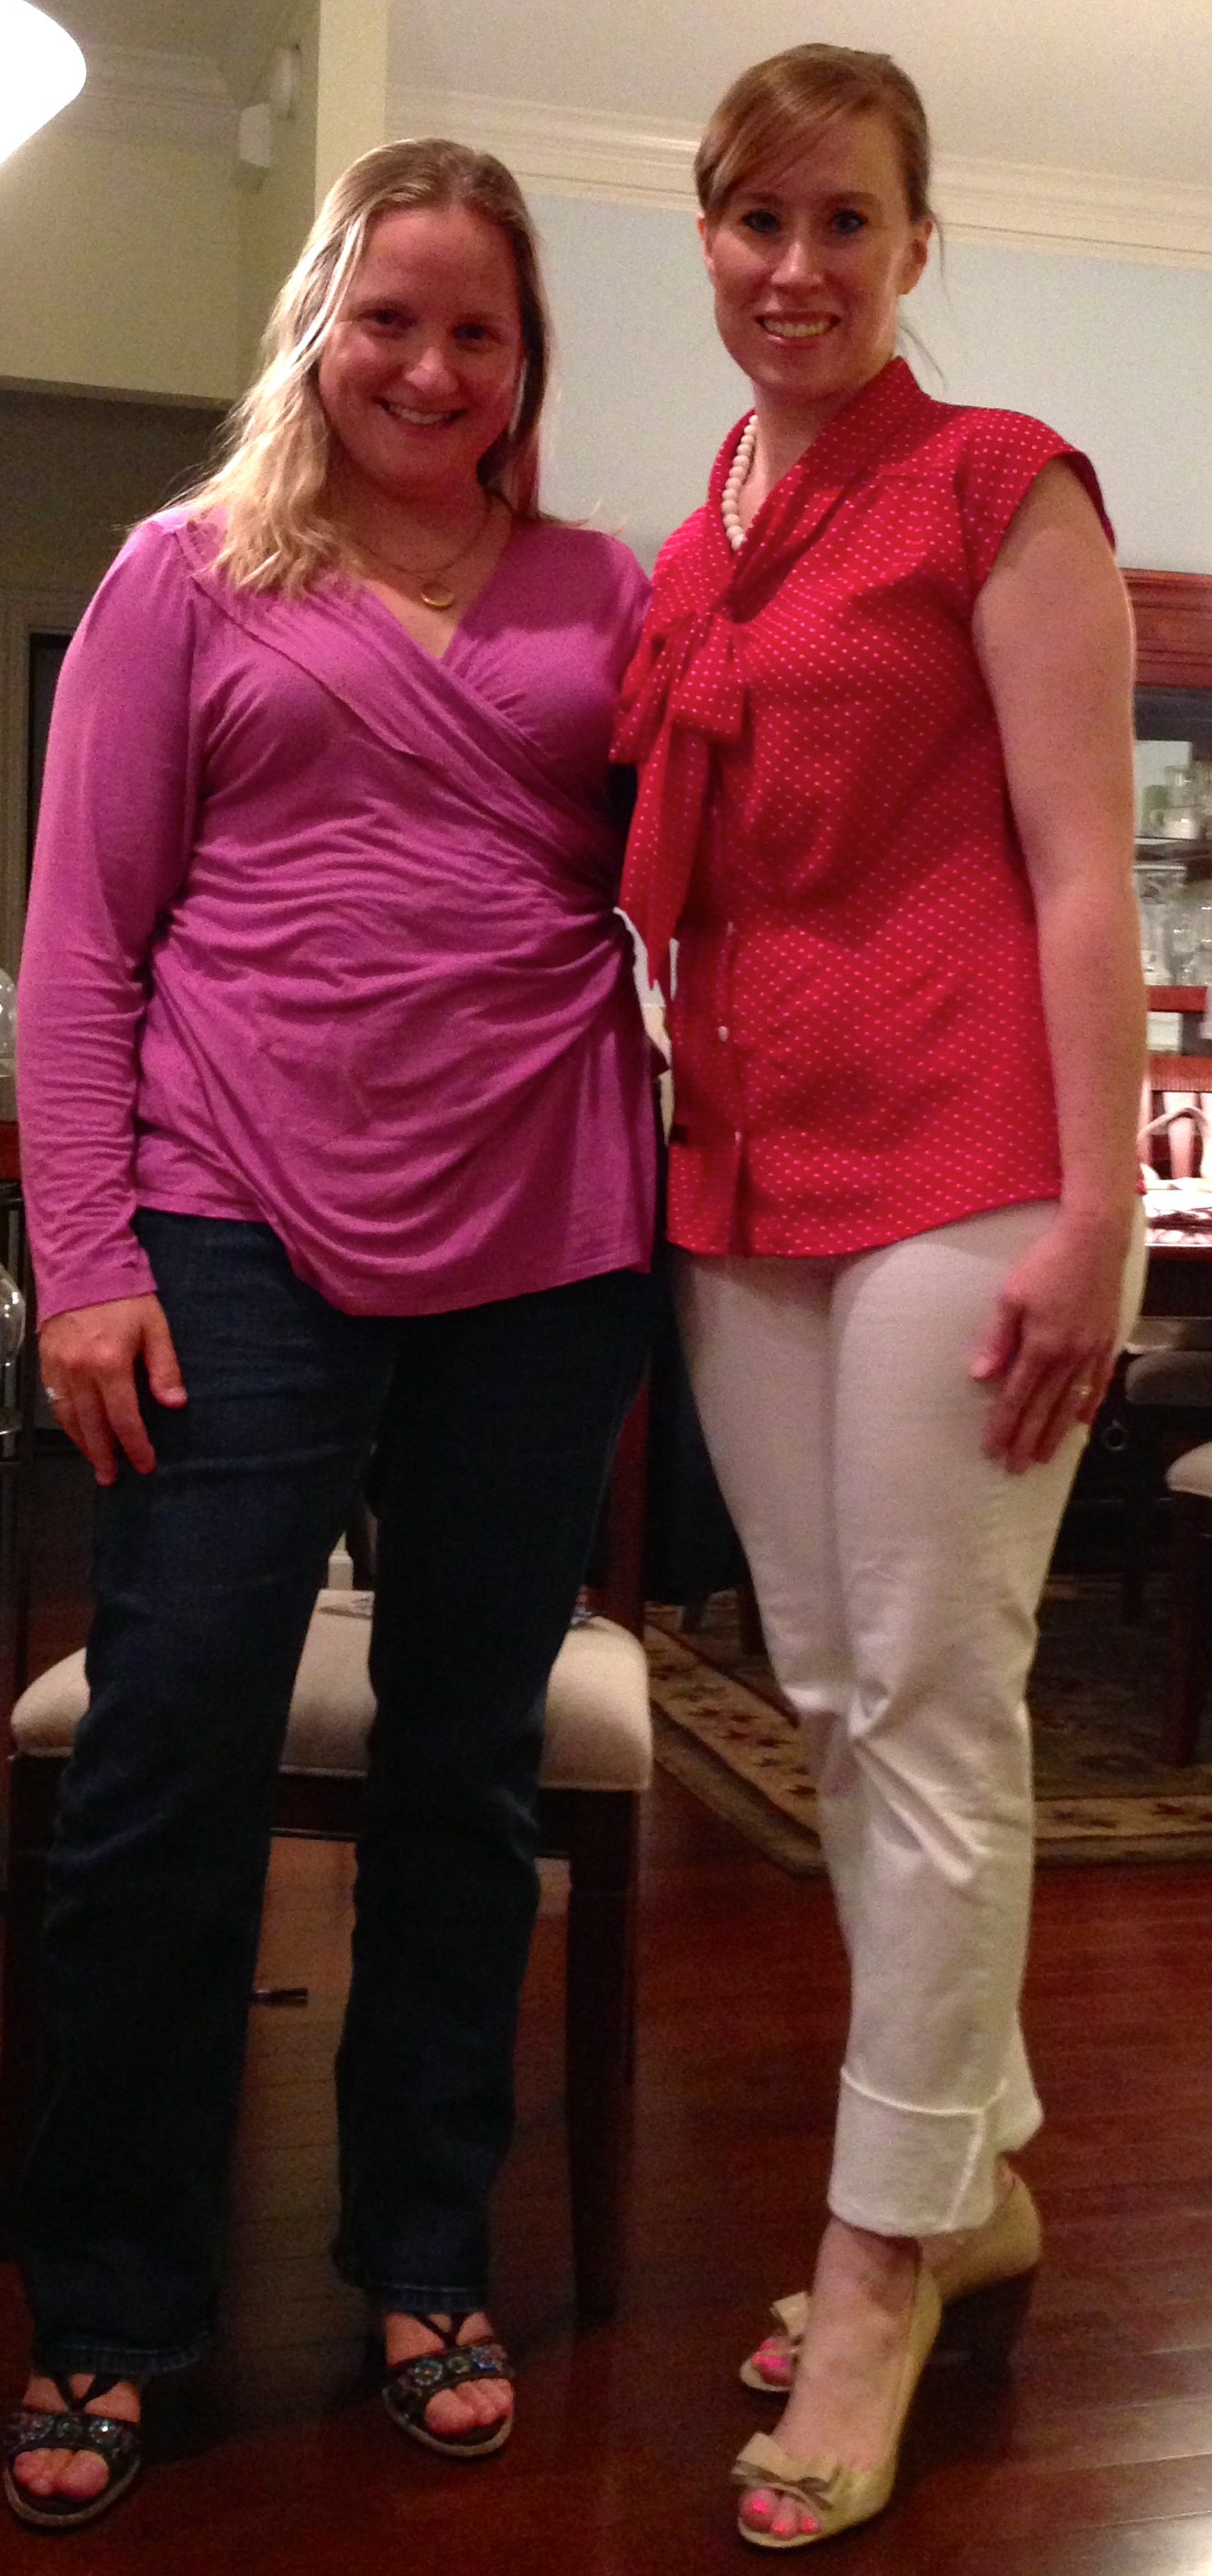
This was also the night of the CAbi party that I hosted for my friend Catherine.  For the party I made peach margaritas, fresh guacamole, and strawberry cupcakes with strawberry swiss buttercream; I picked up a party platter of fajita fixings from a local Mexican restaurant to round out the menu.  Yum!  We had a great time having a girls’ night in. Photographed here with Jennifer, one of my best friends since first grade.


IMG_1855

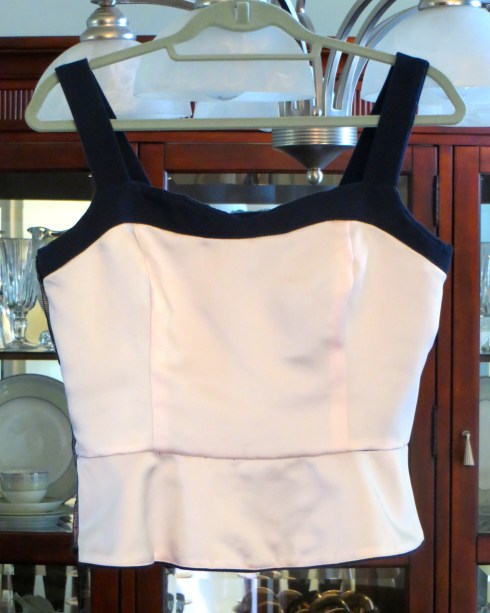
Me Made: Simplicity 2648 as a peplum top
RTW: LOFT denim jacket, vintage (college-era) black maxi skirt, turquoise necklace, Cole Haan purse, Cole Haan black peep toe low heel pumps


May 23 (Thursday) — A full day at the office at usual but in the evening my 5-year-old niece graduated from her pre-K school.  I cannot believe she will be a kindergartener next year!  The black skirt you see me wearing here is at least 12 years old.  I bought it when I was in college and have hung on to it since, knowing that it would come back in style again.  Unfortunately the elastic in the waistband has dried out so I will have to replace it before I can wear it again or I will risk wardrobe malfunction. I am posing here with the niece of honor and my mom.


IMG_1859

Me Made: Unblogged Jalie 2921 scarf neck tee with ties wrapped to back (so glad I figured this out!)
RTW: Cookie Johnson white straight leg jeans, Etsy necklace, nude Nine West low heel pumps


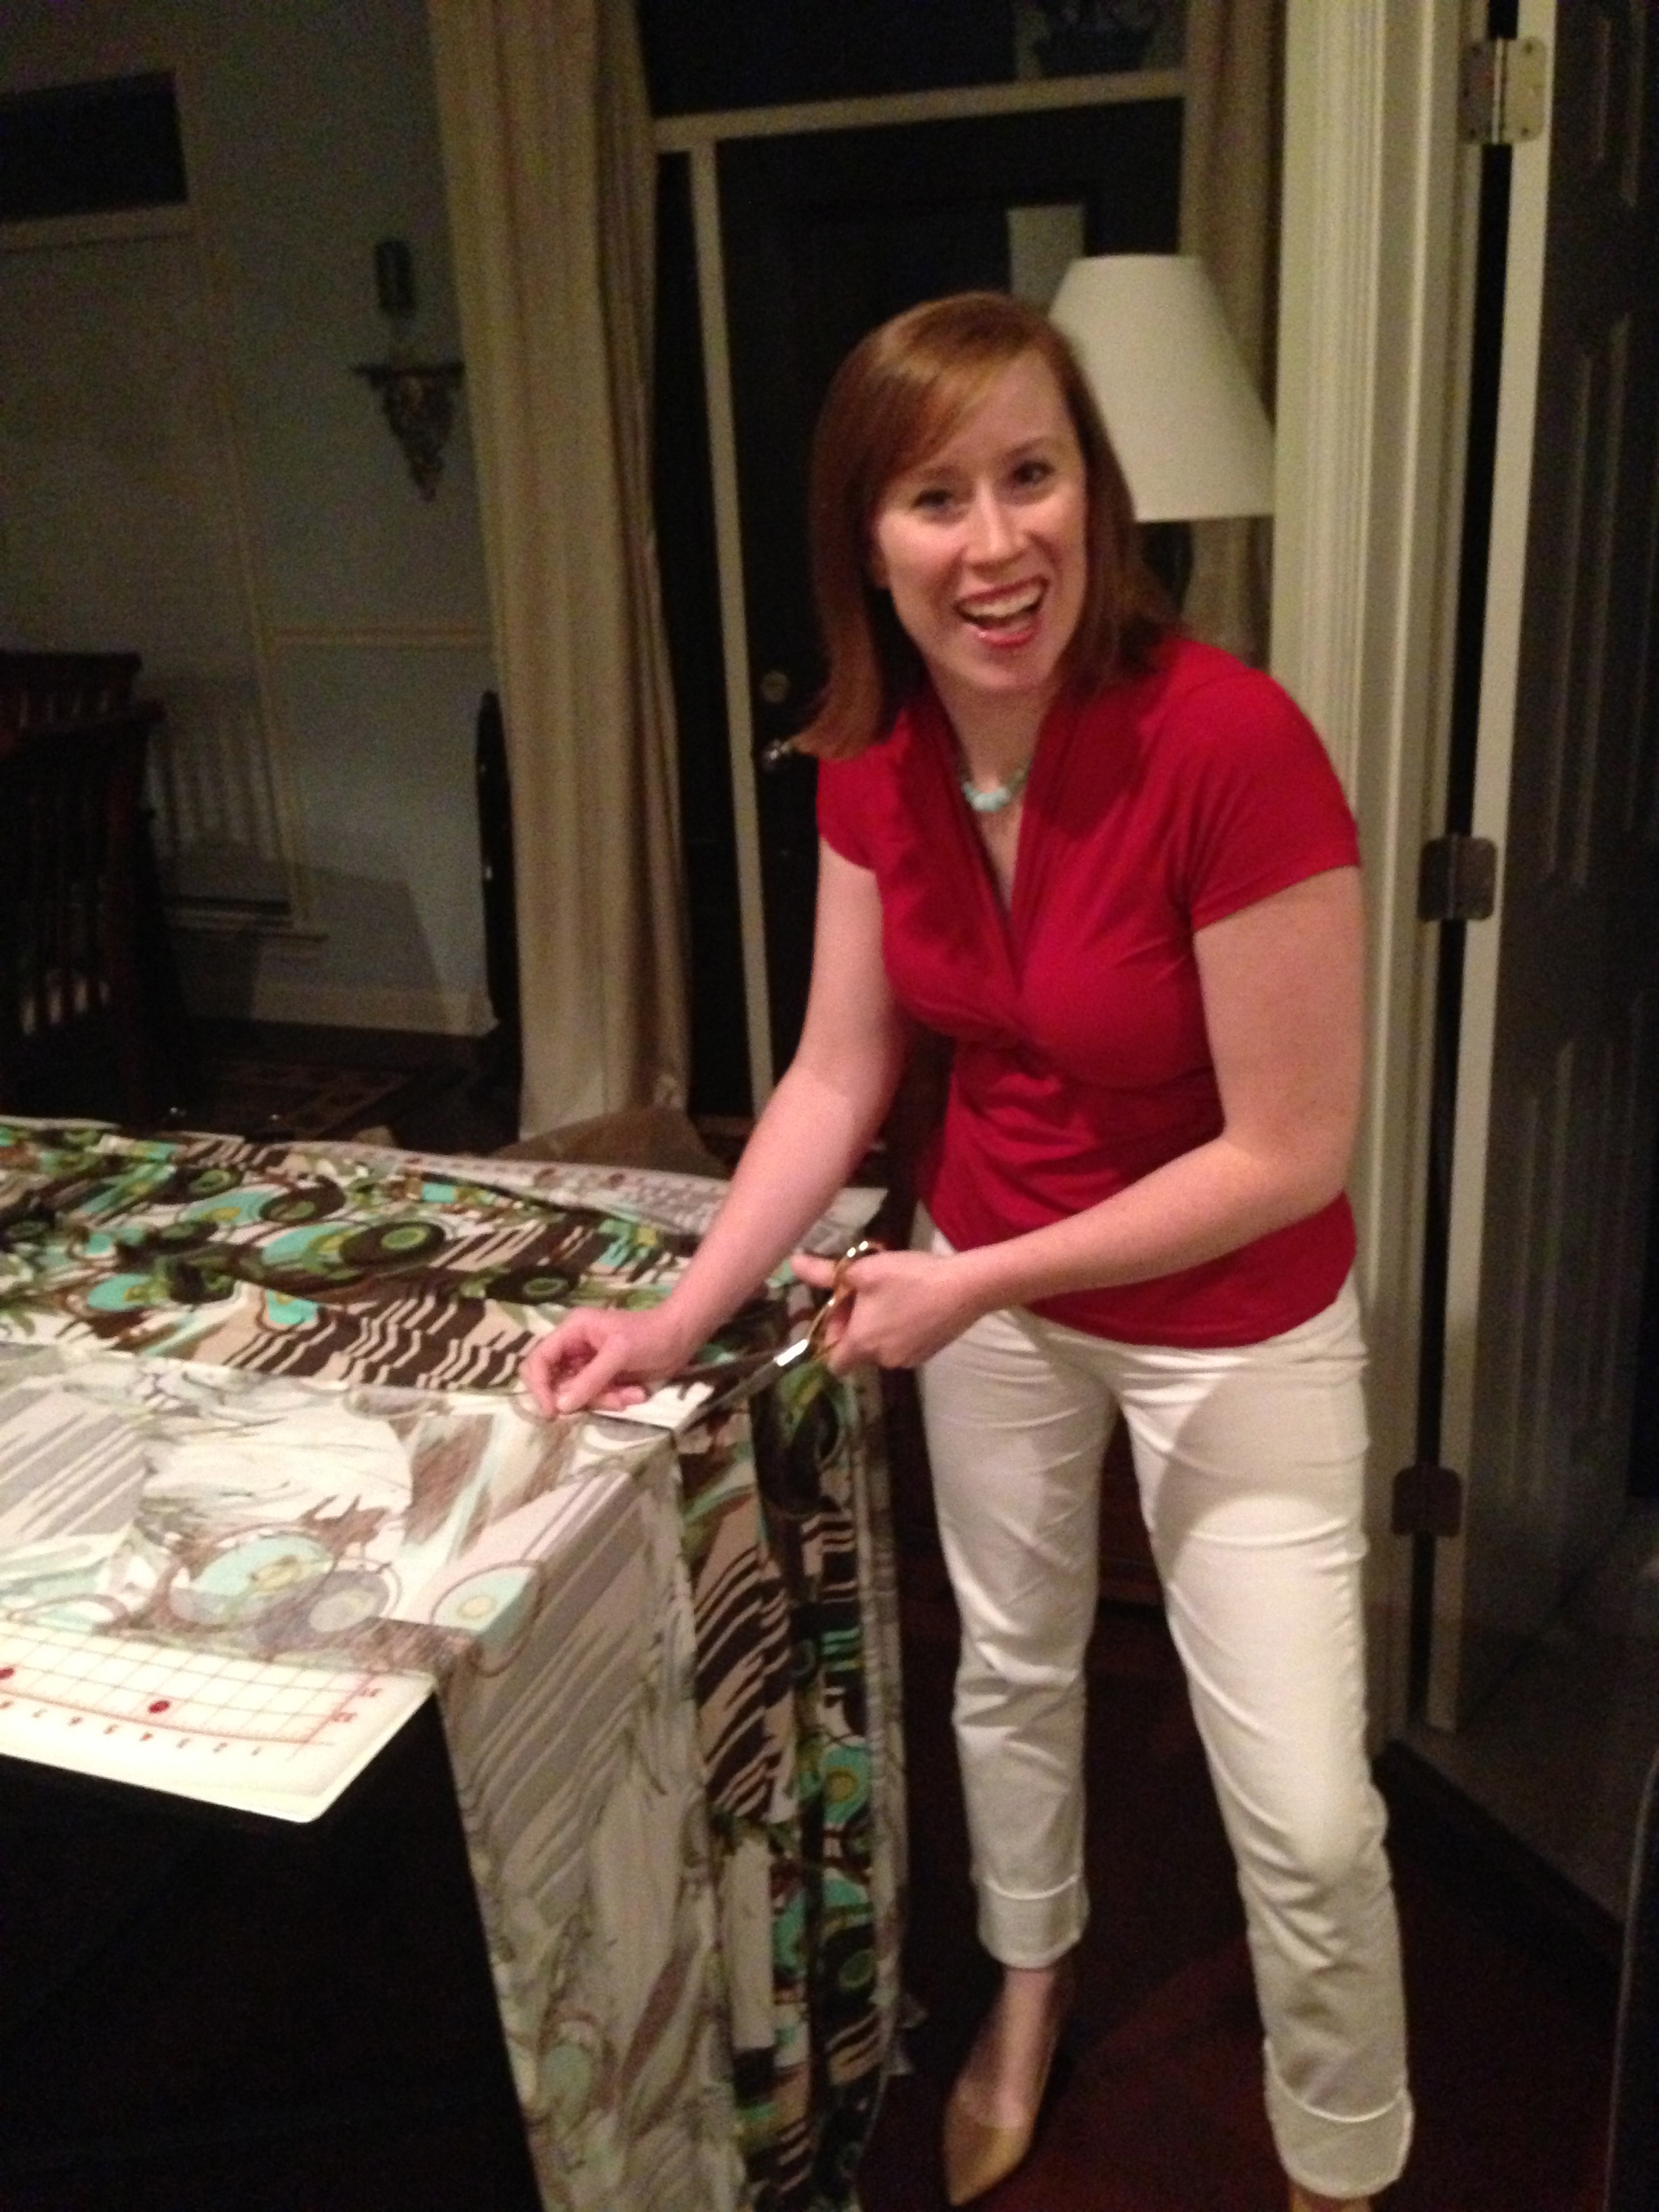
May 24 (Friday) — TGIF and I’m not on call!  Plus this is the weekend I get to spend sewing nonstop at the Sandra Betzina workshop at All About Sewing.  In this photo I am working on McCall’s 6559 which you will see more of later in the week.


IMG_1647

Me Made: Simplicity 1664 top (will blog soon!) and McCall’s 6654 skirt
RTW: Silpada necklace and Cole Haan tan peep toe heels


May 25 (Saturday) — The Sandra Betzina trunk show took place this day.  She went through the samples of all her patterns and discussed different techniques for altering and modifying each pattern.  Although most of Sandra’s patterns don’t appeal to me right off the cover (I don’t think I am in her age demographic), changing fabric and/or features can definitely make them more attractive (see my project from last year’s workshop here).  After the trunk show, we each sat down with Sandra and our chosen pattern (Vogue 1291 for me) to select our size and make any fitting adjustments to our flat pattern. We then all went home to cut out our fabric.

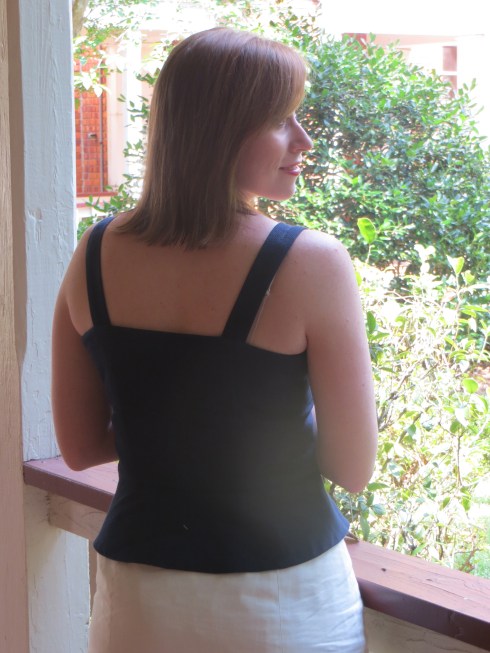
Except a few of us didn’t go straight home — my sewing bestie, Dianne (far left), invited Sandra, me and Joni (far right) over for dinner at her beautiful new home, spouses included.  I was asked to bring a cocktail, so I made a double batch of the Strawberry Riesling Slushies that Annie recently featured on her blog (if you couldn’t tell from the empty glasses and pitcher, the drink was a hit — not too sweet but very refreshing!). Mr. Homemaker and I had a wonderful time — our dinner companions were lively and entertaining and our hostess prepared an excellent meal for us to feast on.  Thanks again, Dianne!


IMG_1875

Me Made: Trina Turk knit tank altered to open up an extra buttonhole
RTW: Citizens skinny jeans, red Franco Sarto patent flats

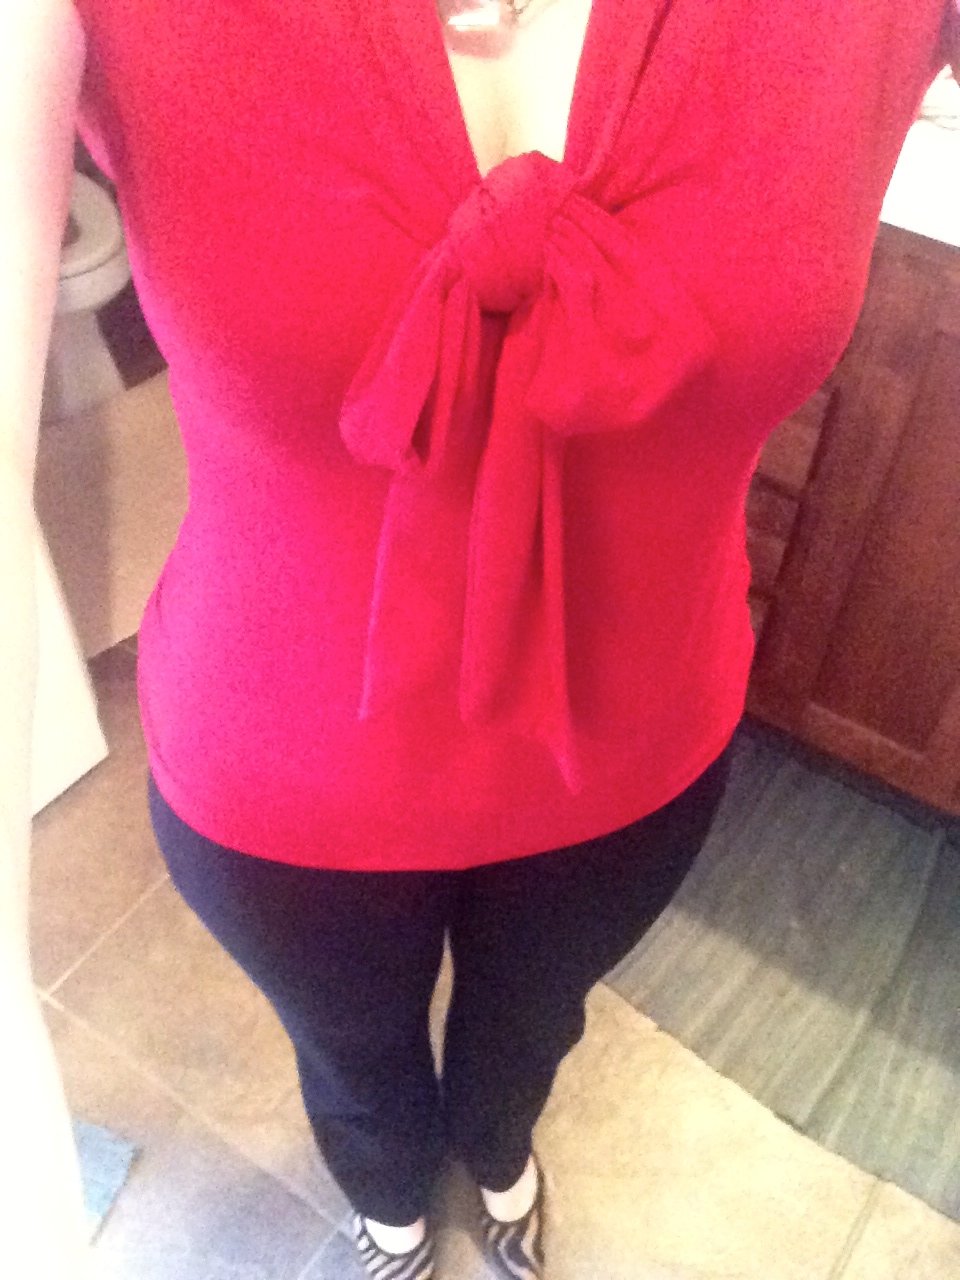
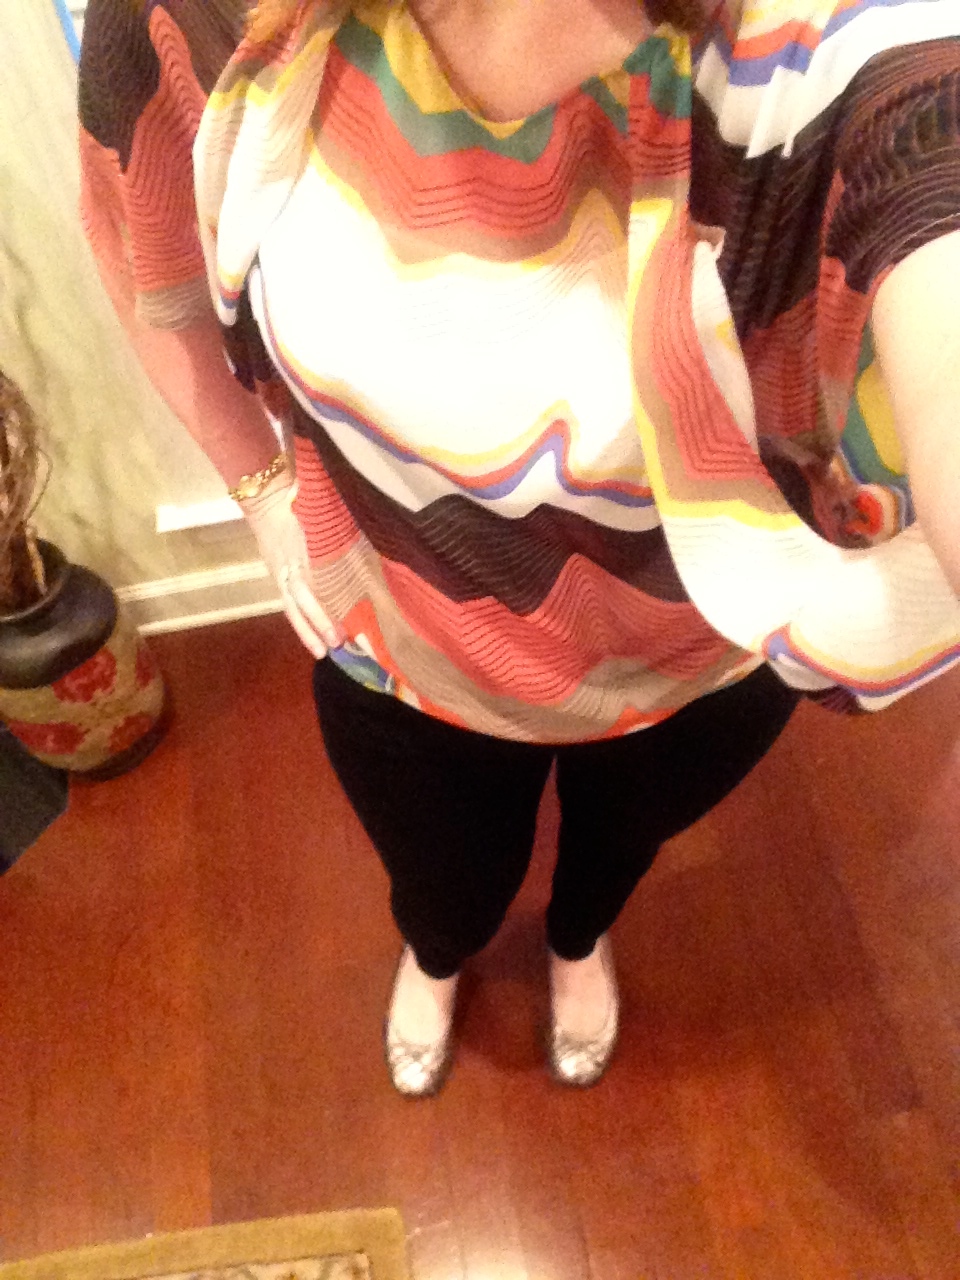
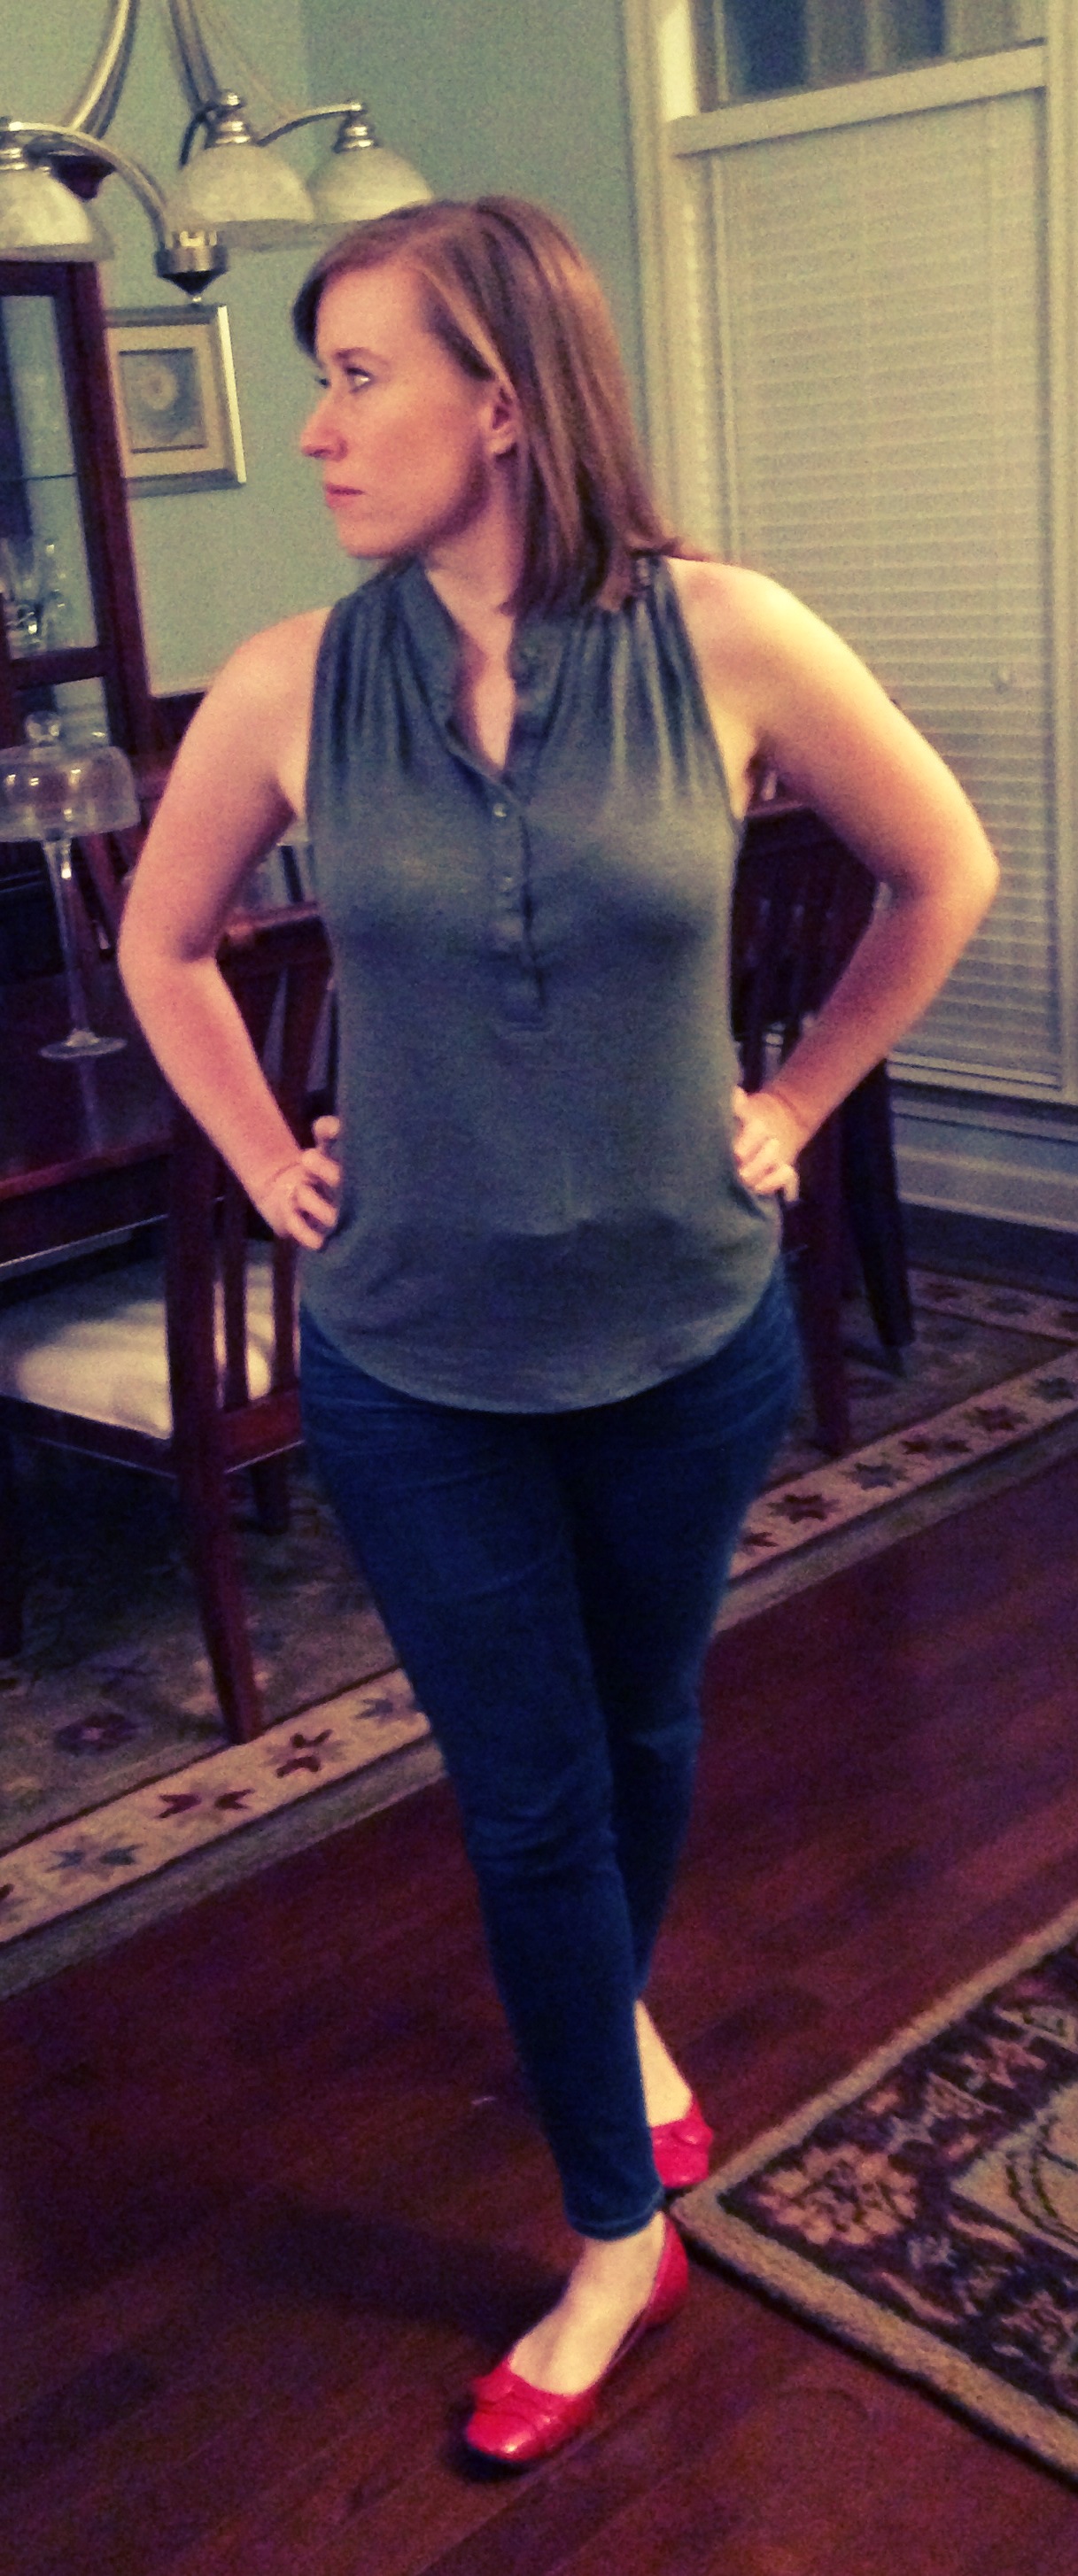
May 26 (Sunday) — Our first full day of sewing with Sandra and my first day to wear something that involved only a minimum of sewing skill on my part.  None of my attire is me-made but this top only had two functioning buttonholes when I bought it.  On a less busty person I don’t think that would have been an issue but for me that made the shirt gape like crazy and revealed more than I liked.  So I got out my handy seam ripper and tore this shirt a new one — a new buttonhole that is 🙂

IMG_1648

Me Made: Golden Renfrew
RTW: Cookie Johnson white straight leg jeans, Kluster red coral necklace, nude patent flats

May 27 (Monday/Memorial Day) — This was our second full day of sewing.  I finished almost all of the construction of my shirt on Sunday so I just had to hem it and stitch down the neck band when I got to the store on Monday morning.  After that I made a few more flat pattern alterations to my knit maxi dress (McCall’s 6559) based on a knee-length muslin and cut out my fashion fabric.  Before we finished up for the day I had my shoulder seams sewn, the neckline finished with my new favorite method, and my side seams sewn.  All I had left was to bind the arm holes and hem it.

This photograph is a group shot of some of the ladies at the workshop.  We all had a great time and got tons of sewing accomplished!  Sandra is a great teacher and I always learn lots from her and the other students who all have more experience than me.  I am already looking forward to when she returns to our area next year.

IMG_1877

Me Made: Vogue 1291 butterfly sleeve top
RTW (not shown): Elie Tahari pencil skirt, Cole Haan coral wedges


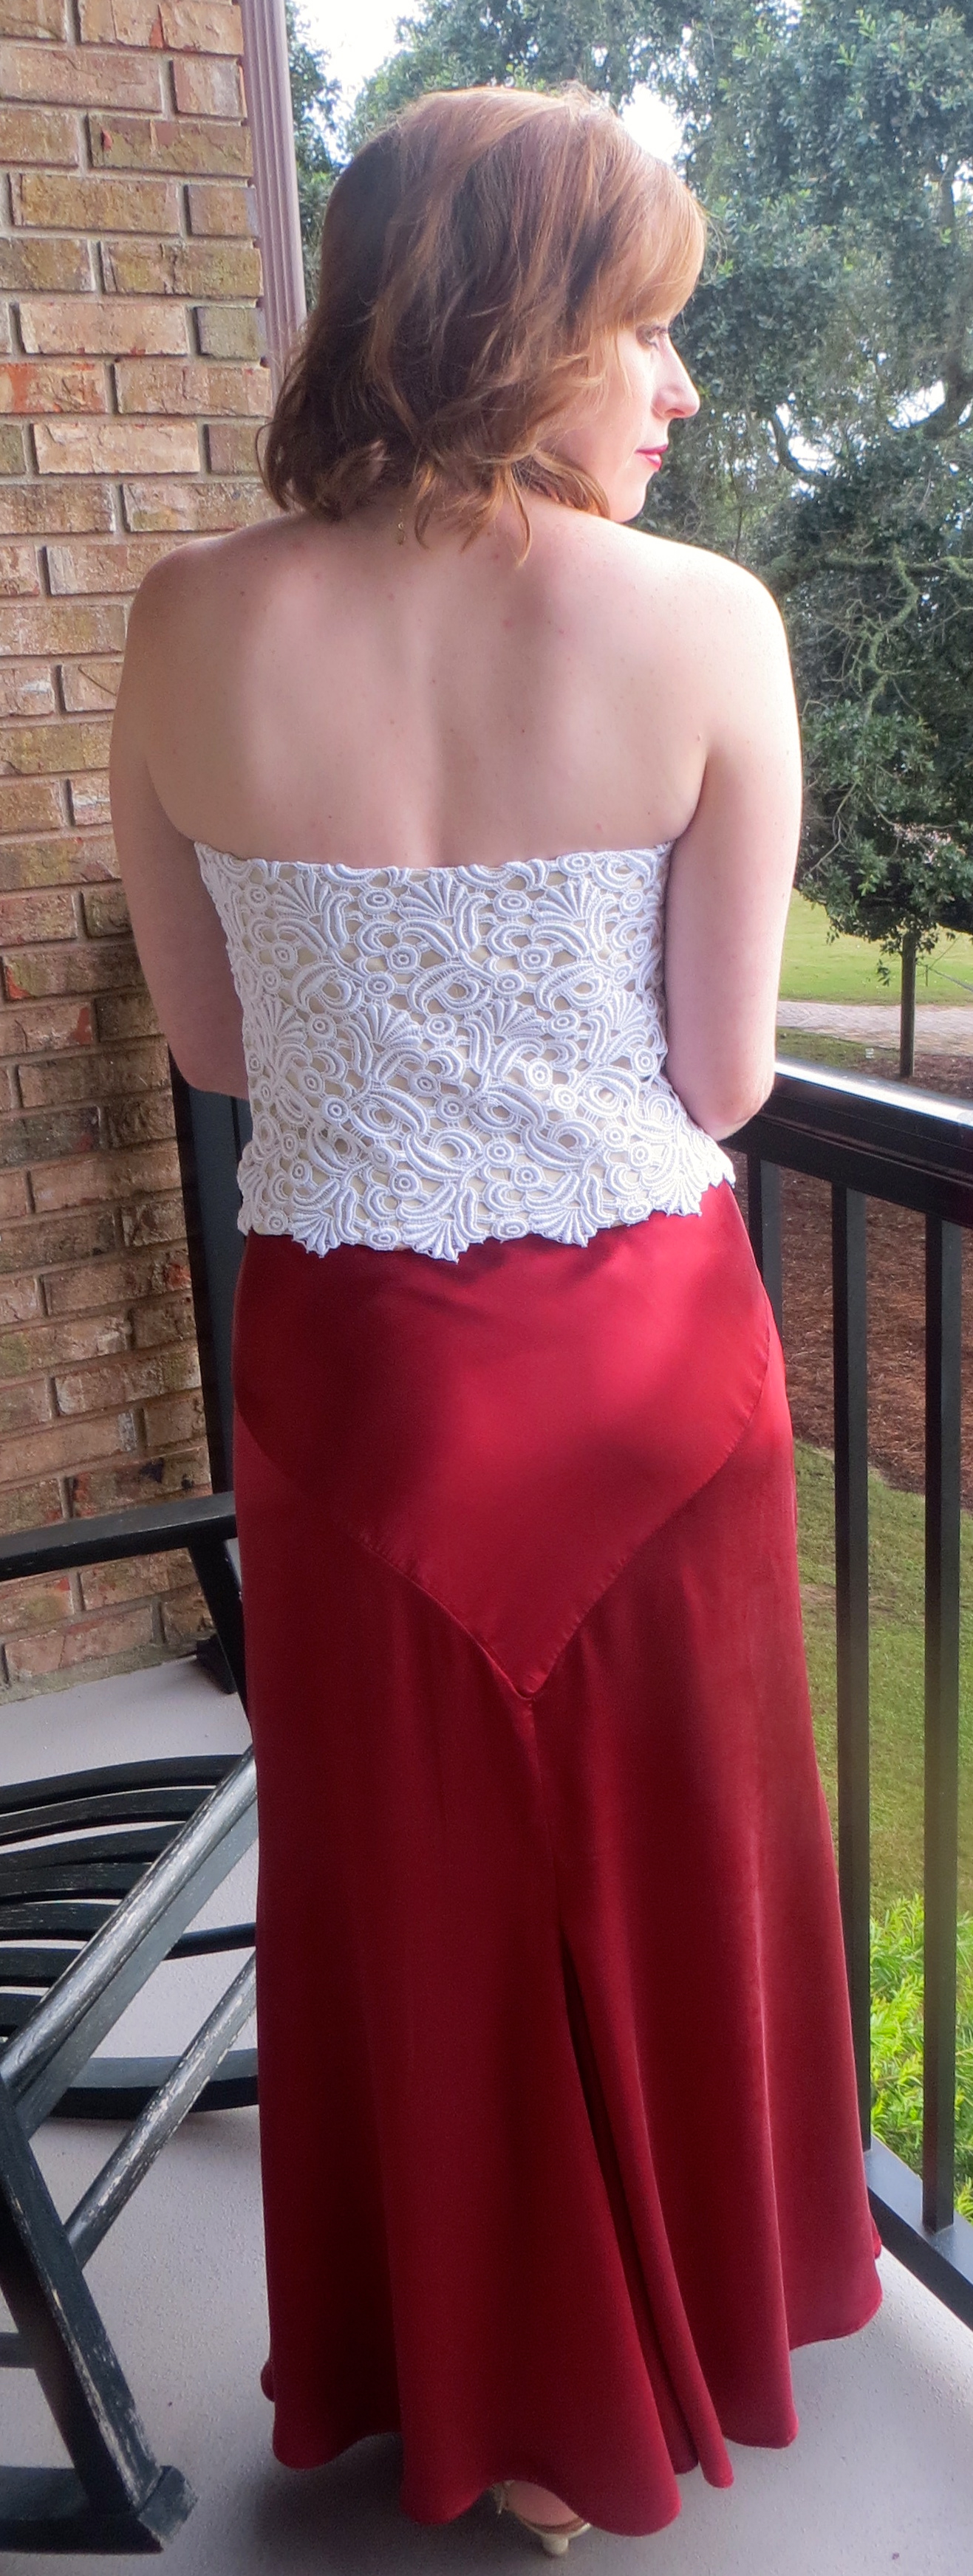
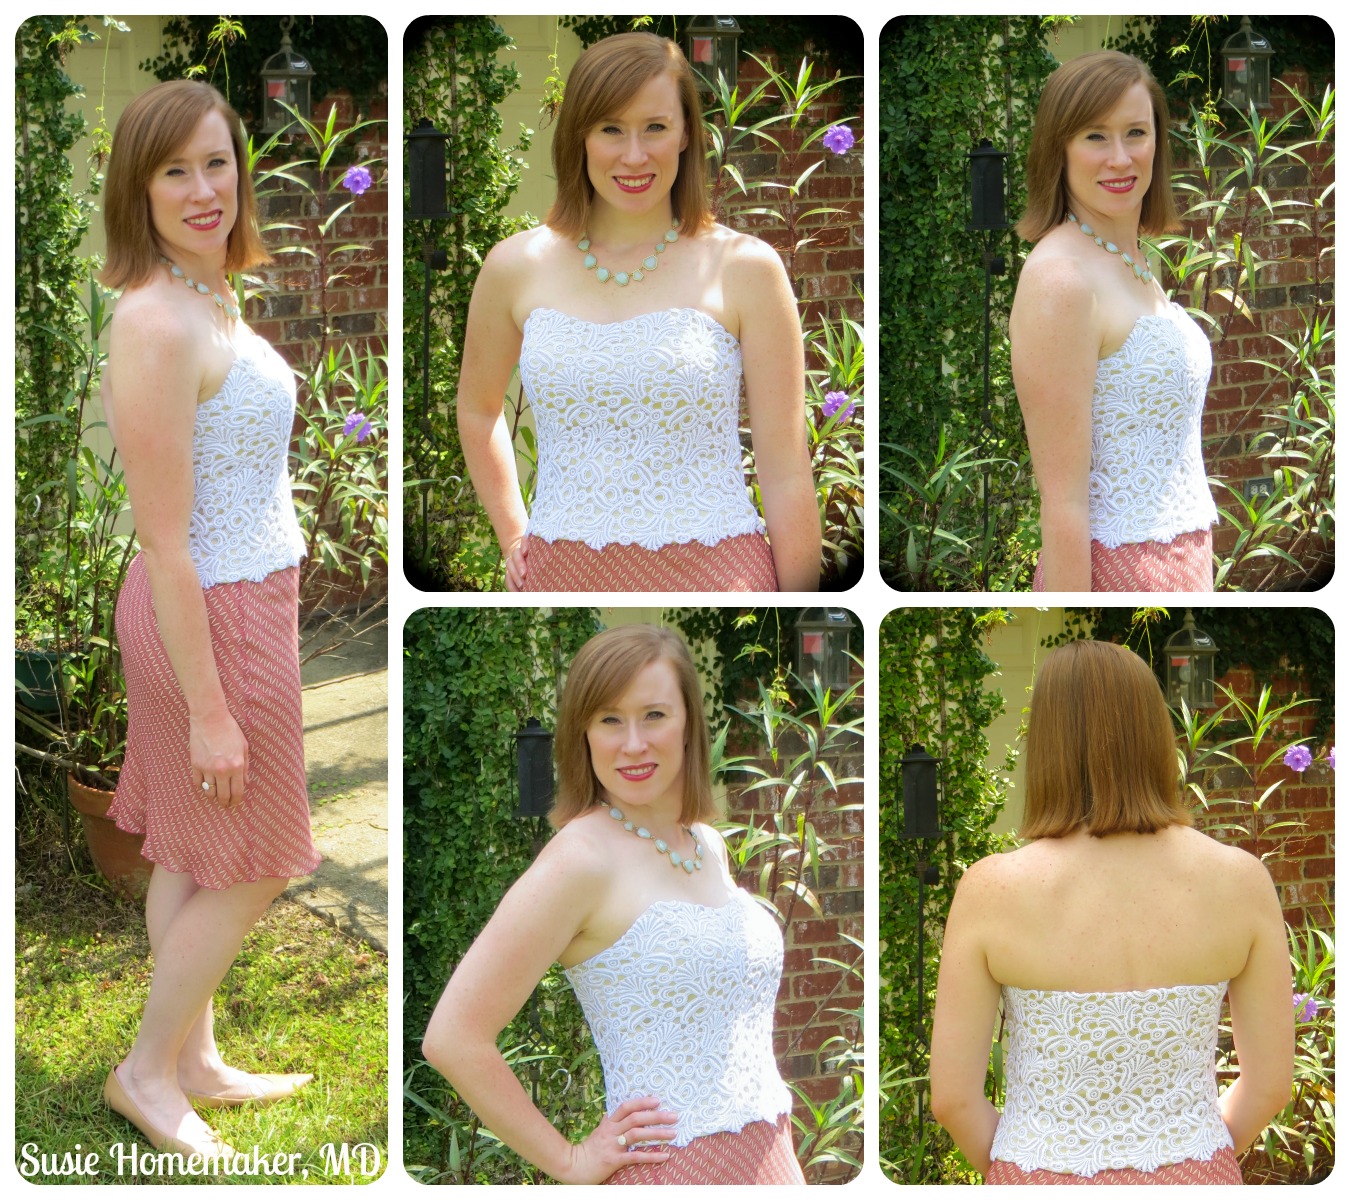
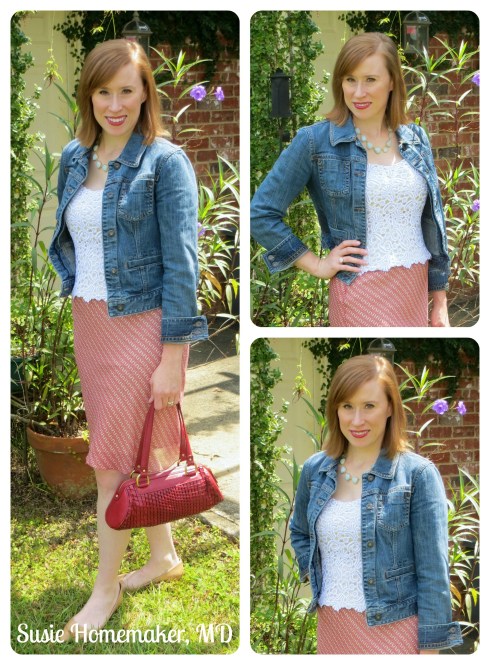
May 28 (Tuesday) — Back to the real world.  Here’s my version of Sandra’s pattern, Vogue 1291.  Although this photo was taken during the workshop when I tried on my completed top (notice the mismatched necklace), I actually wore it to work the next day with a cobalt blue pencil skirt and my coral Cole Haan peep toe wedges but I just couldn’t get a flattering photo that I could bring myself to post for all the world to (potentially) see.  Sorry 😦


IMG_1912

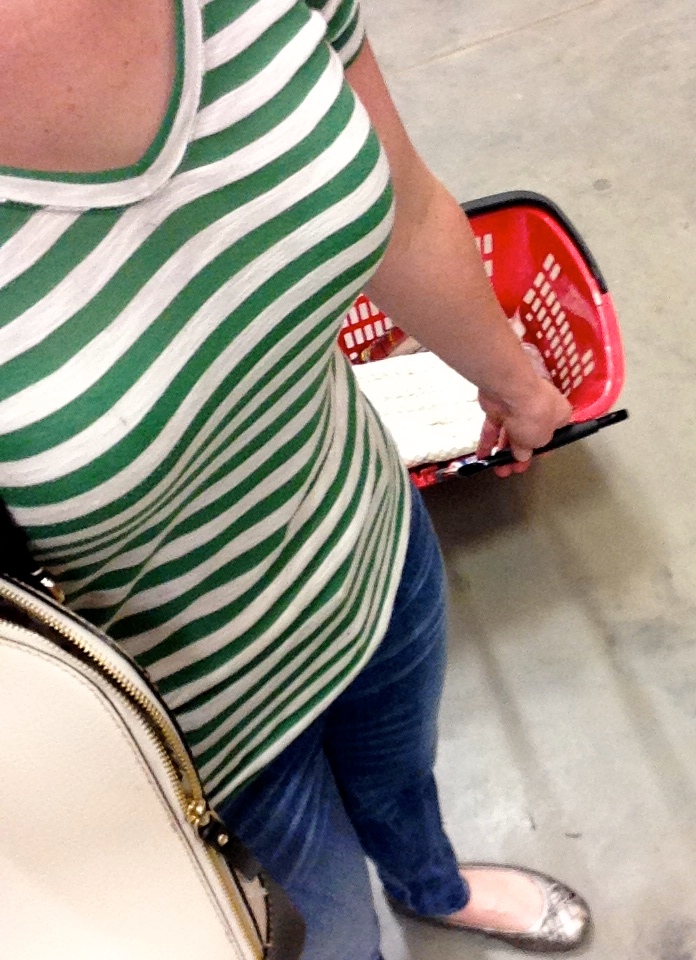
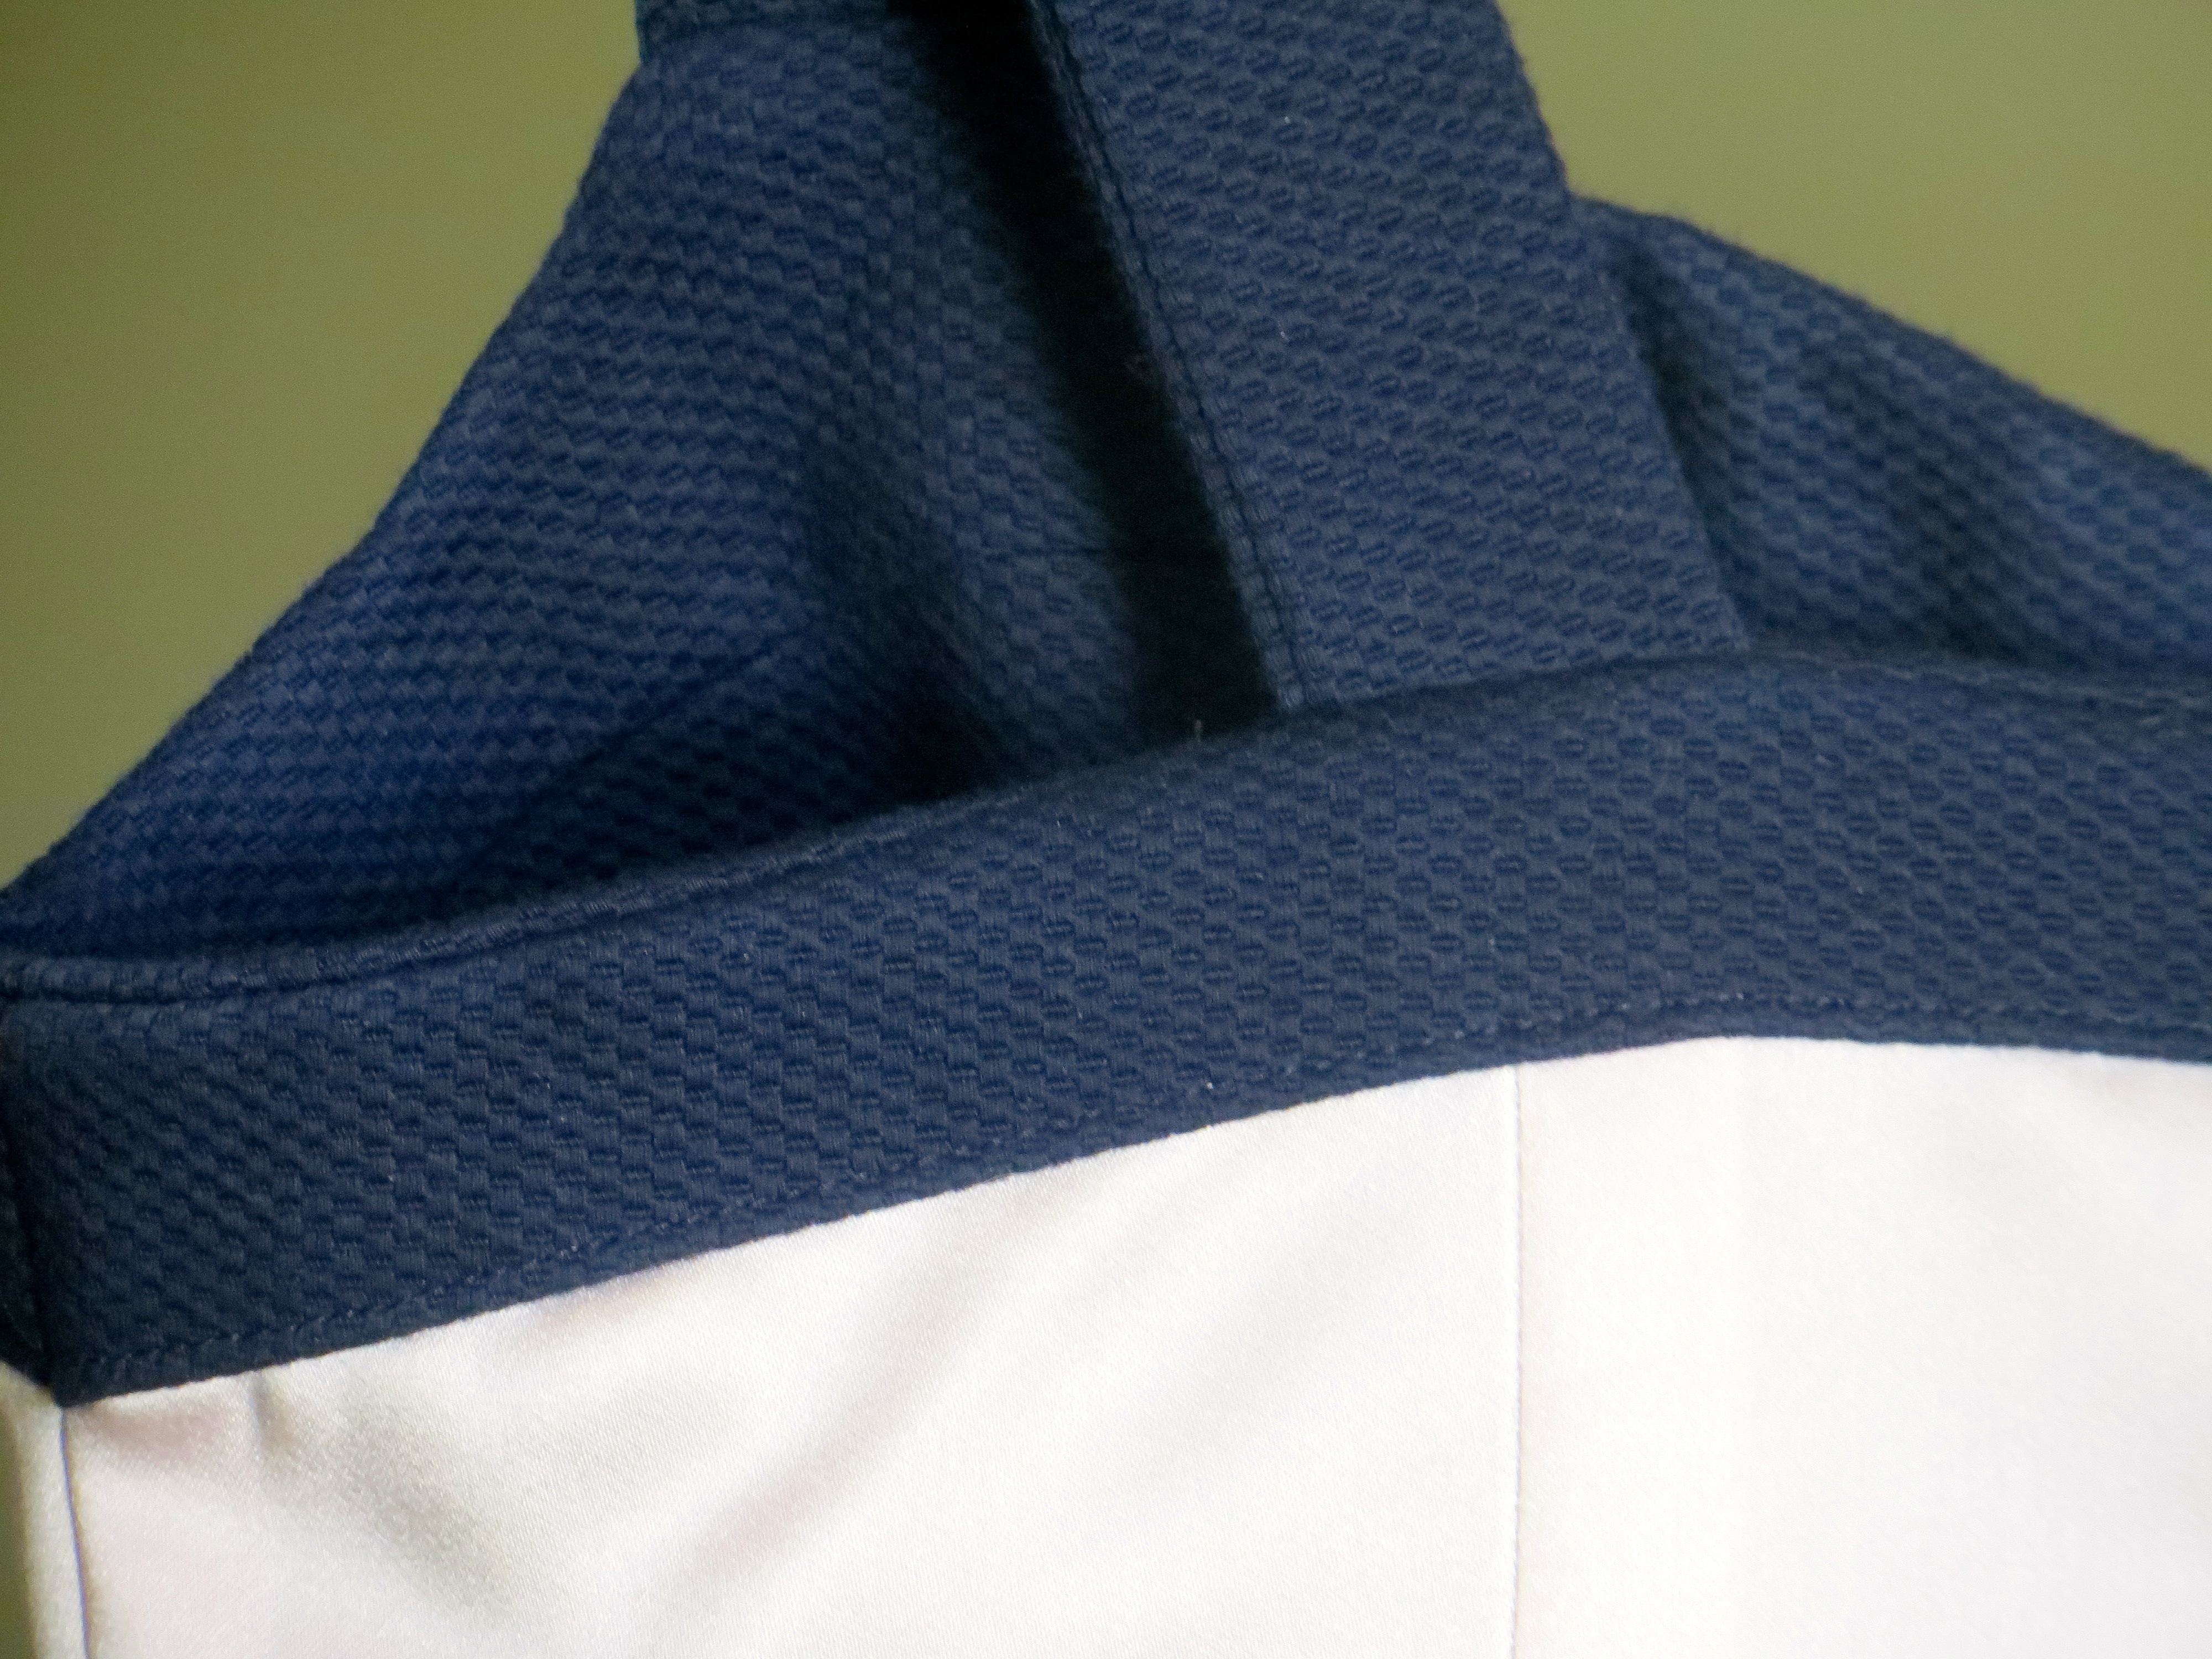
Me Made: Sewaholic Cambie as a peplum blouse
RTW: Cookie Johnson denim capris, Tessyla necklace, Cole Haan wedges


May 29 (Wednesday) — My day off but this was a pretty busy one with running errands.  I started out with stopping by the hospital to check on my grandfather after he had surgery (he did great), then I had a dentist appointment, dermatologist appointment, grabbed a quick lunch, packed up some of my sewing stuff, headed to a friend’s house for a sewing playdate for a few hours working on tracing off and making flat pattern adjustments to the Colette Chantilly pattern, ran to the grocery store, then came home and cooked dinner for my husband.  I actually scored a “This is one of the best things you’ve ever cooked” from Mr. Homemaker so the recipe will be making an appearance here in the future.  Be on the lookout.


IMG_1934

Me Made: Simplicity 2599 ruffle blouse, Sewaholic Hollyburn skirt
RTW: Tessyla necklace, old belt, Via Spiga blue suede pumps


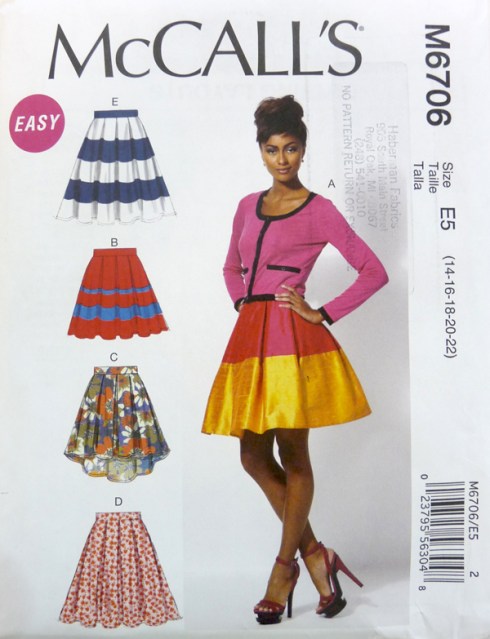
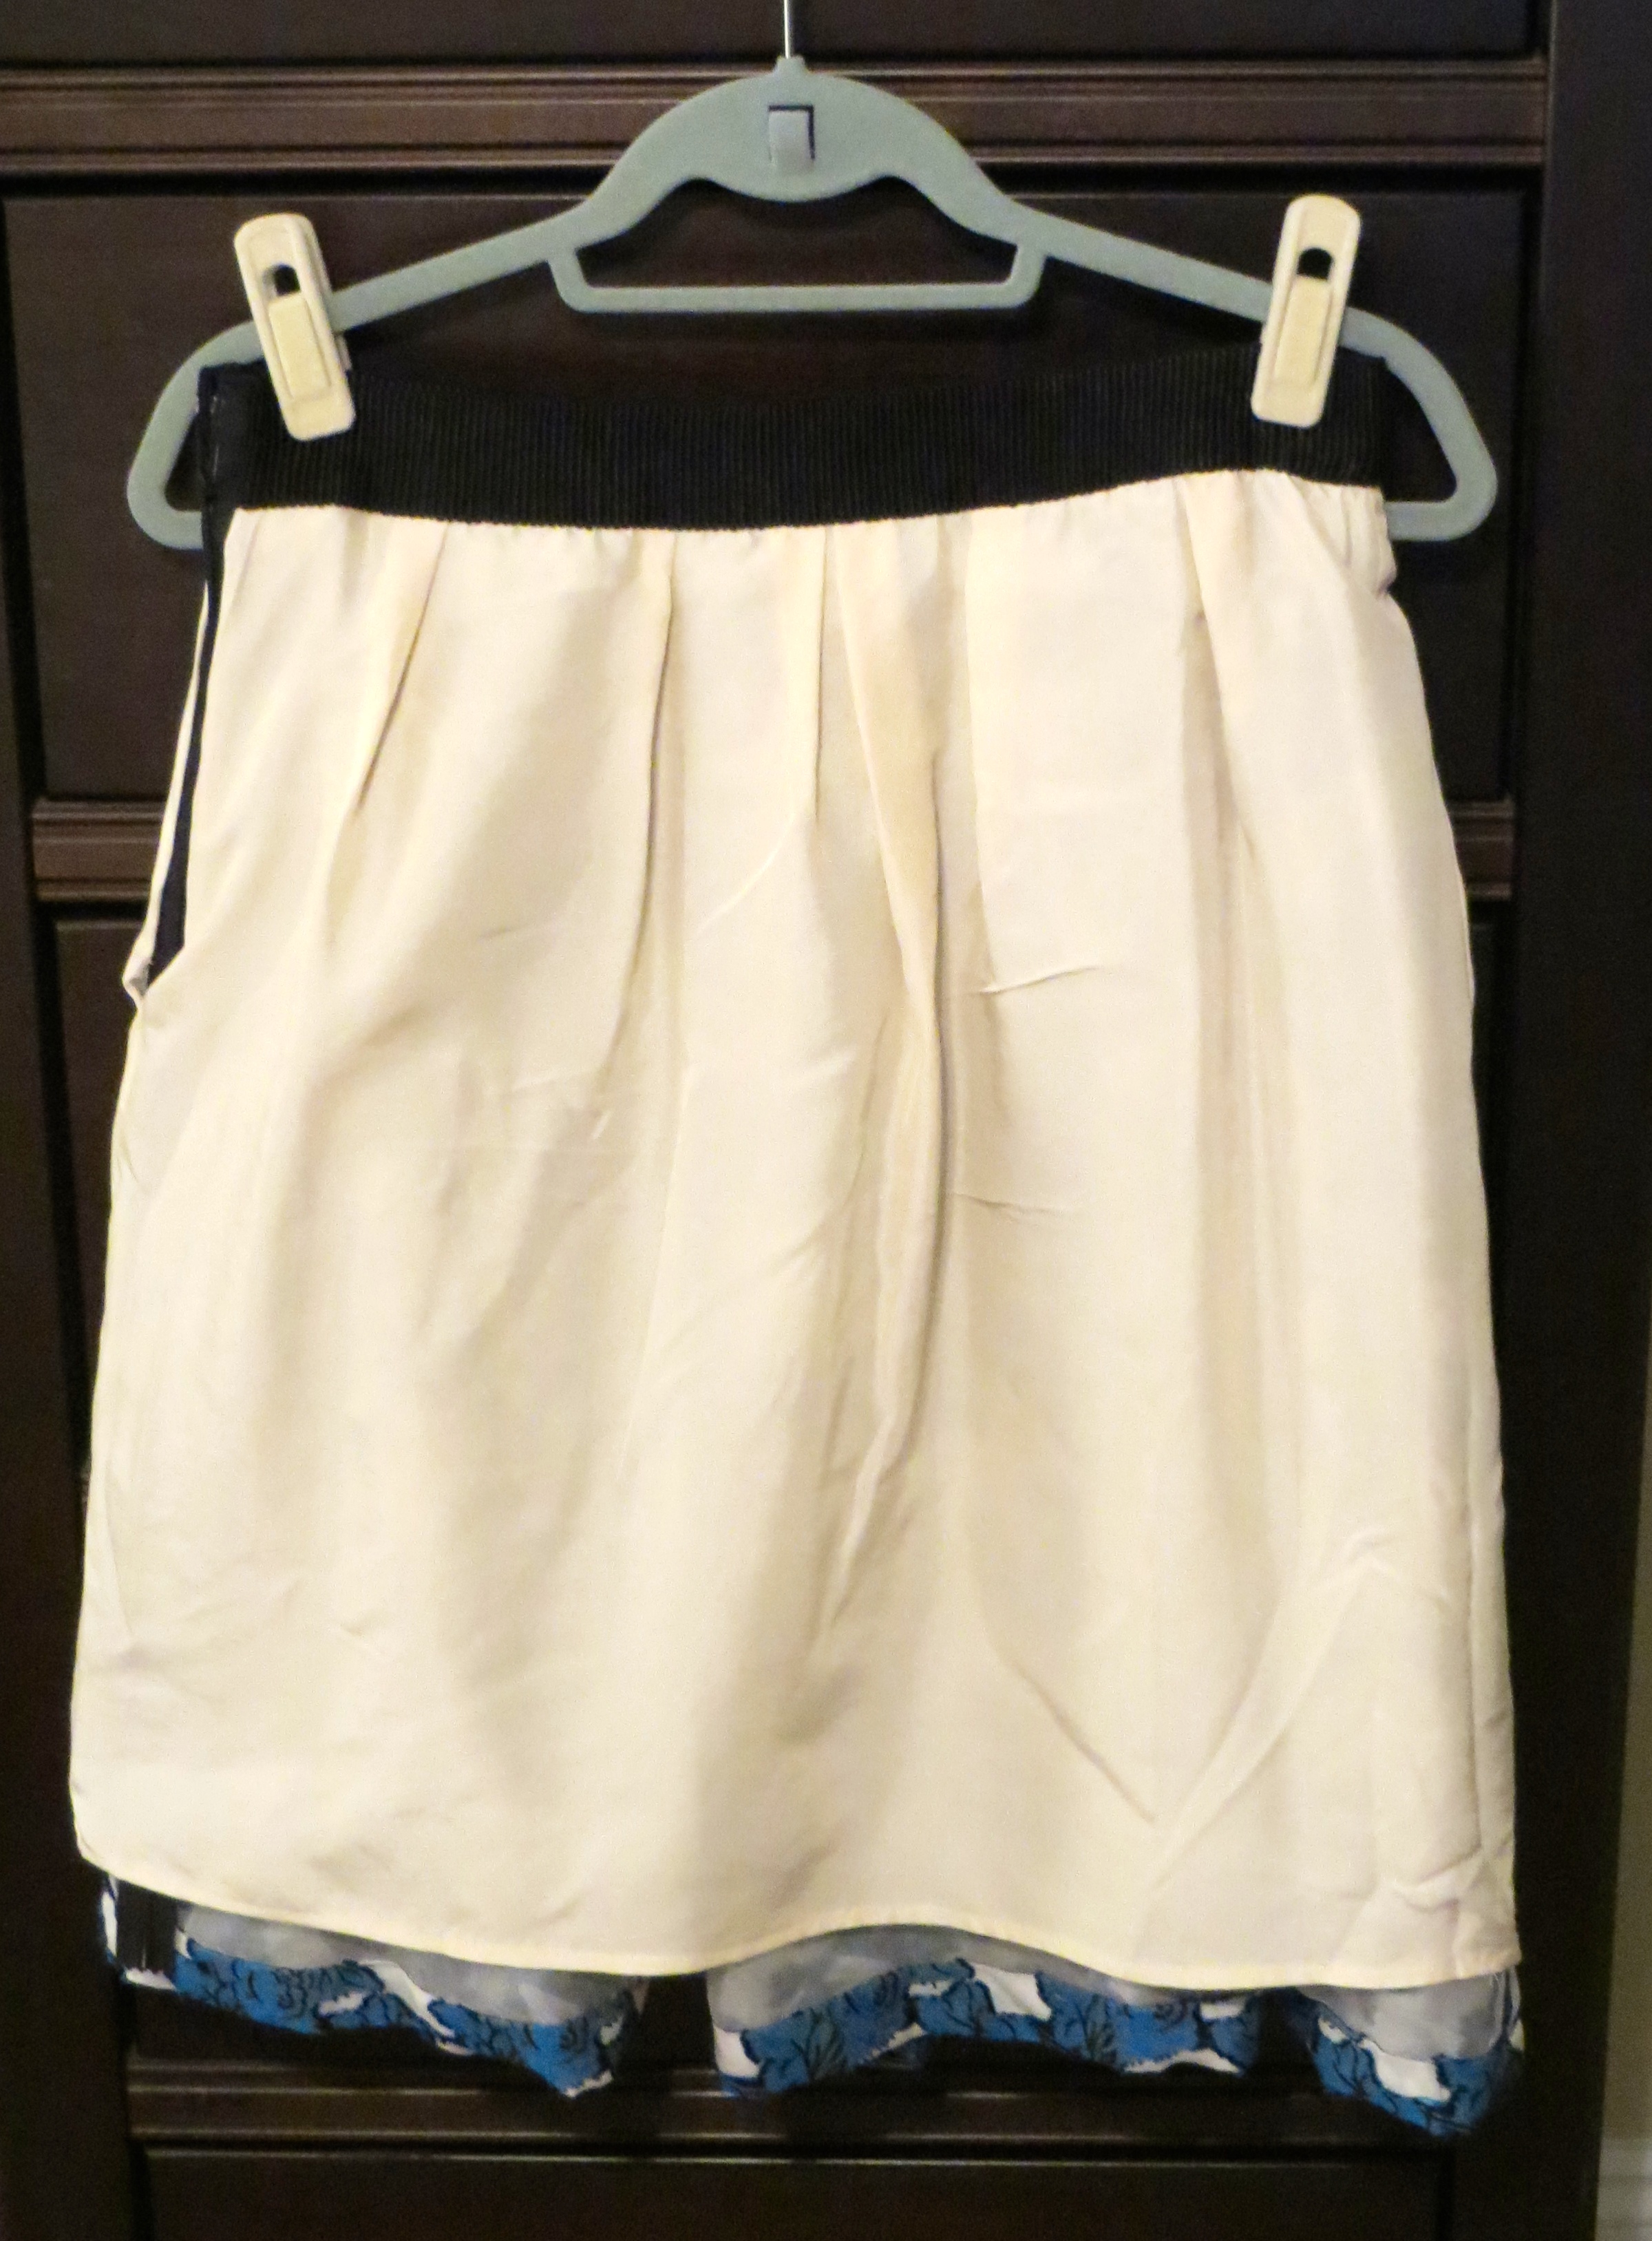
May 30 (Thursday) — Back to the office.  Two me-made pieces this day.  I added a belt over the Hollyburn skirt and I really like the look.


IMG_1947

Me Made: McCall’s 6559 maxi dress in a drapey knit from Elliott Berman (from my NYC trip)
RTW: Old belt

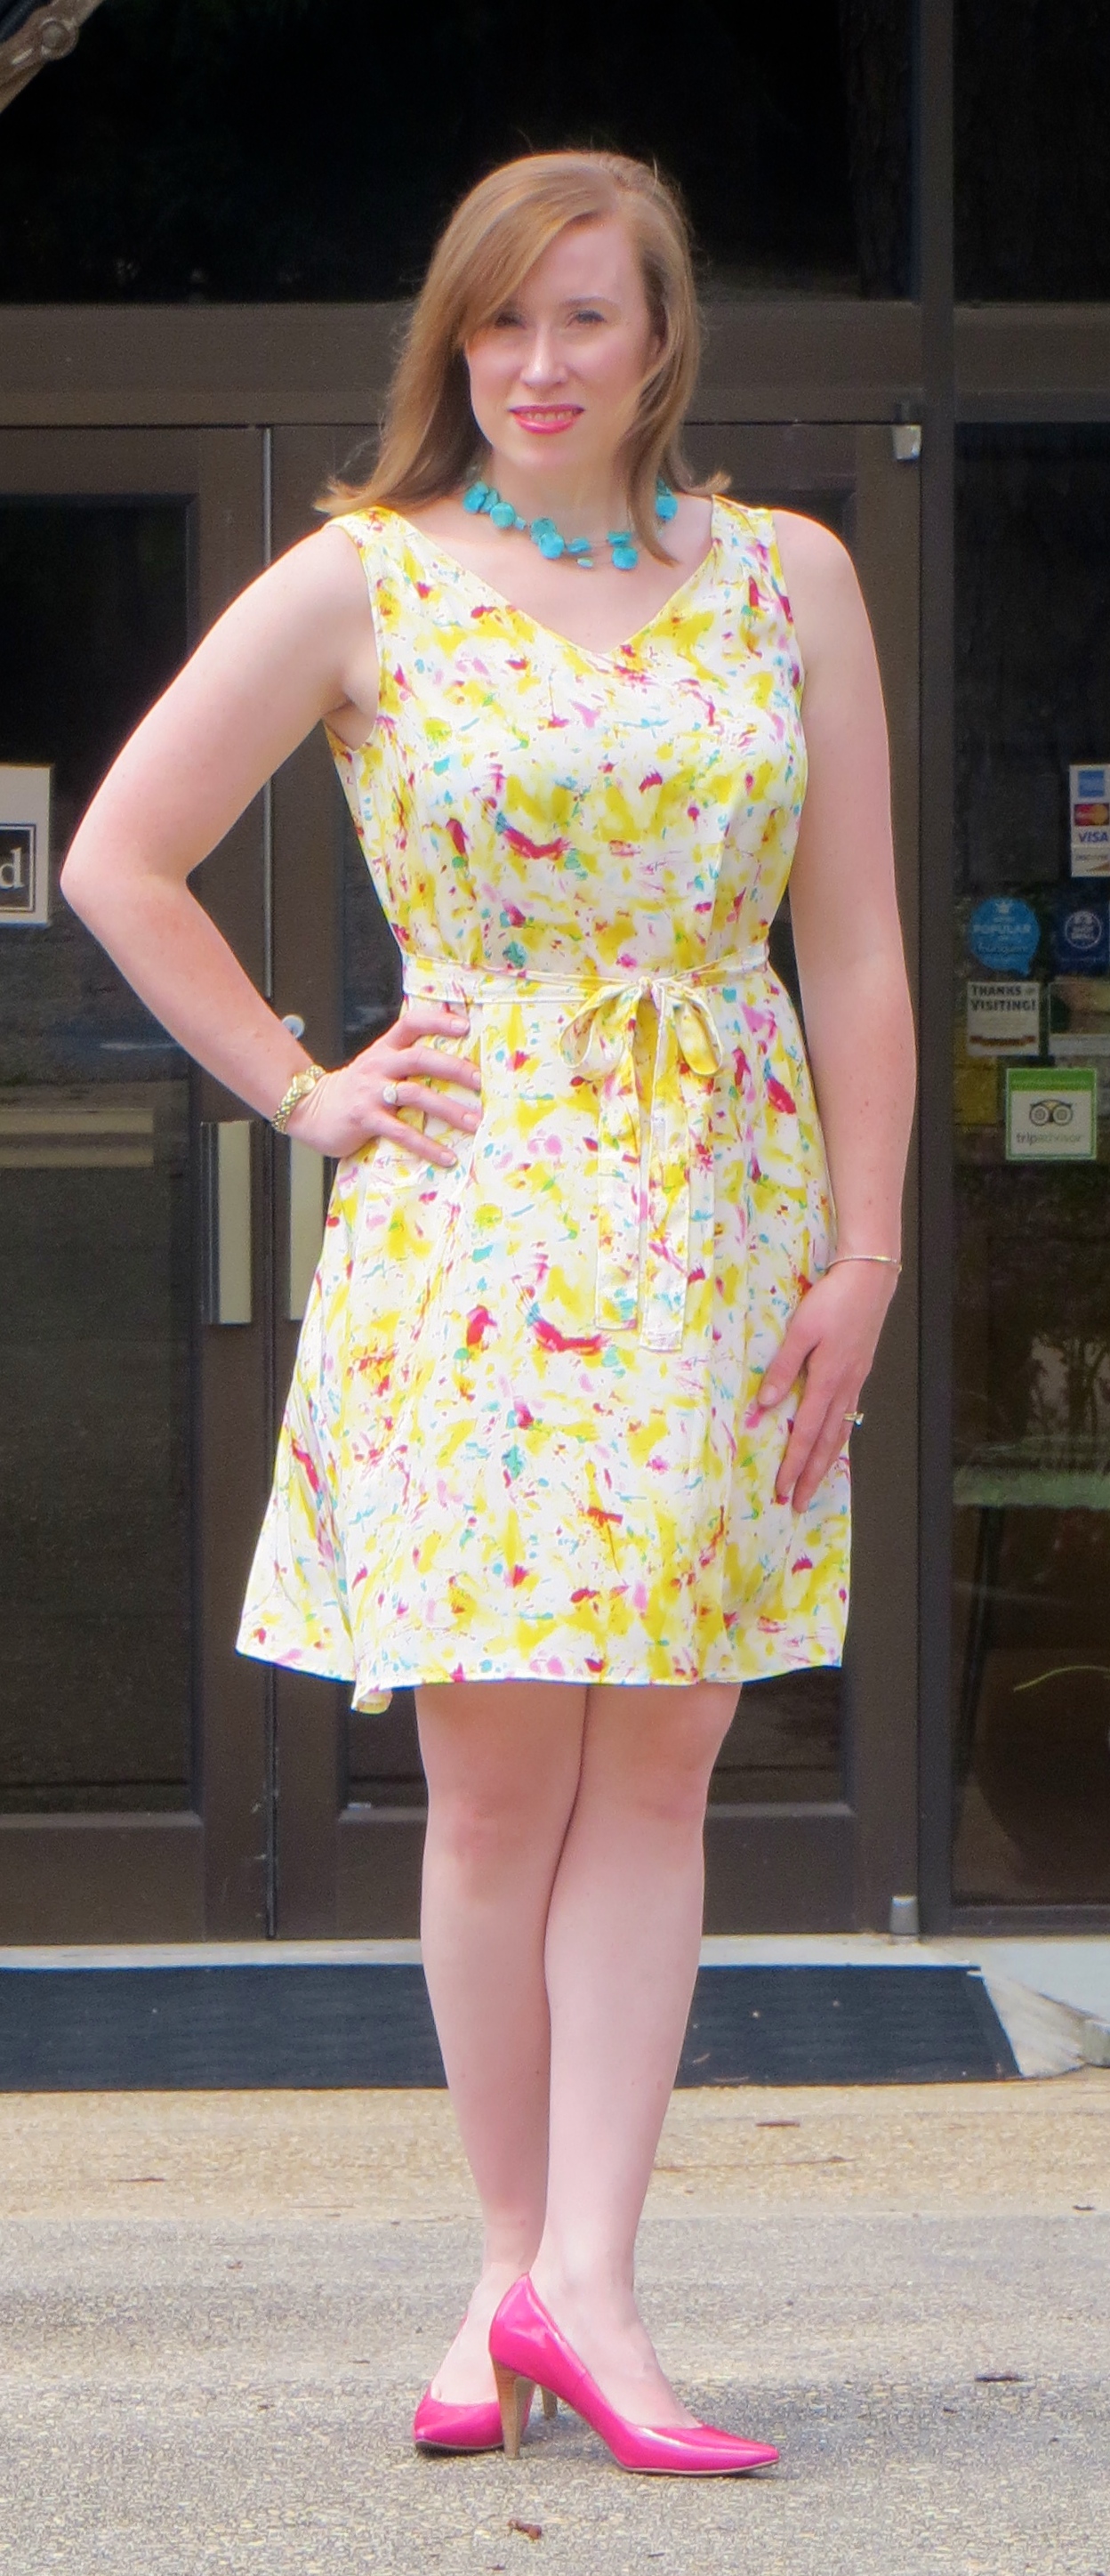
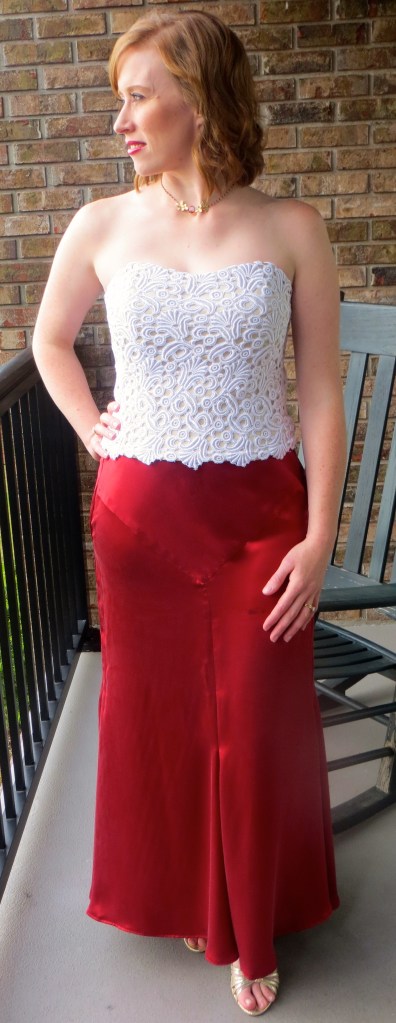
May 31 (Friday) — Yay!  I made it!! This is my most recently finished project — I started it during the Sandra Betzina workshop and finished it up the Thursday evening after so I could wear it before the month ran out. I will dedicate an entire post to this pattern, but can I just tell you that I LOVE it!  It is so easy and once you figure out your fitting tweaks and the sizing, it is such a flattering and comfy dress. I am going to make up more versions in both the long and short varieties.

And can I just apologize for the awful photo? After 30 days of remembering to take daily outfit photos, I hopped into bed last night and remembered I hadn’t taken my photo for the day.  Well, I wasn’t going to mess up on the last day of the challenge so I jumped out of bed, threw my dress and belt back on and tossed my iPhone to my husband and made him snap some photos of me in my bare face and bare feet. While I was at work, I paired the dress with my denim jacket and some white leather d’Orsay pumps.  After work, I nixed the jacket and changed into some white flip-flops for a casual business dinner.  I also paired the dress with a multistranded Silpada necklace (seen on May 25).

Reflecting on the month, I feel like I have grown in my sewing skills, especially in fitting.  I finished several new items during the month — 7 total — and overall they each fit really well and I don’t have any major construction complaints.  I do need to bite the bullet and start working on fitting myself for pants and shorts.  All in good time, I guess.

Well, guys, thanks for following along.  I have several pattern reviews to bring you as well as some recipes for desserts, drinks, and main dishes.  Stay tuned!