
Hi, friends! I am here today with a quick “tutorial” post to address a question that came up about the fitting of my Butterick 6019 bombshell dress. During the muslin-making process, I realized that the bust cups of the dress were all wrong for me. The top of the dress was too low for comfortable decency and the cup seams created an awkward pointy shape over my bust (think bullet bra to the extreme). I also discovered that the under bust seam didn’t hit under my bust and the bodice was overall too long for my figure.
I will warn you in advance, I am going to share some less than attractive photos of myself in this post. But it’s all for the sake of science, right?
I started by pinching out the excess from bodice fabric in the front and back. This helped bring the under bust seam into the correct position. I then pinched and pinned out a little excess in the side seams.
Once that had been taken care of, I pinned out the excess in the vertical and horizontal bust cup seams, creating a much more natural shape in this area. Then I checked the location of the horizontal bust cup seams and felt it was too low across my body and raised it across both lower cup pattern pieces (hence the reason it doesn’t look like I took any out in these areas). Hopefully you can see in the photos that the overall effect of these adjustments was to decrease the severity of the curve across the bust. At this point I made new muslin and tweaked all of the previous adjustments by a few more minor amounts.

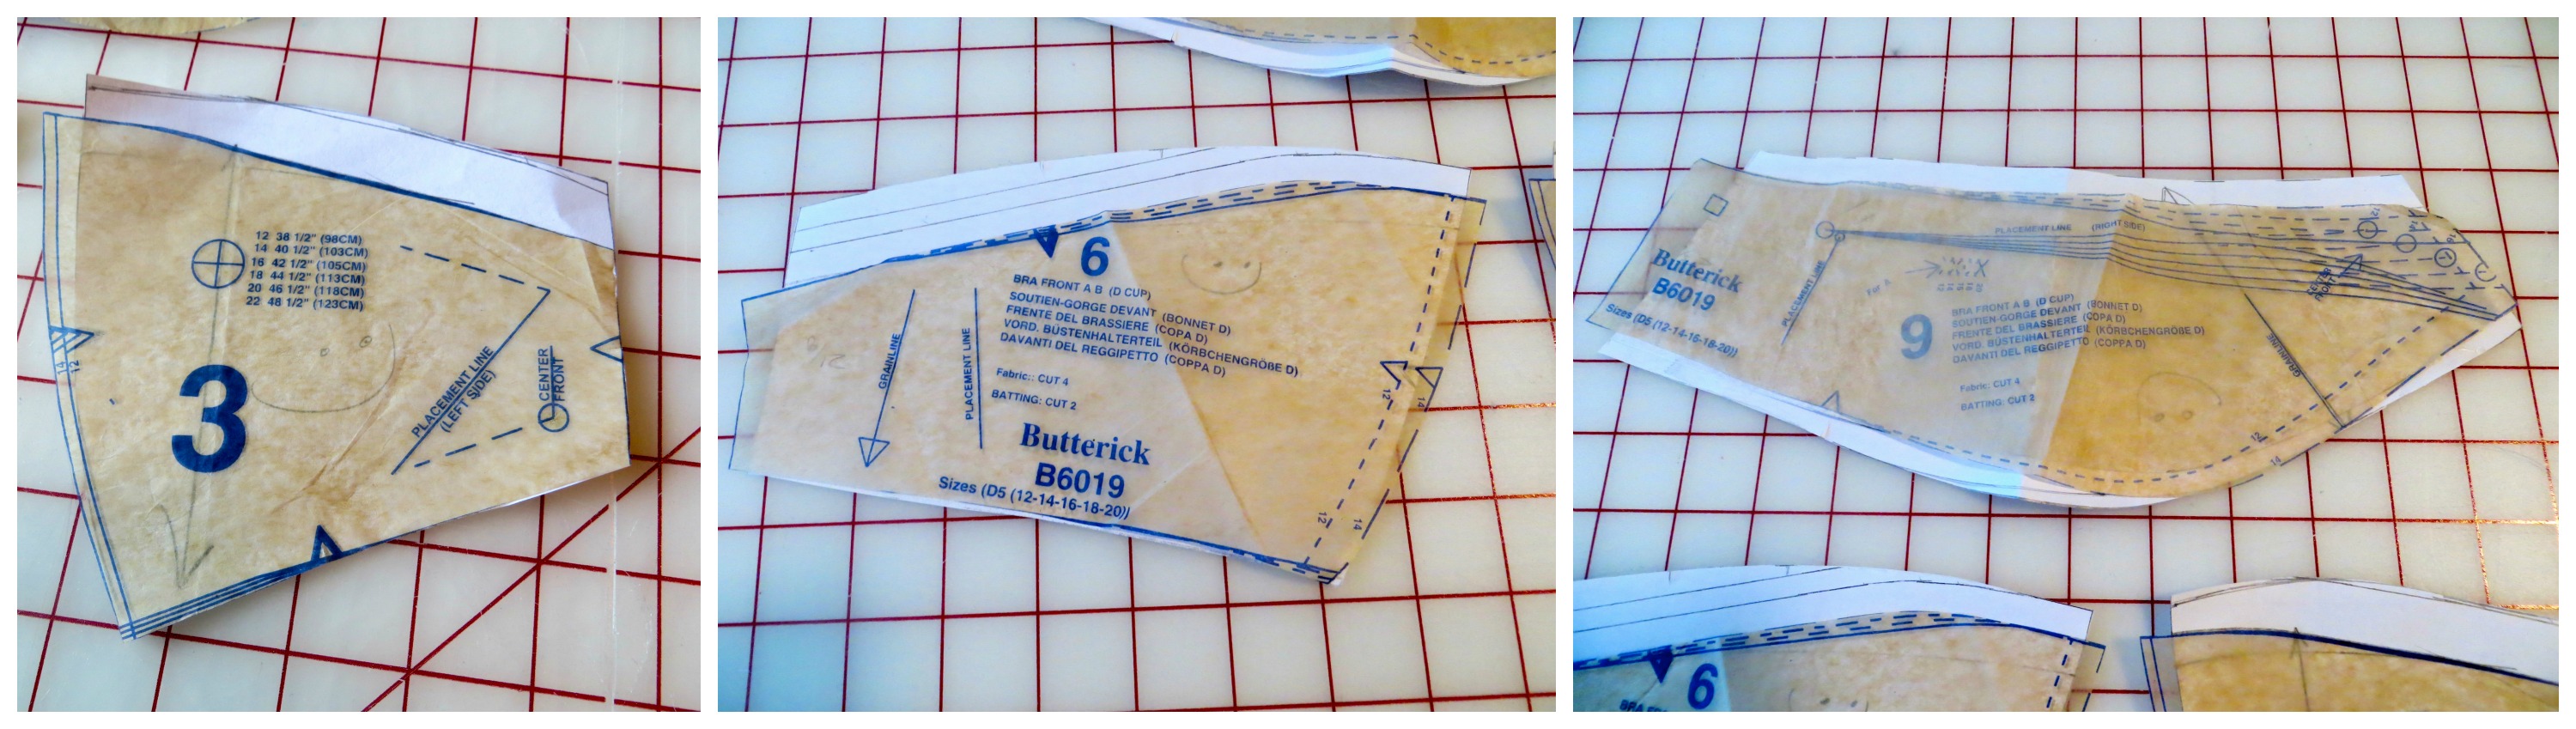
You can hopefully see in this photo how my final pattern pieces in white paper compare to the original pattern pieces.
Once all these adjustments had been made, I assessed the location of the top of the bodice all the way around and realized I wanted roughly 1/2″ added in the front and 1″ in the back. I added these amounts to my already modified pattern pieces and tapered the 1/2″ in front around to the 1″ in back.

Since this layer wouldn’t show in the final dress, I sewed it with leftover bobbins in random colors.
I made my final muslin just to check the fit once more but to also use as the interlining if all my adjustments had been successful.

You can see I added a lot more boning than suggested in the pattern.
During the earlier muslins, I duct taped cheap boning from Hancock Fabrics into place for fitting but on the final version, I went ahead and sewed my boning channels and added the spiral steel boning. Next time, I think I will lengthen this layer to my high hip (like a corselet) for added wearing comfort. As it is now, the boning ends right at my narrowest point, somewhat cutting into my body when I sit, and also making the skirt portion just below the waist seam blouse out a little bit.

Here’s the finished dress just waiting on a hem. Please pardon the unattractive setting and the cute socks 🙂


Thank you so much for posting this! I have begun working on the view A for the dress and also had to make some major adjustments to the bra cups, I think I ended up adding about 2″ total, 1″ per top and bottom bra cup pieces. Wanted a little extra coverage. And yes! The bra cups are so pointy! It took about 3 muslins but I think I finally got it. Also going to try to follow Gertie’s tutorial in putting in underwire and see how that goes.
Hi, Jae! Thanks for dropping by and taking time to comment. I’m so glad you found the post helpful. I can’t wait to see your finished dress. It looks like we have a lot of the same patterns stashed and we have to make similar adjustments. Happy sewing!
Yes! Always good to read reviews of others of similar size, :). Finished most of the dress using my old Singer.
Thank you so much for your post. I have the same body type as you….only older, lol. Your info was great! Love the socks by the way 😊
Thanks so much, Donna! I’m glad you found it useful. Socks can really make an outfit 😉
Can’t wait to see your dress!
Your dress is gorgeous! And the fit is perfect. I’m making it now and I’m fighting with the cups. Did you have a lot of excess material where the cups meet the bodice? I’m making the D cups and the cups are almost 2 inches longer than the bodice pieces (10 and 11). Thanks!
Hi Din! Thanks for stopping by. I don’t recall having to do an excessive amount of easing in that area. I would make sure the pieces are positioned correctly as I remember that being confusing. You may also want to compare your fabric pieces to the paper pattern pieces to make sure it hasn’t stretched out. Have you modified either the bodice or cup without accounting for the other? Hope that helps and can’t wait to see your dress! 🙂