Archive | September, 2013

Maria Denmark Kirsten Kimono Tee — with Sparkles!

23 Sep
IMG_1958

Me Made Kirsten Kimono Tee paired with reversible polka dot jeans from Nordstrom, hot pink patent Cole Haan heels, and Ray Bans.


Howdy, everyone! Here’s a quick and simple project for you — the Kirsten Kimono Tee from Maria Denmark. What’s even better than quick and simple? This pattern is a FREE download on Pattern Review Maria’s site just by signing up for her newsletter! It only involves taping together a few pages (and this one doesn’t require cutting — yay!) From start to finish, I spent maybe 3 hours on this project and that included assembling and cutting out the pattern.

I cut a base size M but graded out a bit at the bust and tapered it in a little at the waist. I added 1/4″ seam allowances as the pattern doesn’t include them. Next go around I may create a center back seam to address my swayback.


IMG_1961


For the fabric, I chose a white sequin knit from my local shop, Ely’s, and a basic white tee-shirt knit from Sawyer Brook for the back and neck binding. When I bought the sequin fabric, everyone seemed a little surprised that I planned to make a tee-shirt with it. But I think once they see my finished project, they may not think it was so strange after all. I purchased 3/4 of a yard at $29.95 a yard and only used about 1/3 to 1/2 of the fabric. So technically I could make another top.


IMG_1963


I used my serger for all parts of construction on this top. I finished the neckline according to this Megan Nielsen tutorial and sewed the neckline and hems with the coverstitch function on my 5-thread serger. This could have just as easily been made solely on a standard machine with a stretch or zigzag stitch and a double needle to finish the neck and hems. I will mention, though, that sewing over sequins does increase your chance of breaking a needle so use something that is sturdy but appropriate for knits and sew slowly or even drive the machine with the handwheel over parts that are two layers of sequined fabric.

Overall, I love my new top, even if it may be a tee-shirt that has to be dry cleaned! I have already worn this shirt out on the town (like in the photos), and to work tucked into navy slacks with a green cardigan and the pink shoes from these photos. If you have contemplated making a knit top, this would definitely be a great place to start as the sizing is true and the process couldn’t be simpler. And consider experimenting with unusual fabrics as this pattern’s simplicity lends itself to modifications. Happy sewing!

Thirsty Thursday — Cuba Libre, Reinvented (or Rum and Coke Martini)

12 Sep

cuba libre


Well, we’ve all made it past hump day and we’re only one day away from the weekend. This cocktail is the perfect addition to your weekend, whatever your plans may be.

Mr. Homemaker and I were inspired by a recipe we saw in a recent issue of Garden and Gun magazine. They featured a re-engineered bourbon and coke, and while Mr. Homemaker loves bourbon, I just can’t stand the stuff. So after we made the recipe as written for him to try, we came up with the great idea of adapting the recipe to use rum, a more globally accepted beverage in our house.

So this “reinvented” recipe is a little different from the original rum and coke (obviously). Traditionally, the beverage is made by combining 1 part rum with 2 parts Coke. The version I am sharing today is the opposite — 3 parts rum to 1 part Coke, making it more suited to sipping like a martini than chugging like a soda.

Compared to the Garden and Gun recipe, we like the drink with a little less booze and a little more Coke syrup. We also swapped out the lemon twist for lime to keep up with the typical Cuba Libre gig. The orange-flavored bitters also add to the citrus-y appeal of the drink. We suggest using the best gold rum you can find as the flavor of the liquor is featured.

So while making a concentrated syrup from Coca-Cola may seem a little odd to you, go ahead and give it a try. I can assure you it will keep for at least a month in your fridge just in case you decide to use the whole can of Coke to make up a huge batch of Coke Simple Syrup.


Cuba Libre, Reinvented

Serves 2


For the Coke Simple Syrup:

  • 1/4 cup Coke
  • 1/4 cup granulated sugar

Heat in a small saucepan over low heat stirring occasionally until all the sugar has completely dissolved. Cool to room temperature and refrigerate until ready to use. One batch makes enough for about 6 cocktails.


For the drinks:

  • 3 ounces good quality gold rum
  • 1 ounce Coke Simple Syrup
  • 3 dashes Angostura bitters
  • Squeeze of lime
  • Lime twists to garnish

Combine all ingredients except the garnish in a cocktail shaker full of ice. Shake vigorously then strain into two chilled martini glasses. Enjoy!


Inspired by Garden and Gun.


Grand Summer Ball Ensemble, or Vogue 8849 and a Self-Drafted Skirt!

8 Sep

Happy Sunday, everyone! I hope your weekend has been a fun and productive one. Mine has been very busy but I have been hammering away on the sewing machine as much as possible. A few weeks ago, my husband and I attended the annual fundraiser gala for the hospital where I have privileges. I always look forward to this event because I love any excuse to get dressed up and be “fancy.”

The event takes place at the beautiful Marriott Grand Hotel, right on the shore of Mobile Bay. I love visiting the Grand Hotel (and have since childhood), because it is old, Southern, and charming. There is lush vegetation everywhere, the staff is friendly and gracious, and the whole atmosphere is very relaxed.


IMG_1901


As I have been honing my sewing skills in recent years, I have begun to enjoy creating outfits for specific occasions, and the Grand Summer Ball was the perfect opportunity. I first started dreaming up my ensemble around the end of last year but didn’t actually finalize my plans until about two months before the ball. But no matter how much I plan and brainstorm in advance, I was still stitching a hem and sewing in the zipper the day of the event (but with plenty of time to spare to get ready).

Want to see a picture of my handsome date before I go into the details of the outfit (and I might get a little wordy)?

IMG_1906

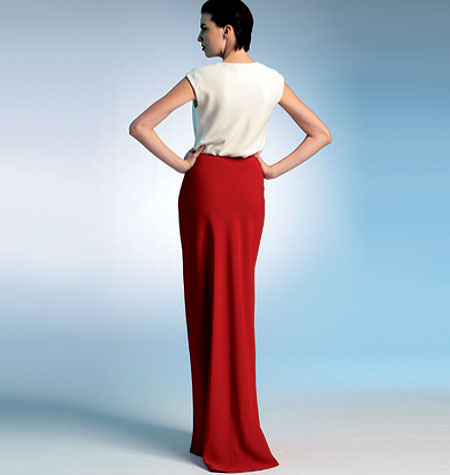
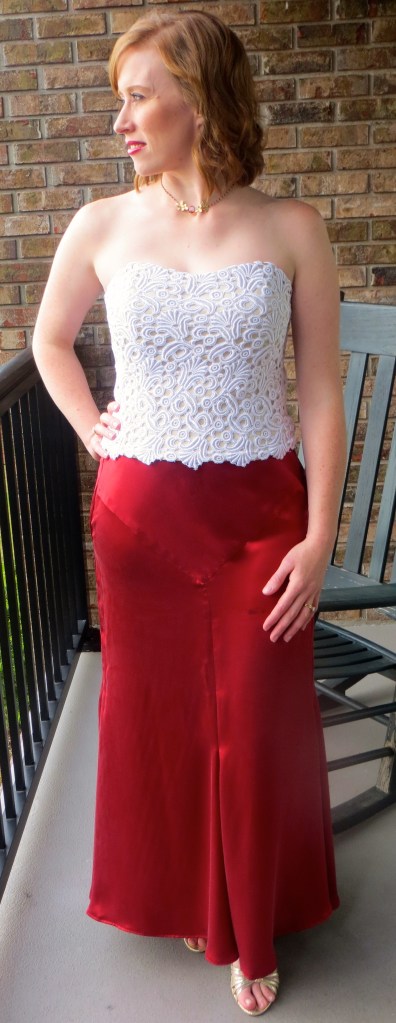
Alright, now on to what I wore. First, I decided I wanted to wear separates this year — long skirt and top. I started with Vogue 1310, a Chado Ralph Rucci number. You will notice that my colors are similar to those in the pattern photo; I think this is why I initially gravitated toward this pattern. I muslined the skirt and it was awful! The wrap tie created a huge poof across my midsection and it just wasn’t flattering.

V1310

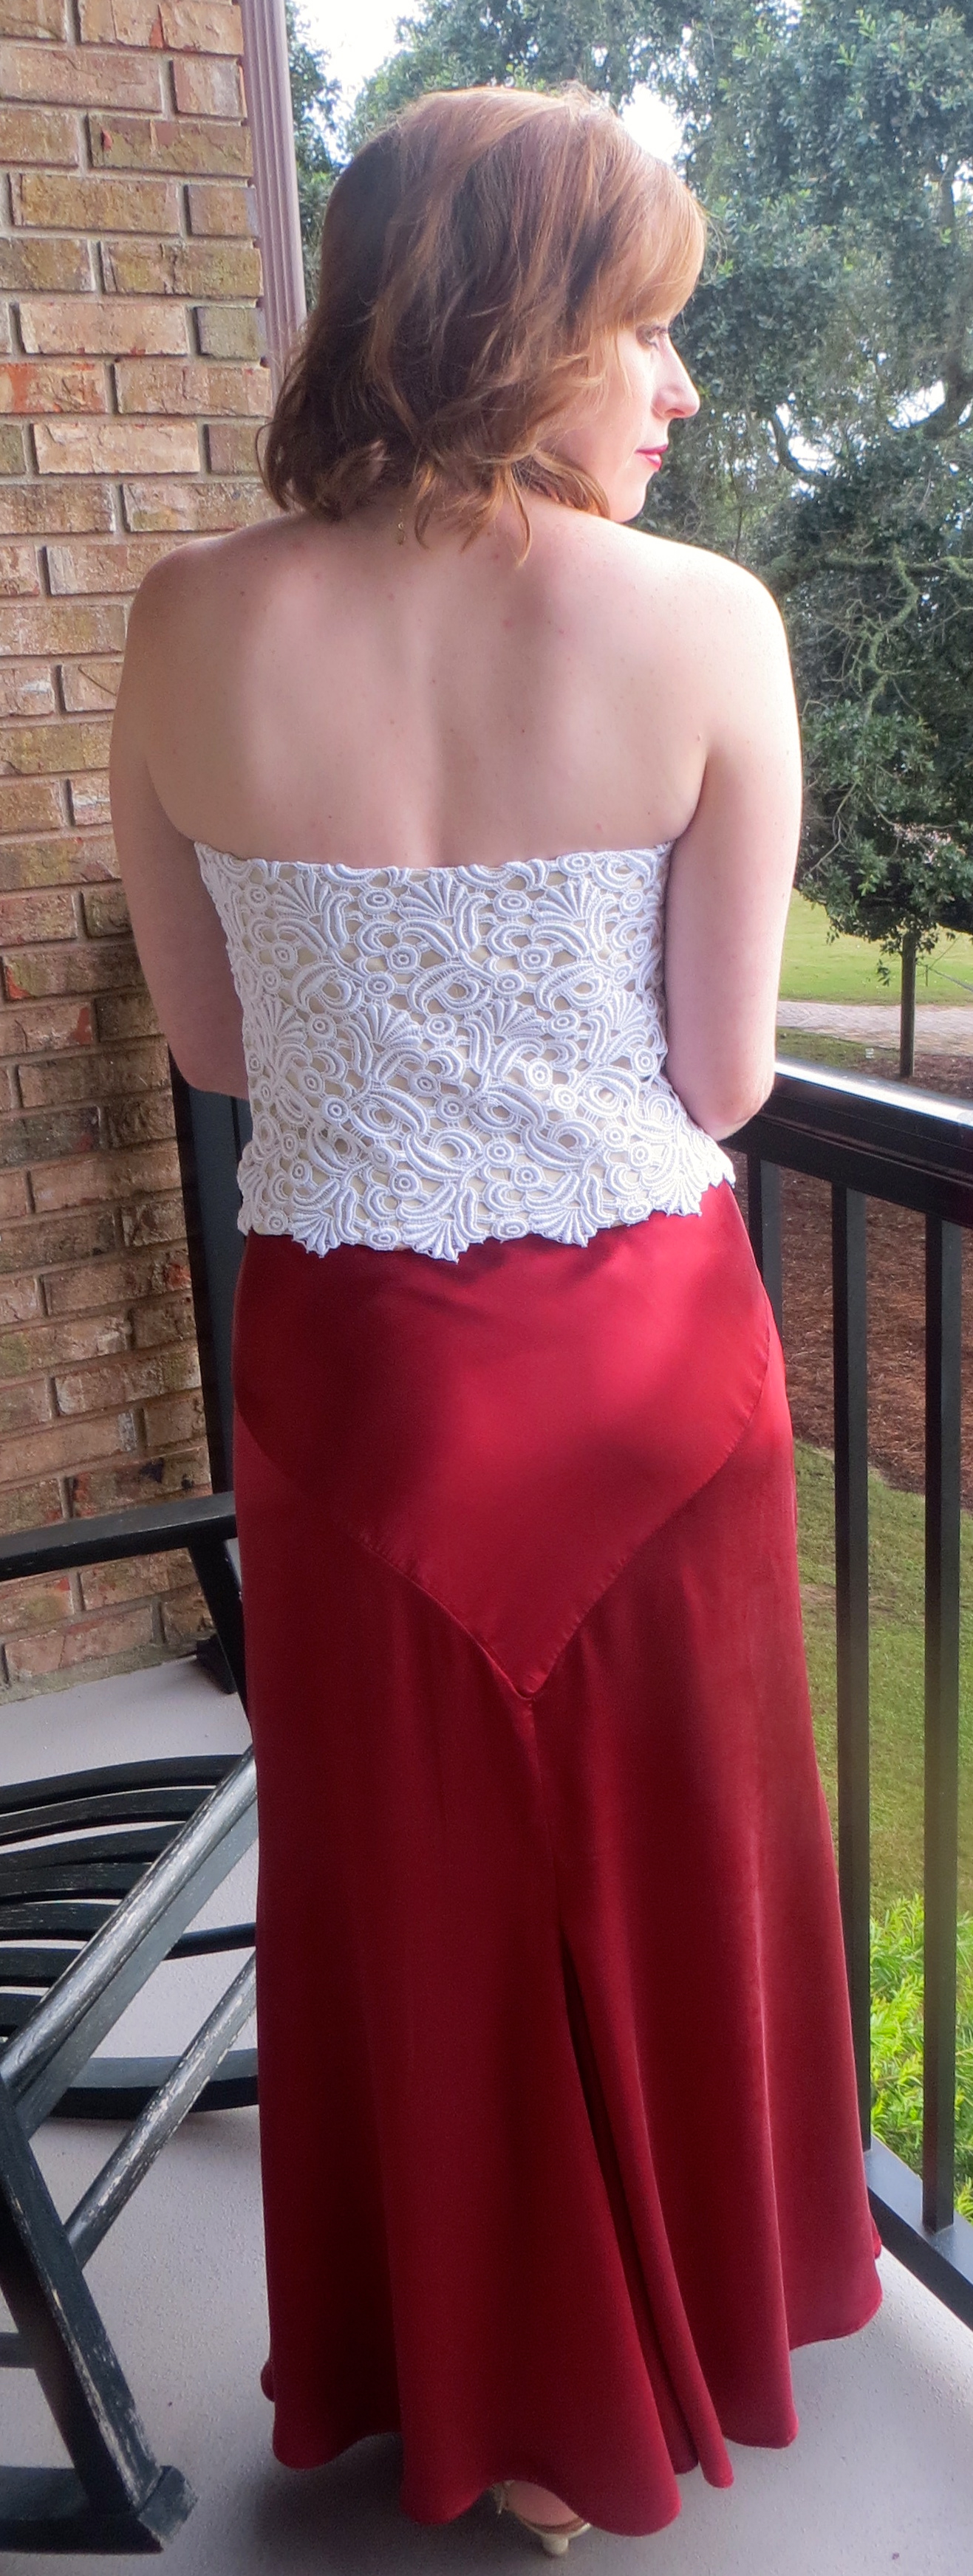
So I decided to draft my own skirt. I wanted something that would skim my hips then flare out at the bottom. I relied heavily on my copy of Patternmaking for Fashion Design (given to me by a sweet friend who was a fashion major). I started with creating a basic one-dart skirt sloper (one dart in front and one in back). Then I closed the darts and transferred the fullness to the hemline, pivoting at a point around knee-level.

IMG_1904

I also added a godet to the back center seam for extra fullness. I decided to create the V-shaped yoke as an added design feature. I cut the yoke on the bias thinking it would skim my hips better but I think this just created more trouble with ripply seams (even though I interfaced the seam lines). I added a simple 1″ waistband and handpicked a centered side zipper. The clincher with the skirt came when I realized that somehow part of the back hemline was 2″ shorter than the front, resulting in a skirt that hit at my ankle instead of grazing the floor like I had planned. Overall, the skirt was wearable and served it purpose, but it isn’t my most favorite make and all of its silk may get repurposed at a future date.

bustier flat pics

On to the top. It is my favorite thing that I have sewn so far and I am so proud of it! I started with the bodice of Vogue 8849 and made 4 muslins before I got the fit just right. For construction, I referenced this blog post by Ann of Gorgeous Fabrics, who described her experience of sewing a lace bustier during a Susan Khalje class.

I started with a base shell of some sort of poly satin. Then I constructed my boning layer from muslin and inserted 6 channels for spiral steel boning along the bust princess seam lines, back dart lines, and side seam lines. I used boning casing to house the boning and these supplies came from Corset Making Supplies. I then hand-basted the muslin to the shell fabric and treated them as one for the duration of the construction.

Next, I cut my lining from the same fabric as my outer shell, then sewed the lining to the shell, right sides together, along the top seam. then I inserted the boning and sewed the lining to the shell right sides together along the bottom seam. Once turned right side out, I had clean-finished seams along the top and bottom and two open ends. These open ends were important and you will see why in a minute.

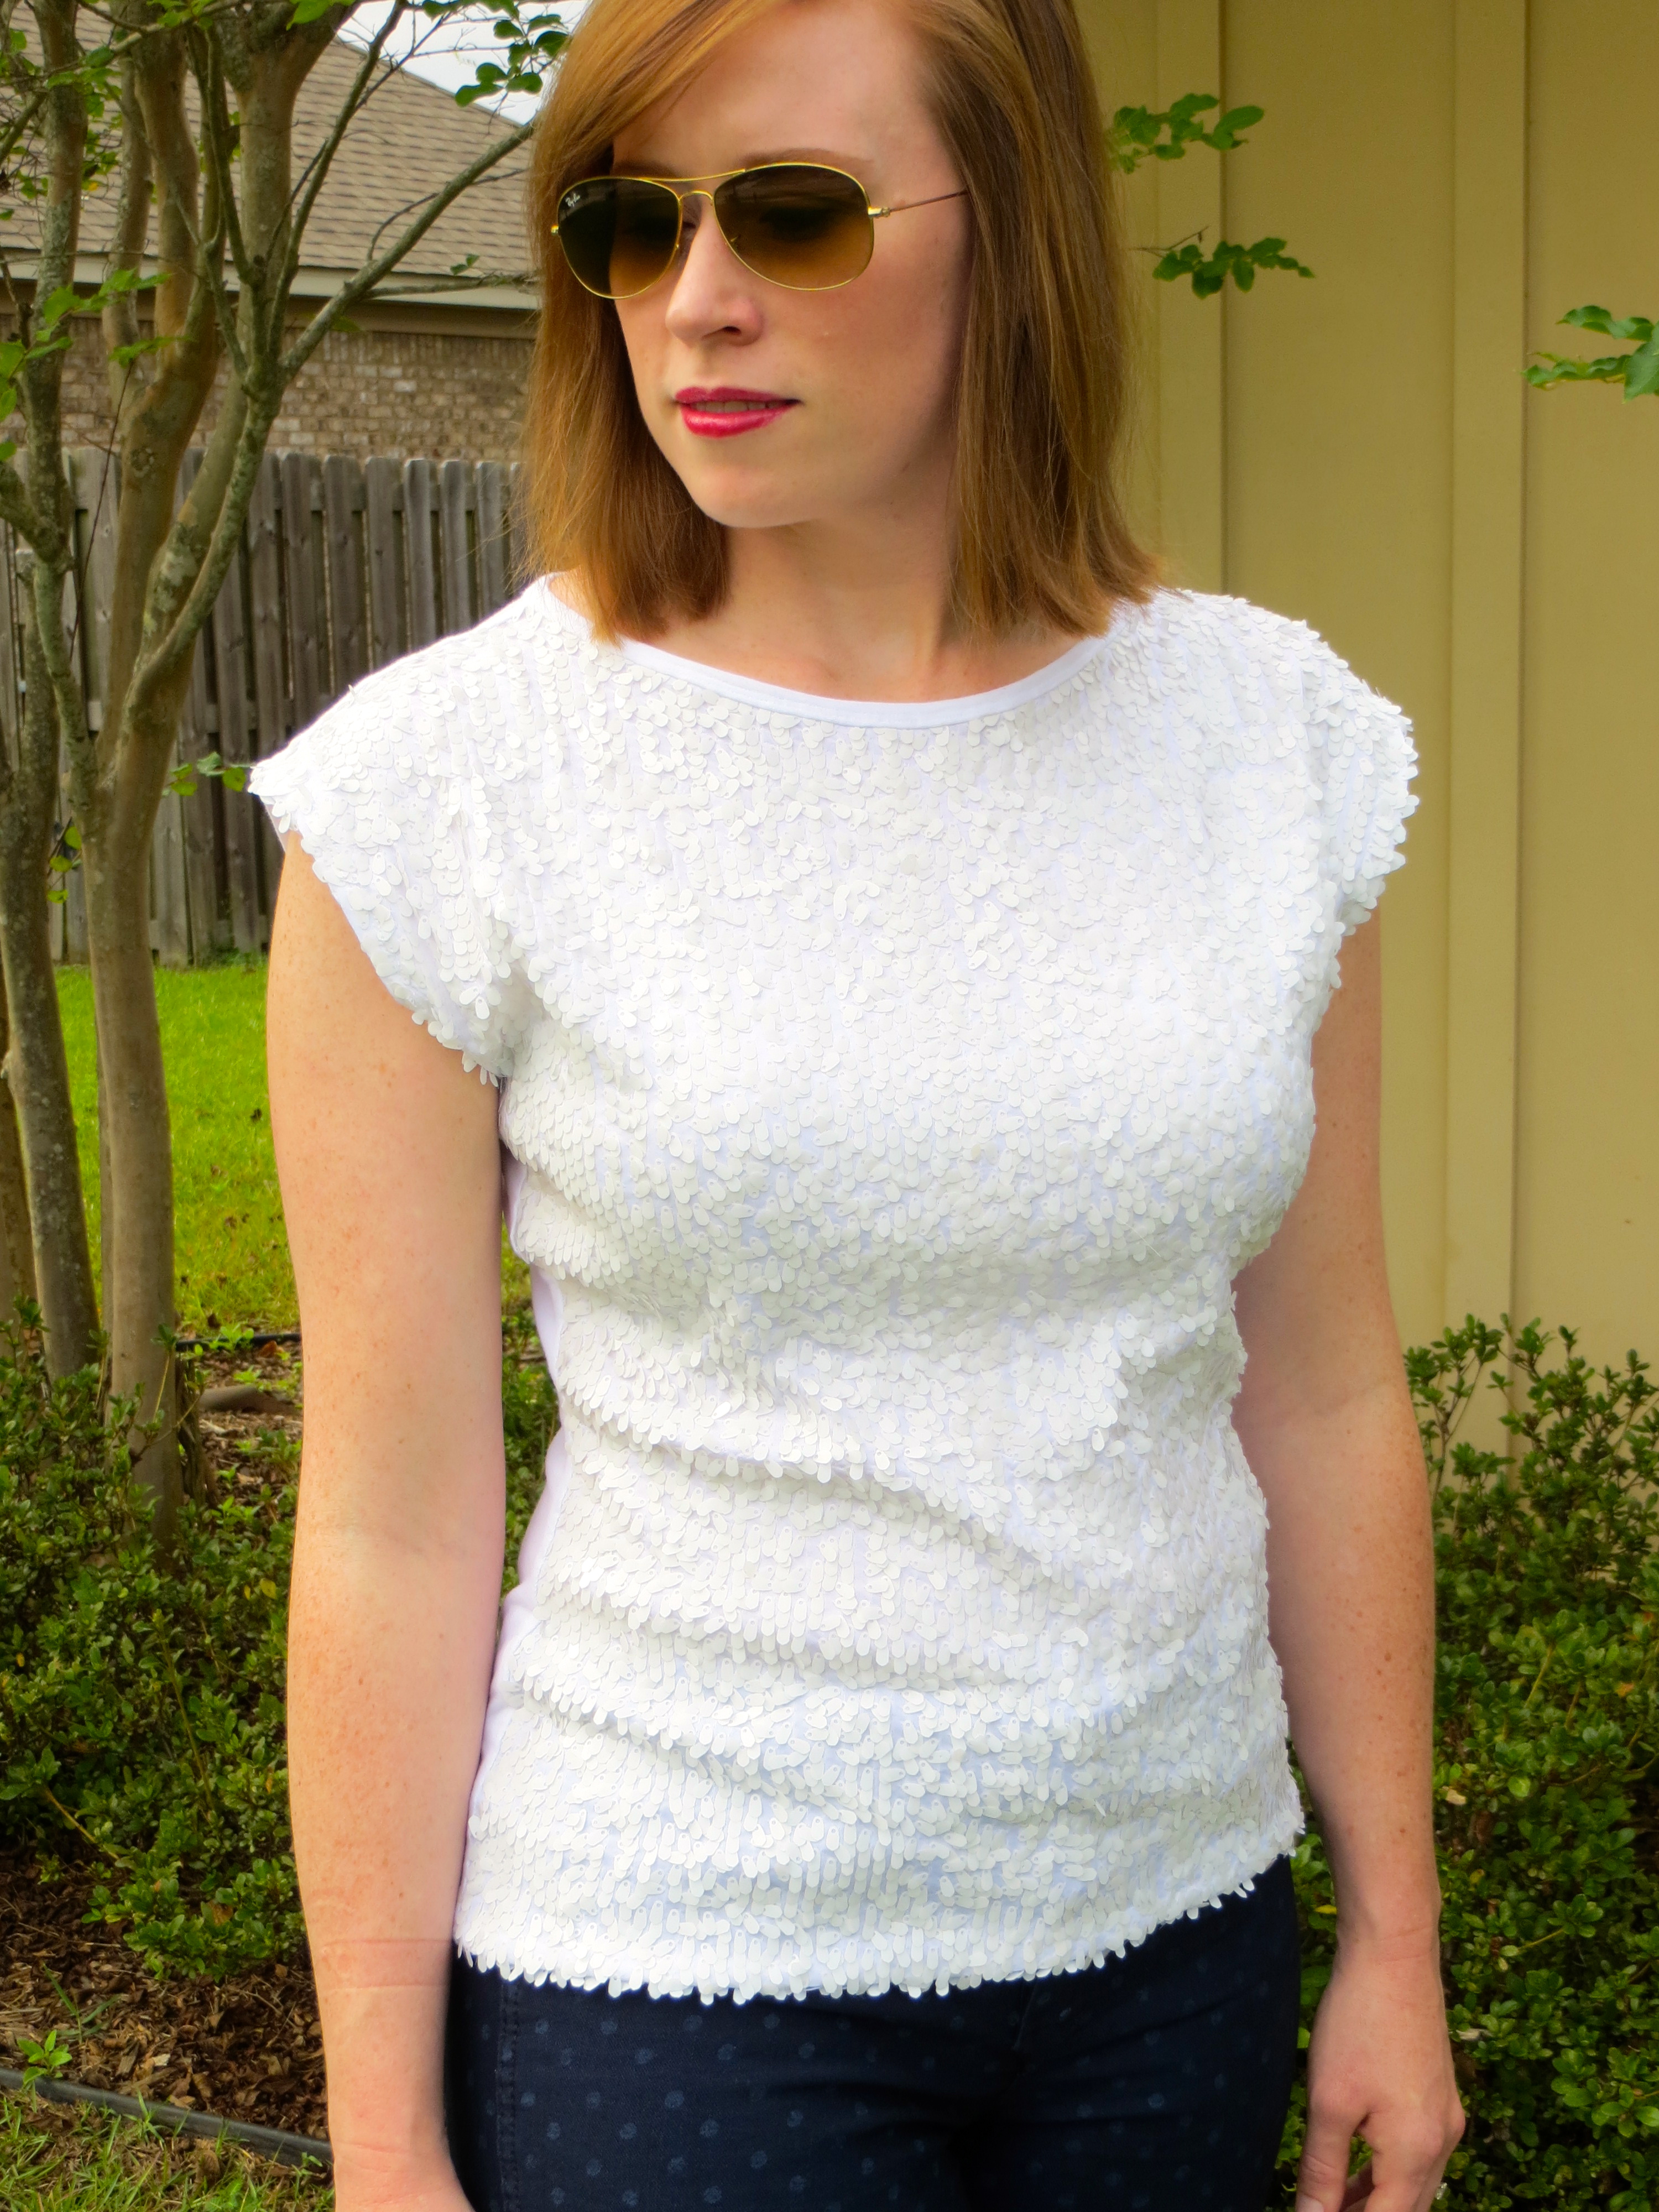
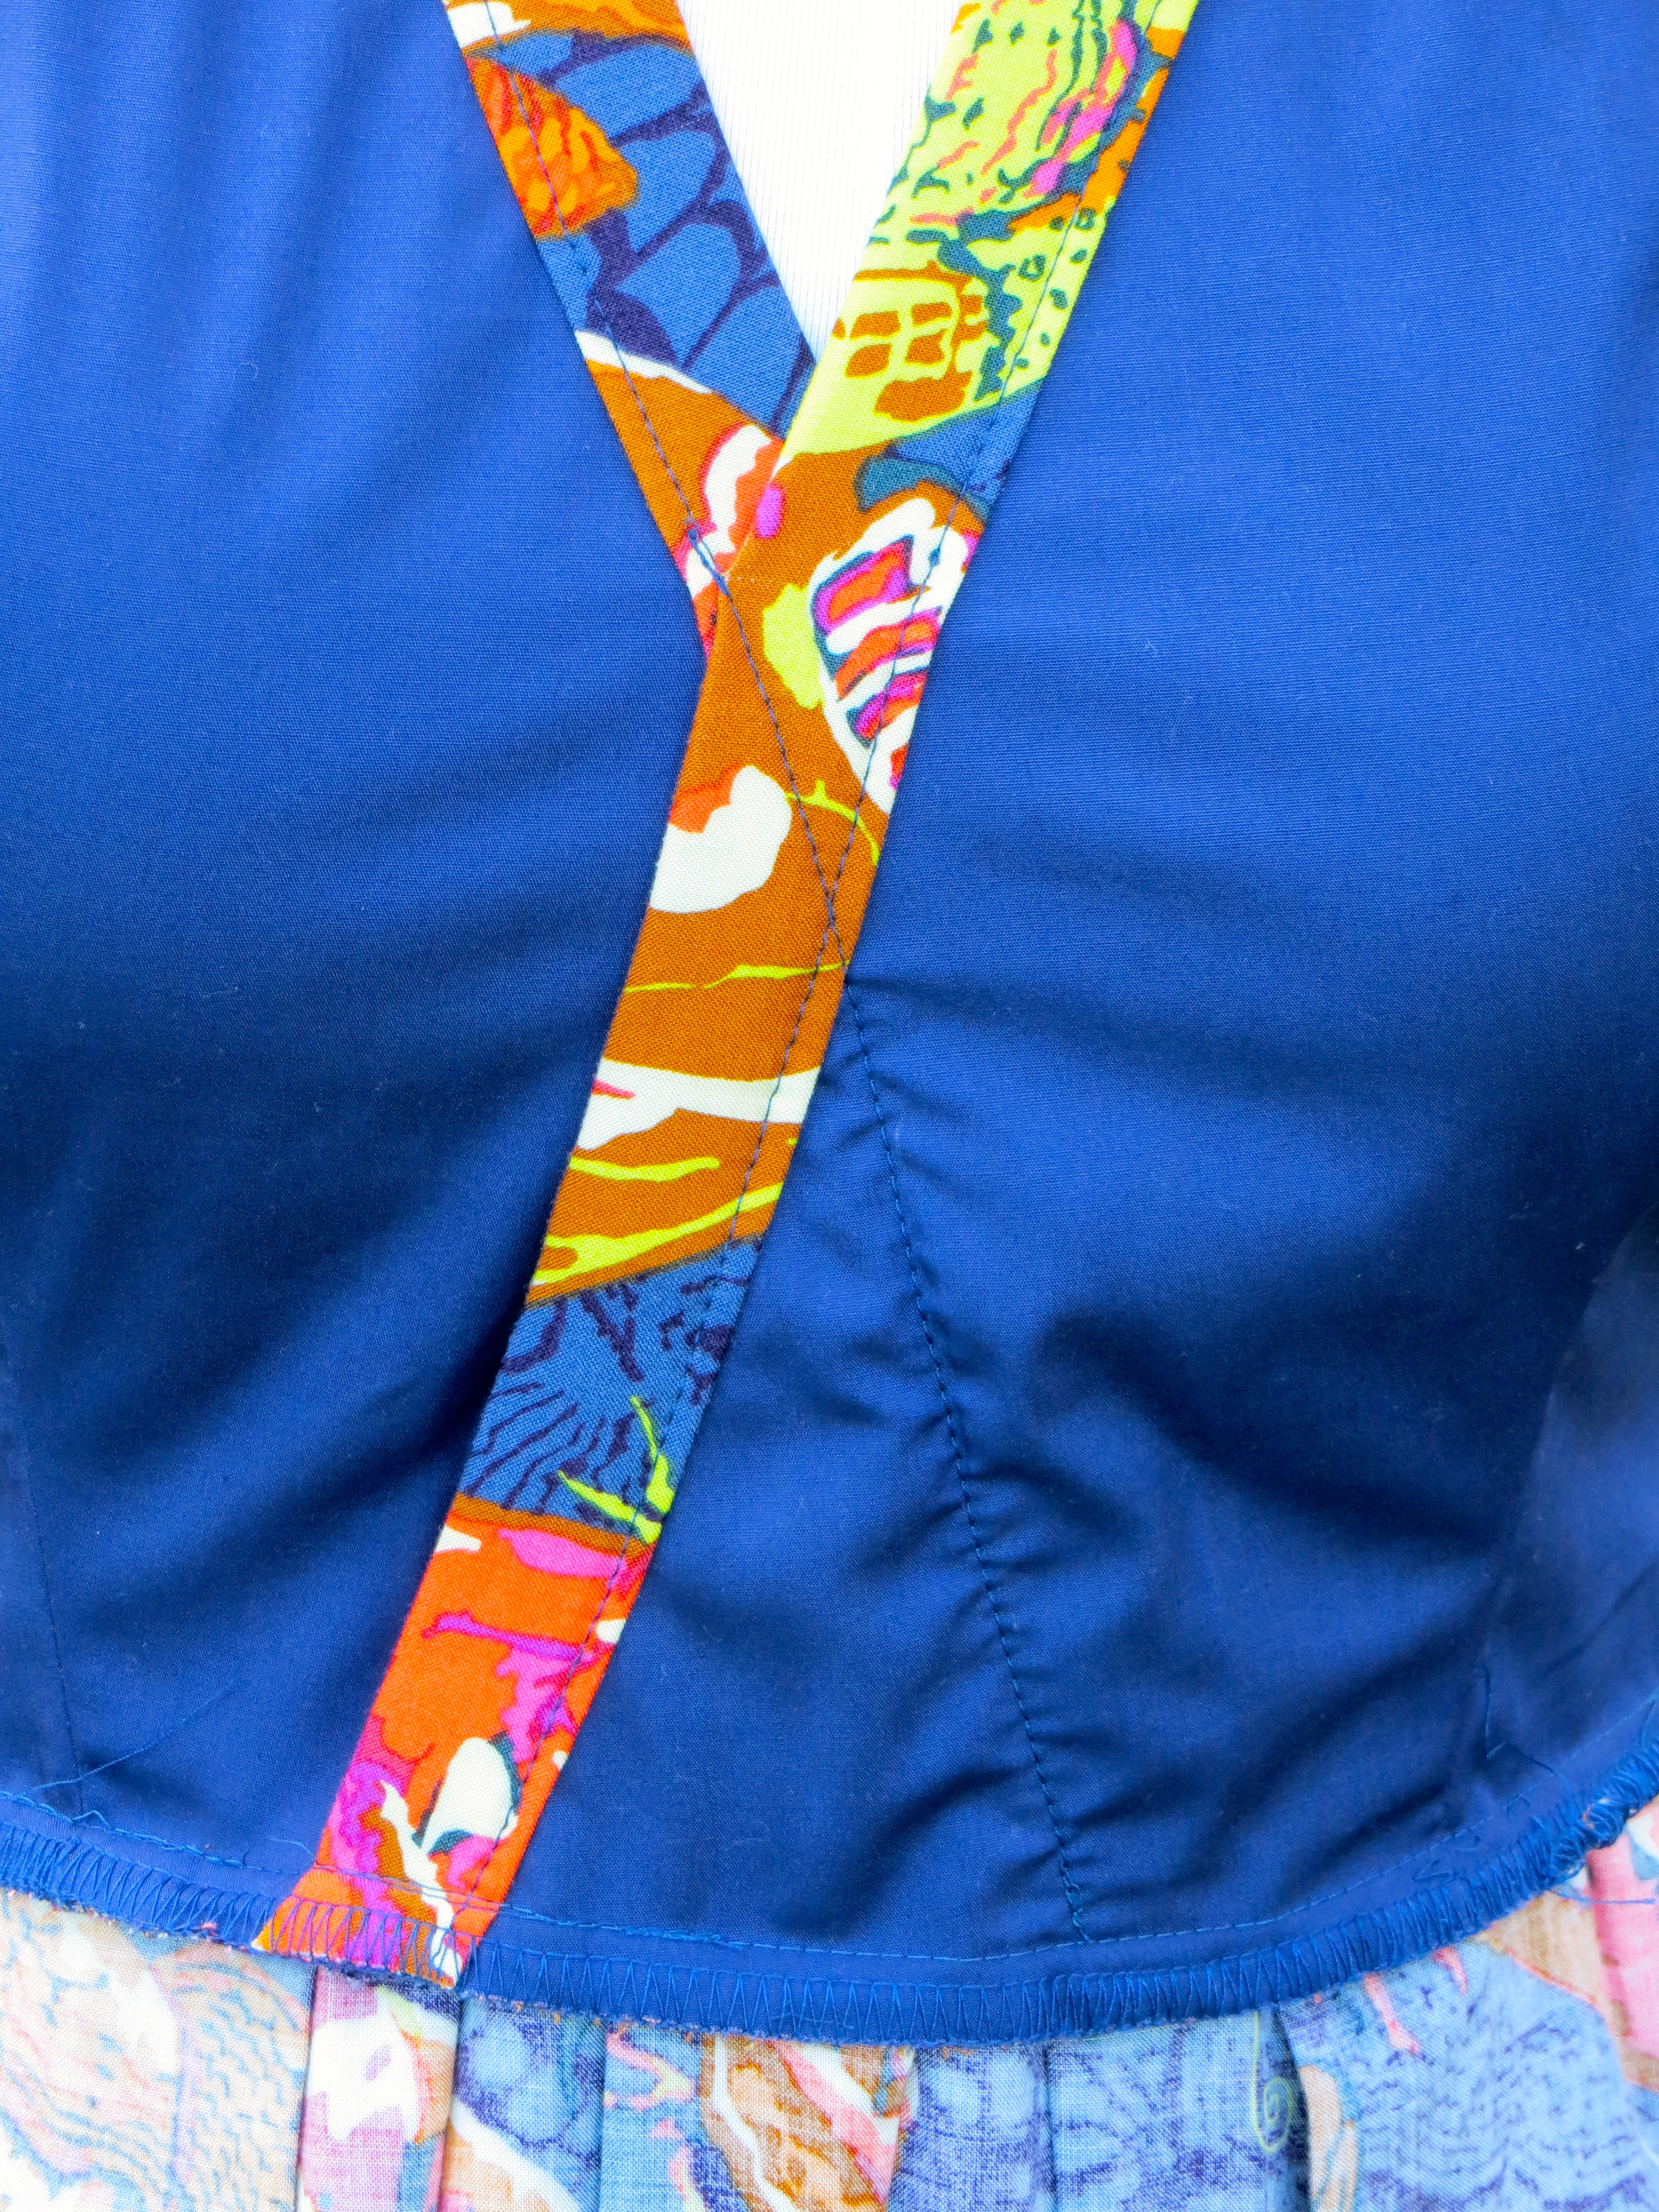
Next, I placed the bustier on my dressform for draping the lace. This is the most use I have ever gotten out of my form. I decided I wanted the lace edge to run along the bottom edge of the bustier, so I positioned the lace as such and started pinning it to the shell layer underneath, easing as I went. Because lace is very moldable, you can shape it over the curves of your body without having to use seams and darts. If you look closely at my detail photos, you will see the seams of the bustier shell underneath but no seams in the lace. I was very glad it worked like this because I was terrified of having to match lace patterns!

For the top of the bustier, I folded the lace over to the inside and did not try to use the lace’s border here. Next, I started tacking the lace to the shell/muslin layer by hand, using the open ends to access the area between the shell and lining. This was the most time-consuming part but also the most enjoyable. I have never been much of a hand sewer but I thoroughly enjoyed the process of making this bustier. I worked on my handstitching in the evenings, at the office between patients, and any other time I could squeeze in. All total, I probably spent 4 hours tacking the lace down.

Bustier Detail collage

Next, I hand-picked a centered side seam zipper. I used the advice in Ann’s blog post and used a full-length dress zipper instead of a separating zipper. The longer zipper makes it easier to get in and out of the bustier and to zip yourself up in it without help, and the long tail is tucked up inside and snapped to the zipper tape. The bustier was finished off with a hook and eye at the top of the zipper.

And let me tell you how marvelous it was to wear! I didn’t spend all night hiking my top up or worrying about wardrobe malfunctions. I didn’t put a waist stay in yet, but I plan to add one soon. Photos from the event can be found here, here, here (with my sis), and here. I purchased my garnet necklace from the Etsy seller Alison Storry.

My fabrics were all purchased locally at Ely’s Fabric Warehouse in Mobile, Alabama. They have a nice selection of formal wear fabrics and lace. The skirt is made from a beautiful crimson silk charmeuse and the bustier’s shell and lining are poly satin and the lace is a beautiful, heavier-weight lace with a finished border along both edges (sorry I don’t know my lace terms).

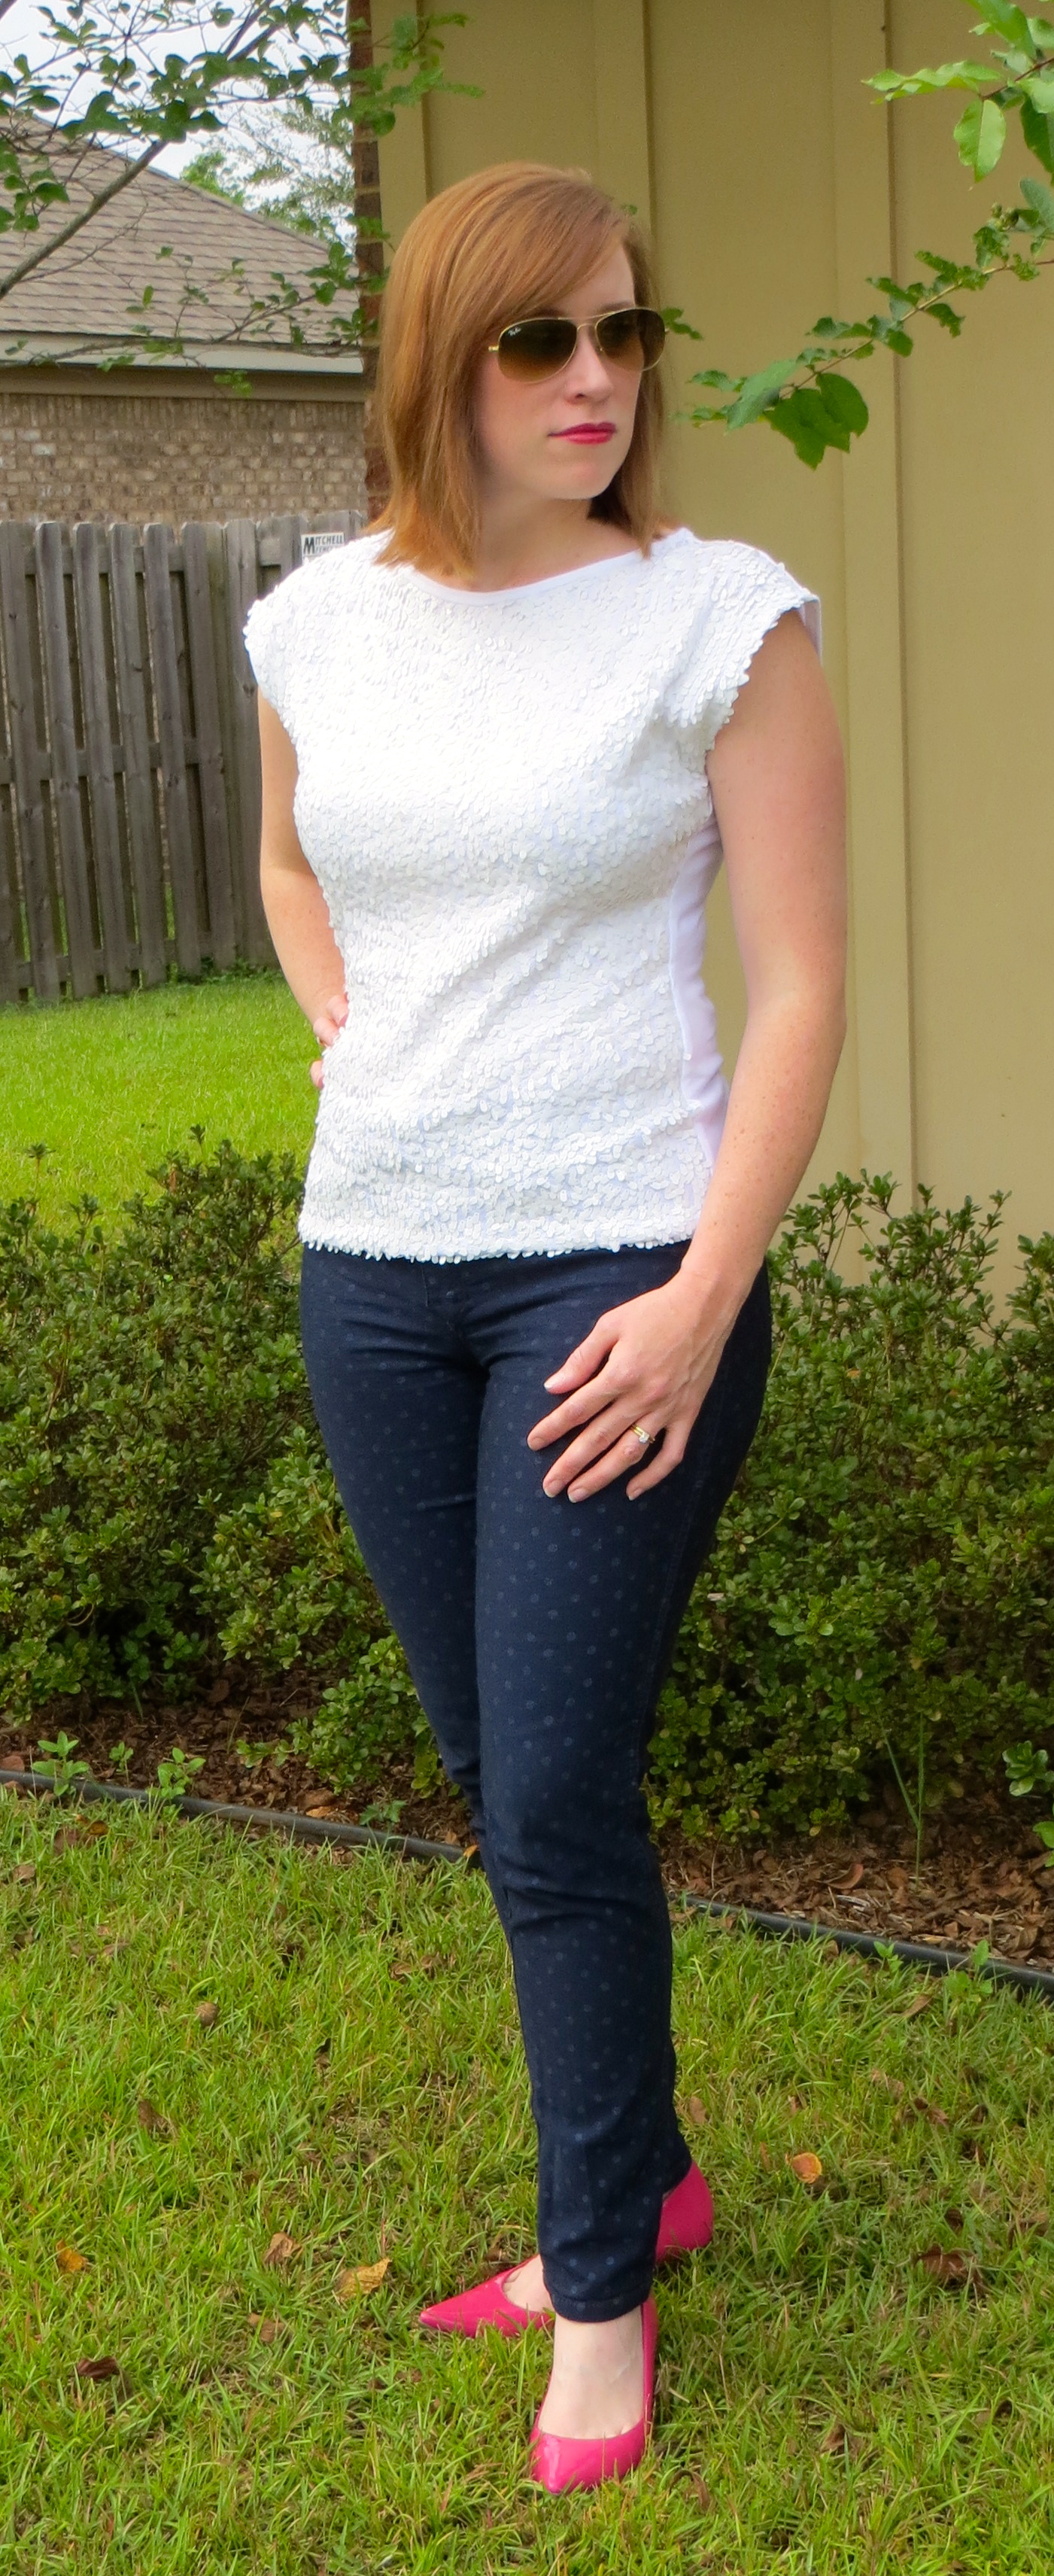
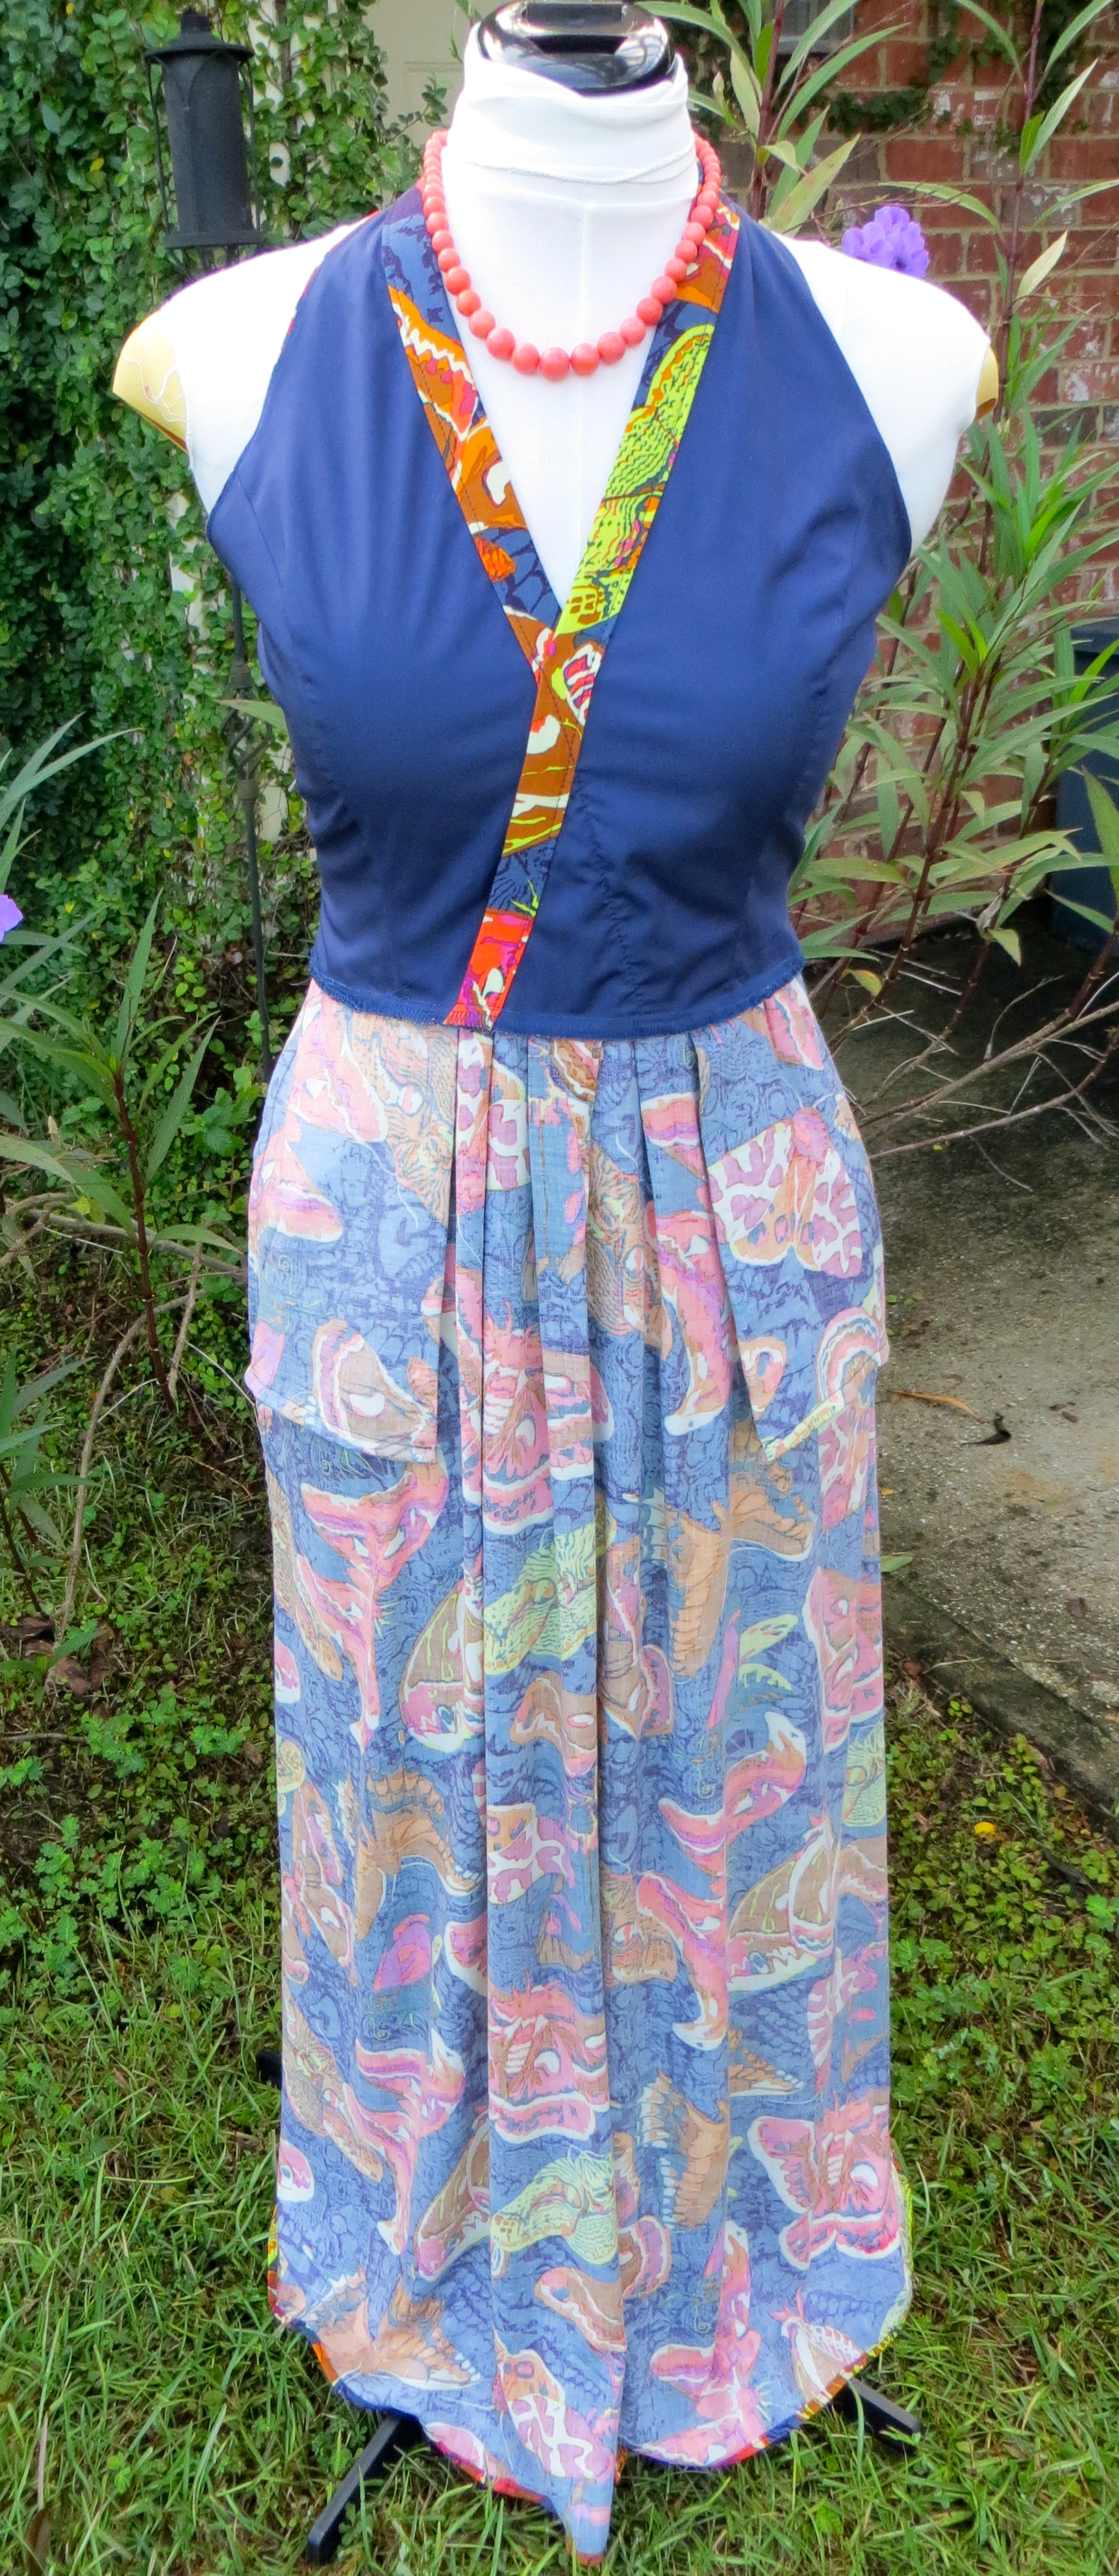
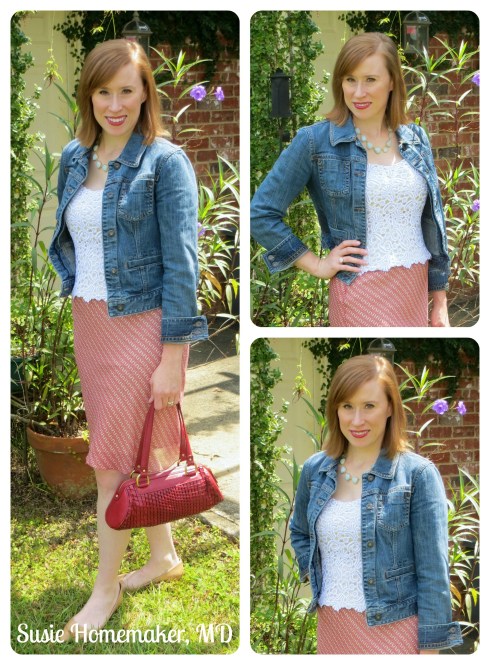
While I will have to revisit my skirt drafting skills, I will definitely be making more iterations of the bustier top in both casual and dress versions. I think even this bustier can be dressed down a bit, perhaps with jeans for date night or like I wore it today to church.

Bustier casual

If you’re still there, thanks for reading about my mini-venture into couture sewing. Stay tuned for more!

Would you vote for me, please?

6 Sep

Evening, friends! I am dropping you a quick line to let you know that my recent make, the halter maxi dress in the Anna Maria Horner Sinister Swarms fabric from Hart’s Fabric is entered in their weekly Sew Your Hart Out contest. You can help me win a $50 gift card to Hart’s by liking this photo. And while you’re at it, I would love for you to “like” Susie Homemaker, MD on Facebook, too.

IMG_2096

Think you would like to win a prize from Hart’s? They are giving away weekly prizes for items made from their fabrics. You can also enter to win the grand prize of a brand new Janome sewing machine (no finished garments required!).

I hope to get some sewing done this weekend and will try to bring you another completed project next week (and this next one may be quite fancy). I may also have a Thirsty Thursday in the works. Stay tuned and happy weekend! And thanks for voting on my photo!

Simplicity 1610 — The Moth Halter Maxi

4 Sep

IMG_1909


Happy National Sewing Month, friends! I hope everyone is enjoying the end of summer (or winter for you South of the Equator folks). Life has been busy in these parts with back to school (both at home and at the office). But don’t worry — I have found a little time for sewing and have a small backlog of projects to share with you.

First up, though, I had to share this maxi dress made from Anna Maria Horner Sinister Swarm rayon challis in tangerine. I ordered this from Hart’s Fabric a few months ago, and since they are hosting Sew Your Hart Out September, I thought this would be a great first post for the month.


IMG_1912


I have become a huge fan of rayon challis lately. It is soft and silky but not as slippery as silk. It isn’t quite as easy to work with as cotton but it is heaps better than charmeuse! You’ll hear more about my recent charmeuse shenanigans soon.

I love the large, bold print of this fabric. The background is a combination of two shades of blue and it is covered in huge moths in bright colors. It has a little bit of an 80s feel to me and right now I think this is the closest I am going to get to all the psychedelic colors I am seeing everywhere. I think I am still a bit too scarred by all those horrible 80s fashions we had to wear as children!


IMG_1914


For the pattern, I wanted something that would showcase the large-scale of the print, so I chose a maxi dress. I had been wanting to make up Simplicity 1610 because of the halter bodice with princess seams, so it was a perfect match. The skirt is shaped by several pleats along the waistline and this worked well with the soft drape of the challis.


1610


Instead of a traditional FBA, I decided to cut the shoulder and bust according to my full bust size and then just add some length to the front bodice. I did this because my upper bust and full bust measurements are less than 2″ difference (although I am a D cup) and commercial patterns recommend the B cup based on this. But since I know that commercial patterns made without adjustments are always too short in the bodice, I added length to account for that.

I have to say that I am not pleased with the results. The princess seam lines do not cross my full bust point and the neckline on this dress is a little boobalicious. And despite that, there is excess fabric above the bust. I guess I am just shaped weirdly and I should listen to my instincts when making pattern mods (i.e. note to self — you always need to do a FBA on commercial patterns).


IMG_1916


The pattern calls for a lapped centered back zip so I obliged and handpicked the overlap while I was getting a pedicure. It’s not my best work but it definitely gets the job done! I still have to attach the hook and eye at the top.


IMG_1917


I did stray from the pattern specifications on the neck strap closure. The pattern calls for buttons and fabric loops but because I cut my straps a little long and didn’t feel like altering them after they were sewn, I just hammered a snap onto the end of each snap to secure the halter. I think it turned out just fine.


IMG_1921


The pattern calls for lining the bodice only so I used some navy cotton batiste and serged the waistline seam to finish it. I used French seams to finish the pocket bags and skirt side seams. I finished the dress with a narrow 1/4″ machine stitched hem.


IMG_1922


I reinforced the zipper opening with some fusible interfacing — I just wish I had applied it to the wrong side of the bodice pieces so it wouldn’t be so visible. That’s not a deal breaker, though. The pattern also calls for running elastic along the upper edge of the back bodice. I did this step but did cut the elastic pieces shorter than directed because I find Big 4 patterns always leave the elastic too loose. If I ever make this dress again, I will redraft the bodice pieces so elastic is not necessary as I don’t really like the look and it doesn’t really help hold the dress up.


IMG_1929


I stitched the surplice wrap front so that it wouldn’t gape open and you can see the stitching from the wrong side (but not the right side). I also eased some clear elastic into the surplice seams to help them hug my body (it is hidden under the bands).


IMG_1927


Finally, you can see the dress on me but all I have are a few shotty iPhone pics. I am definitely pleased with the overall result of this dress. While there are a few things I would do differently next time, I will be wearing this dress often.


IMG_2096


For this “photo shoot” I paired the dress with a wide coral belt, my Cole Haan clutch, Reef flops, and my Kluster coral necklace.


IMG_2101