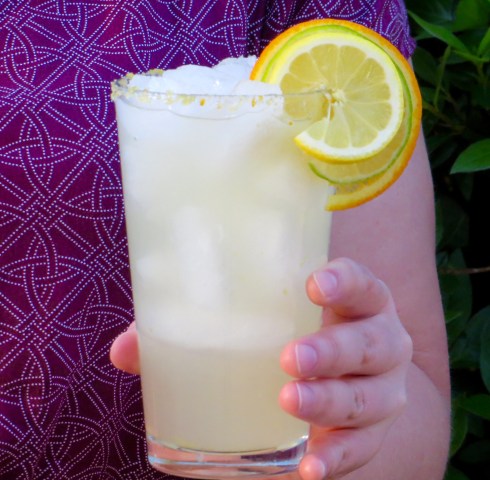
Ever since I was a kid, I have associated Mardi Gras primarily with MoonPies — not beads, parades, etc — just the tasty treats with marshmallow sandwiched between two graham cookies and enrobed in chocolate. Yes, there are other flavors of MoonPies, and even more choices in recent years, but I have eyes only for one variety.
From what I have read, our area (Mobile, Alabama), seems to be more fond of the MoonPie because we throw them more at parades than New Orleans does. We even have a giant, light-up MoonPie drop over the city on New Year’s Eve.

The MoonPie was not created as a Mardi Gras throw, however. In the early 1900s a bakery in Chattanooga, Tennessee, concocted the treat in response to requests from coal miners. It wasn’t until the 1970s that the MoonPie became the preferred throw of revelers. You can read more about the MoonPie’s history here.
I have been going through a big cooking phase lately, and one of my favorite places to get recipes has been magazines — Bon Appetit, Garden and Gun, Food and Wine, etc. When I saw this recipe for DIY MoonPies in a recent Garden and Gun, I knew I had to try it. It would satisfy my sweet tooth and let me try my hand at homemade marshmallow for the first time.

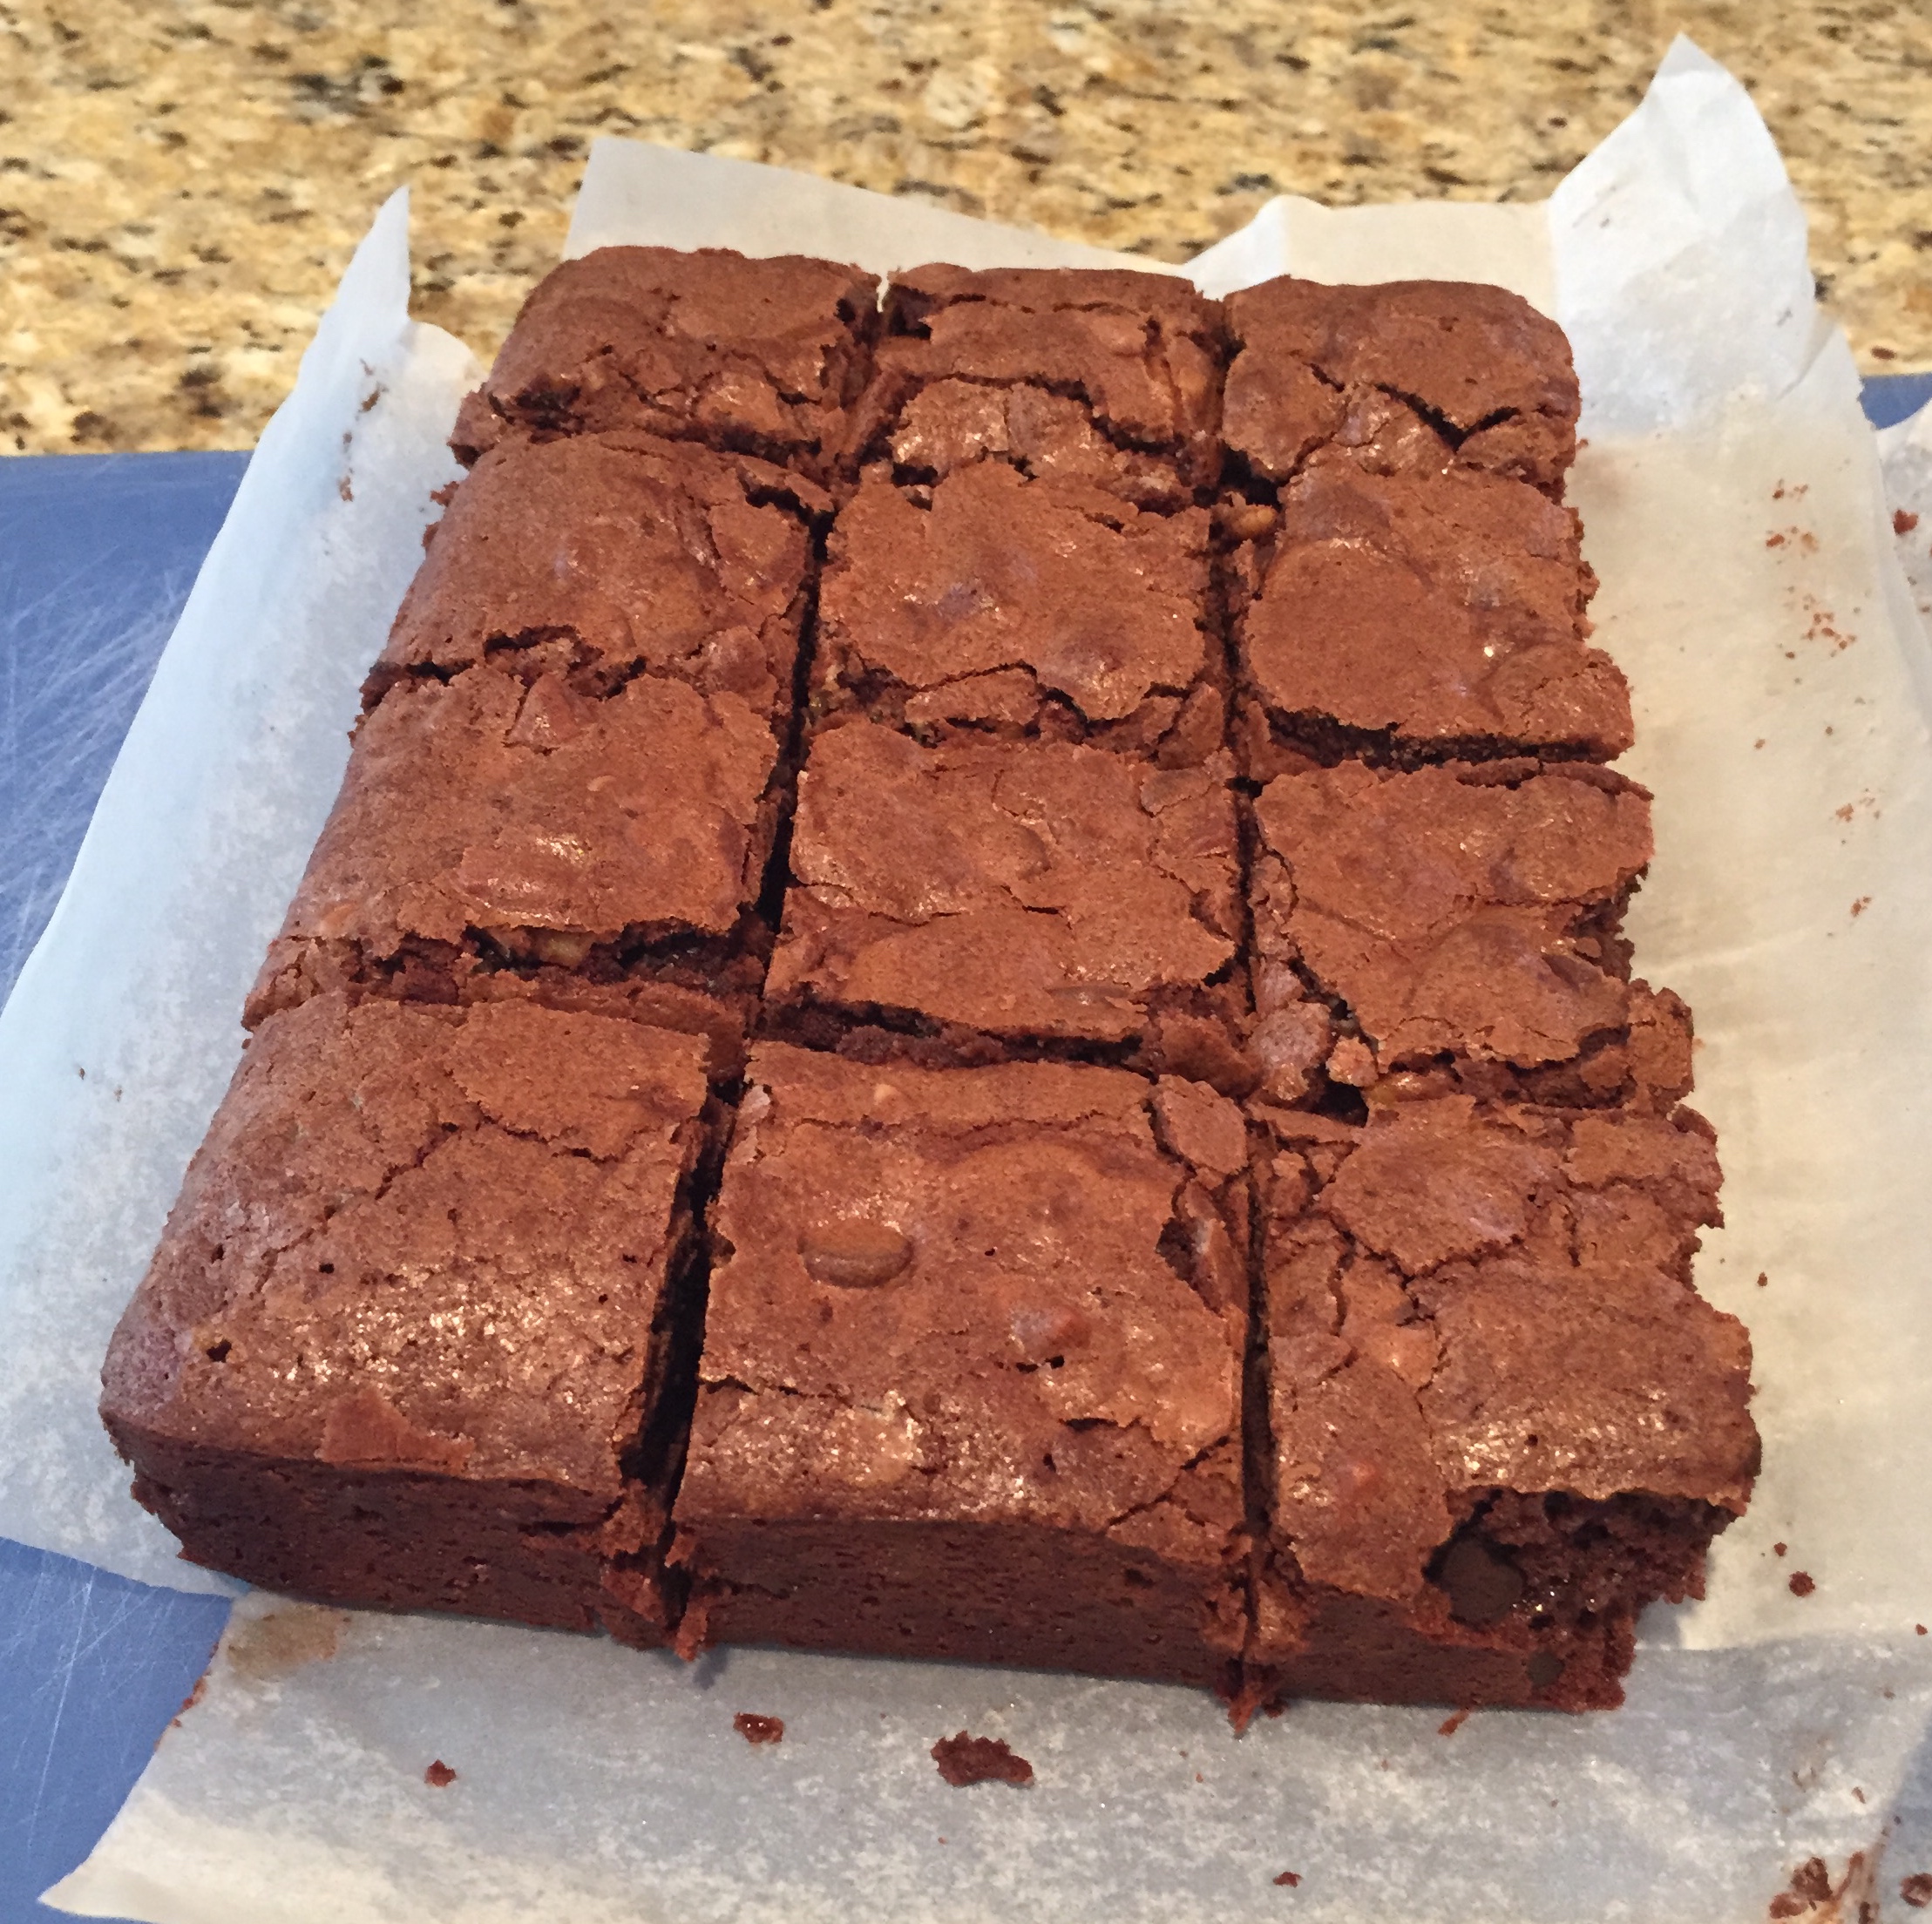
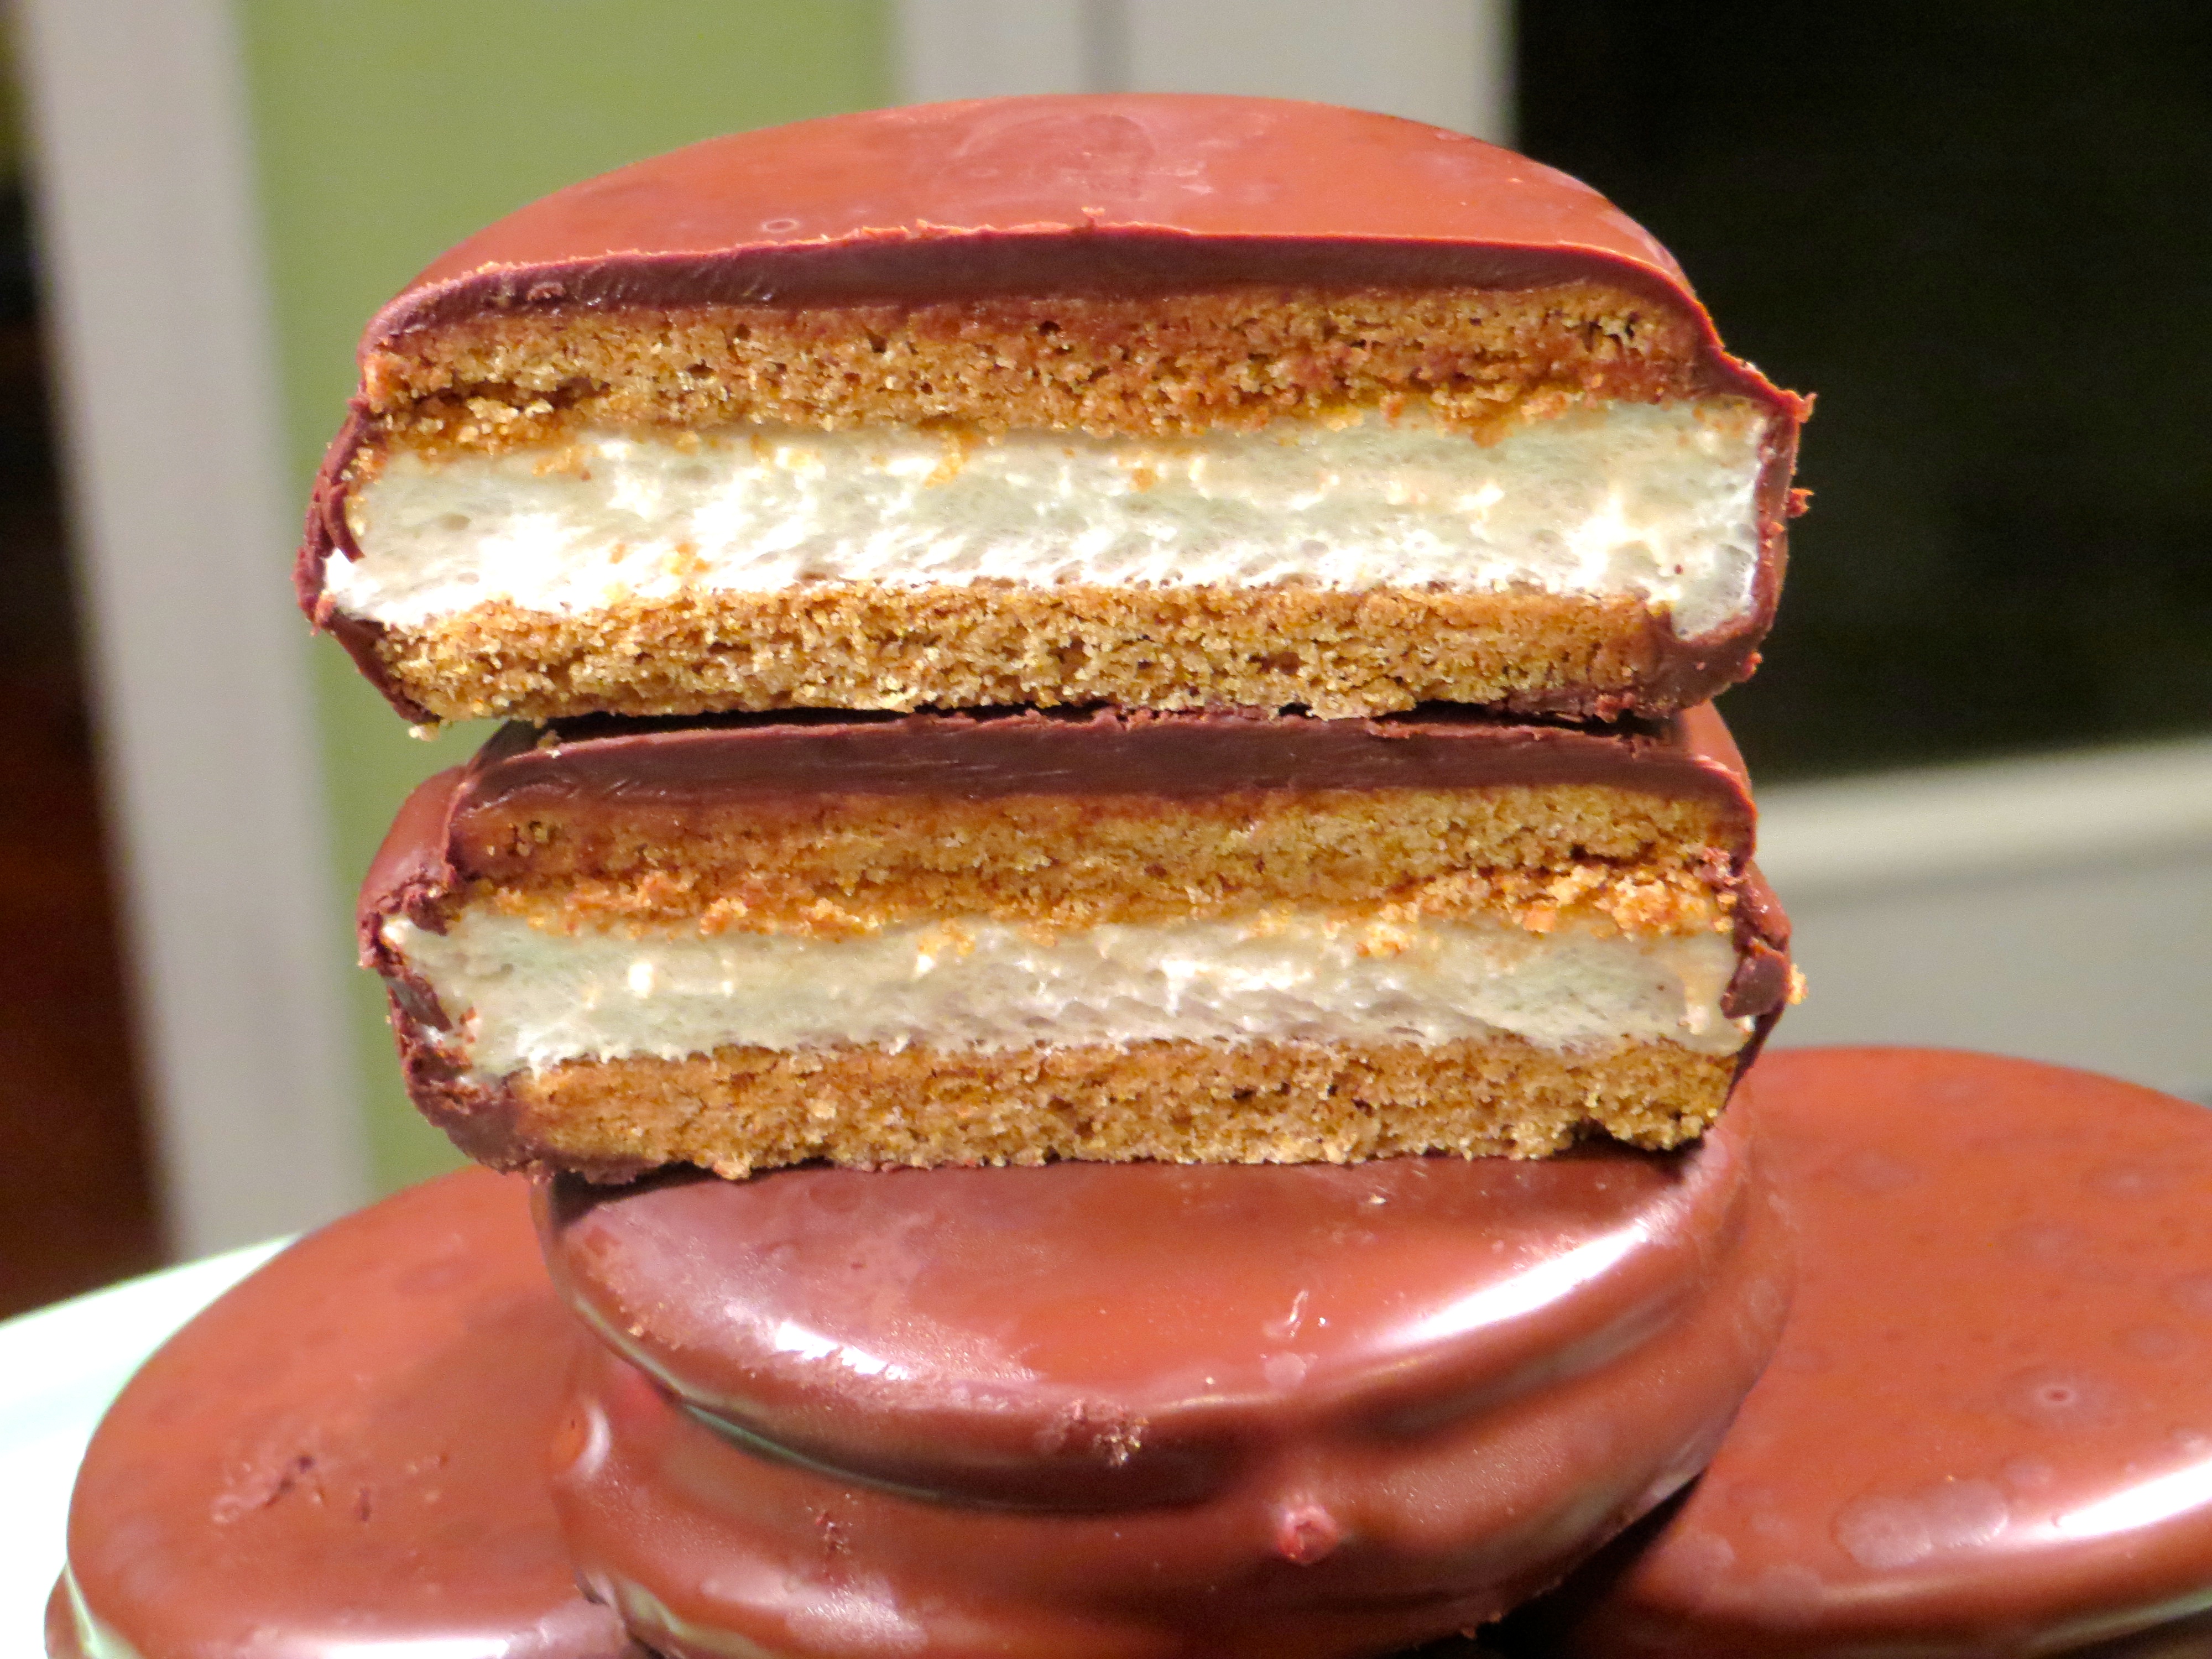
The recipe is simple although it does involve multiple steps best conducted over a couple of days. It yields a tasty, satisfying treat reminiscent of the holiday classic but without the near stale texture that packaged MoonPies always seem to have. The graham cookie in this recipe is light and tender, the marshmallow sweet and fluffy, and the chocolate rich and silky.

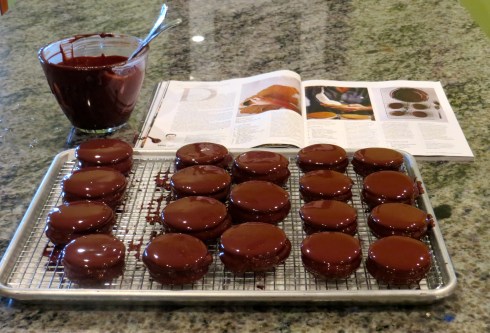
Can you see my reflection in the chocolate? It was so shiny when it was first poured!
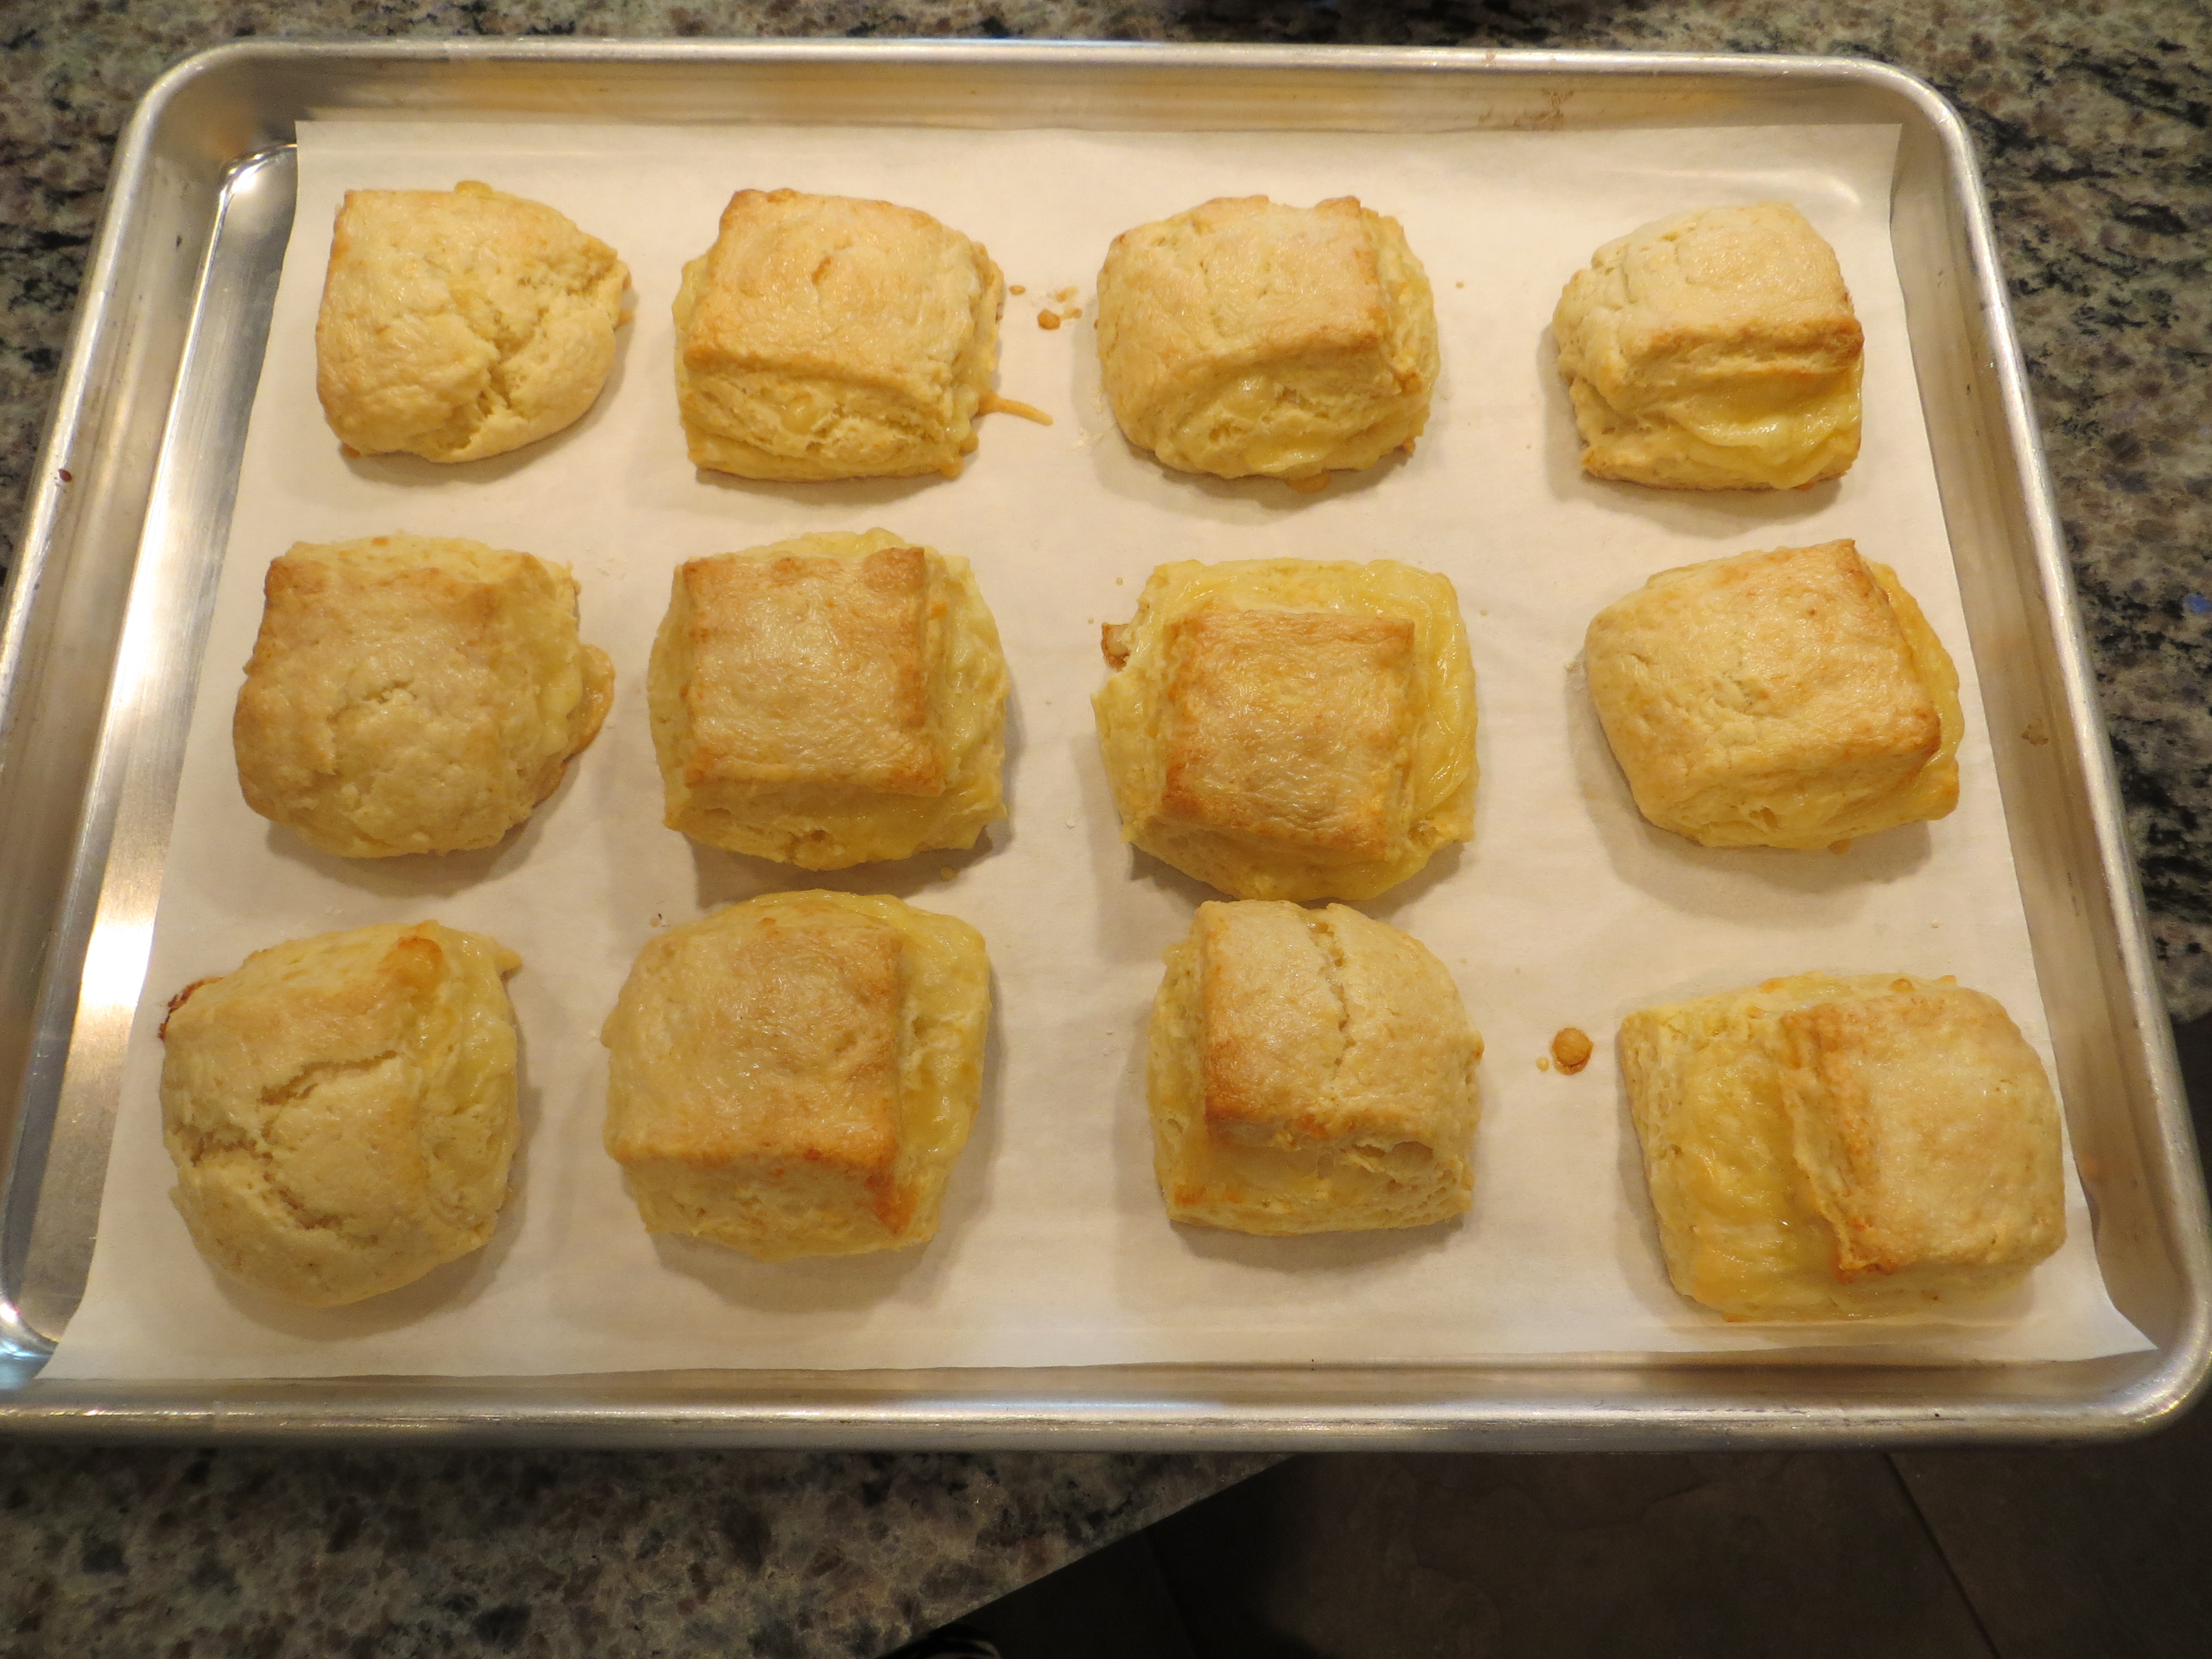
My only modification from the printed recipe was to cut the cookies with a 2 1/4″ cutter rather than a 3″. This yielded 19 sandwich cookies. The recipe also made a ton of marshmallow so I have scaled down the recipe here for you so you won’t have a ton of leftover fluff.
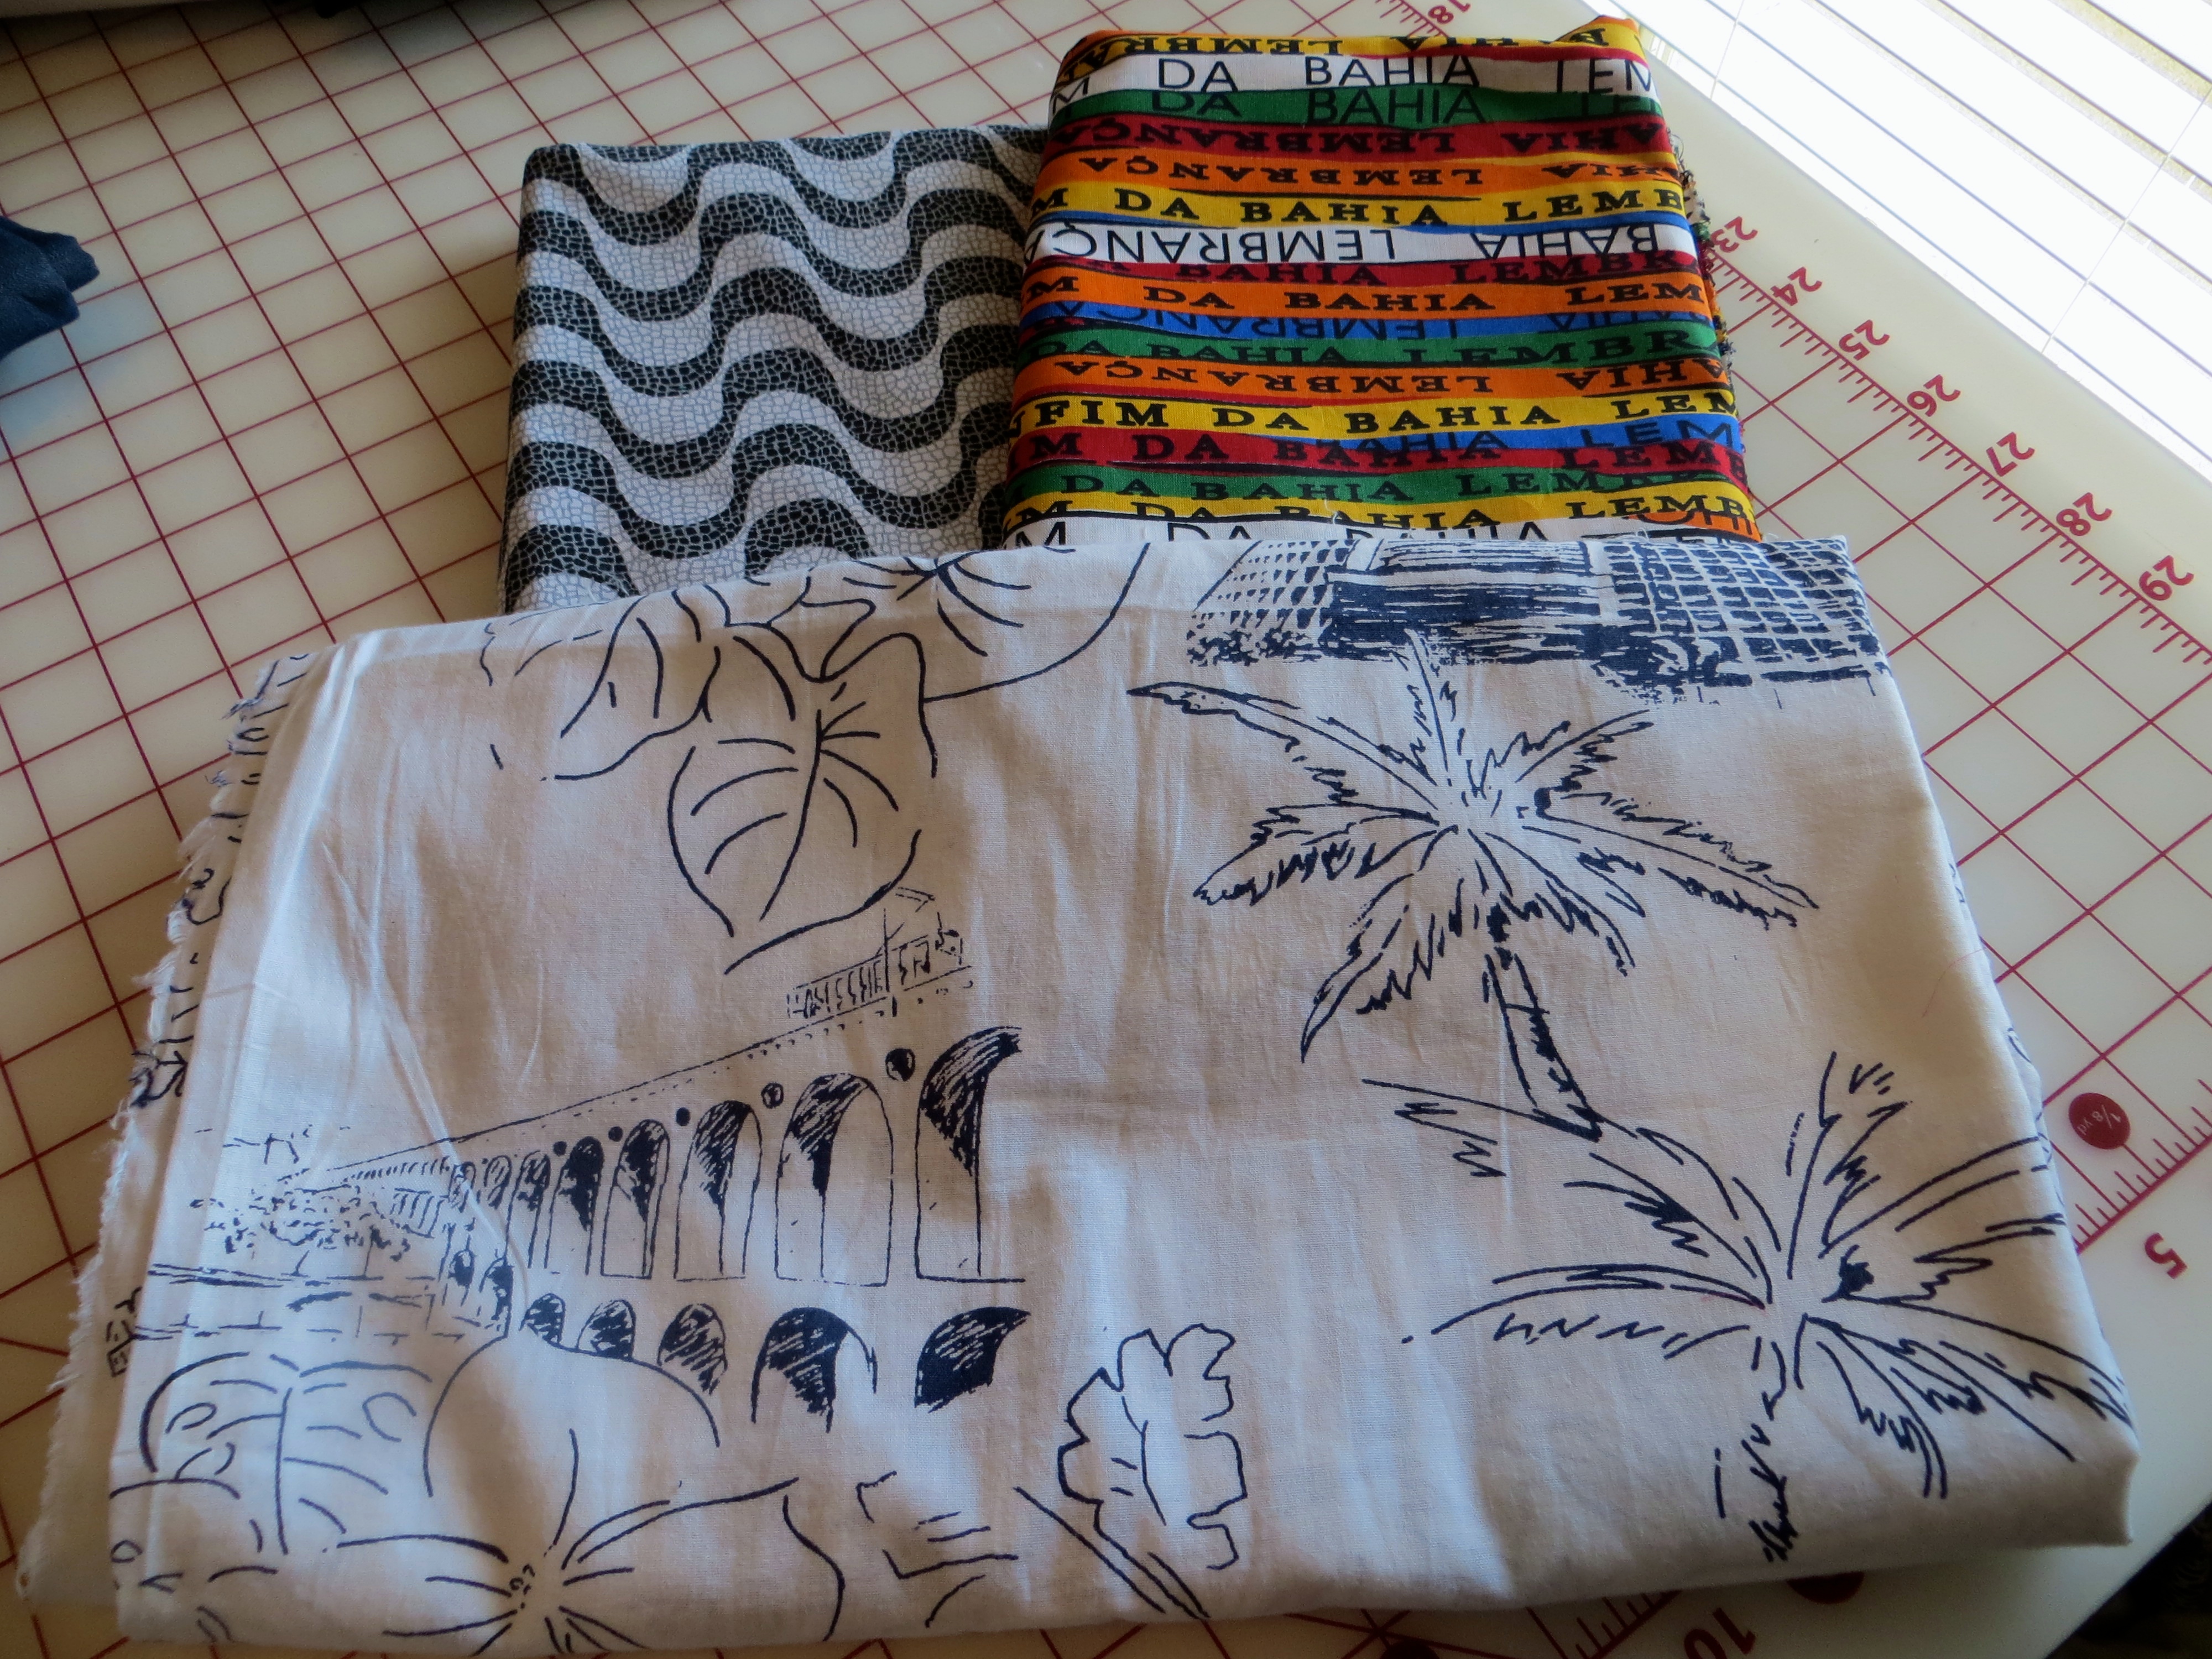
I also wanted to make mention of two fabric acquisitions recently added to my stash. The first was a gift from a very special lady who is a blog reader and mother of a sweet little patient. She is from Brazil and brought these fabrics back for me from her recent trip home. Each fabric represents different parts of Brazilian history and is made from very soft cotton. Can’t wait to use these in a project. Thanks, Bruna!

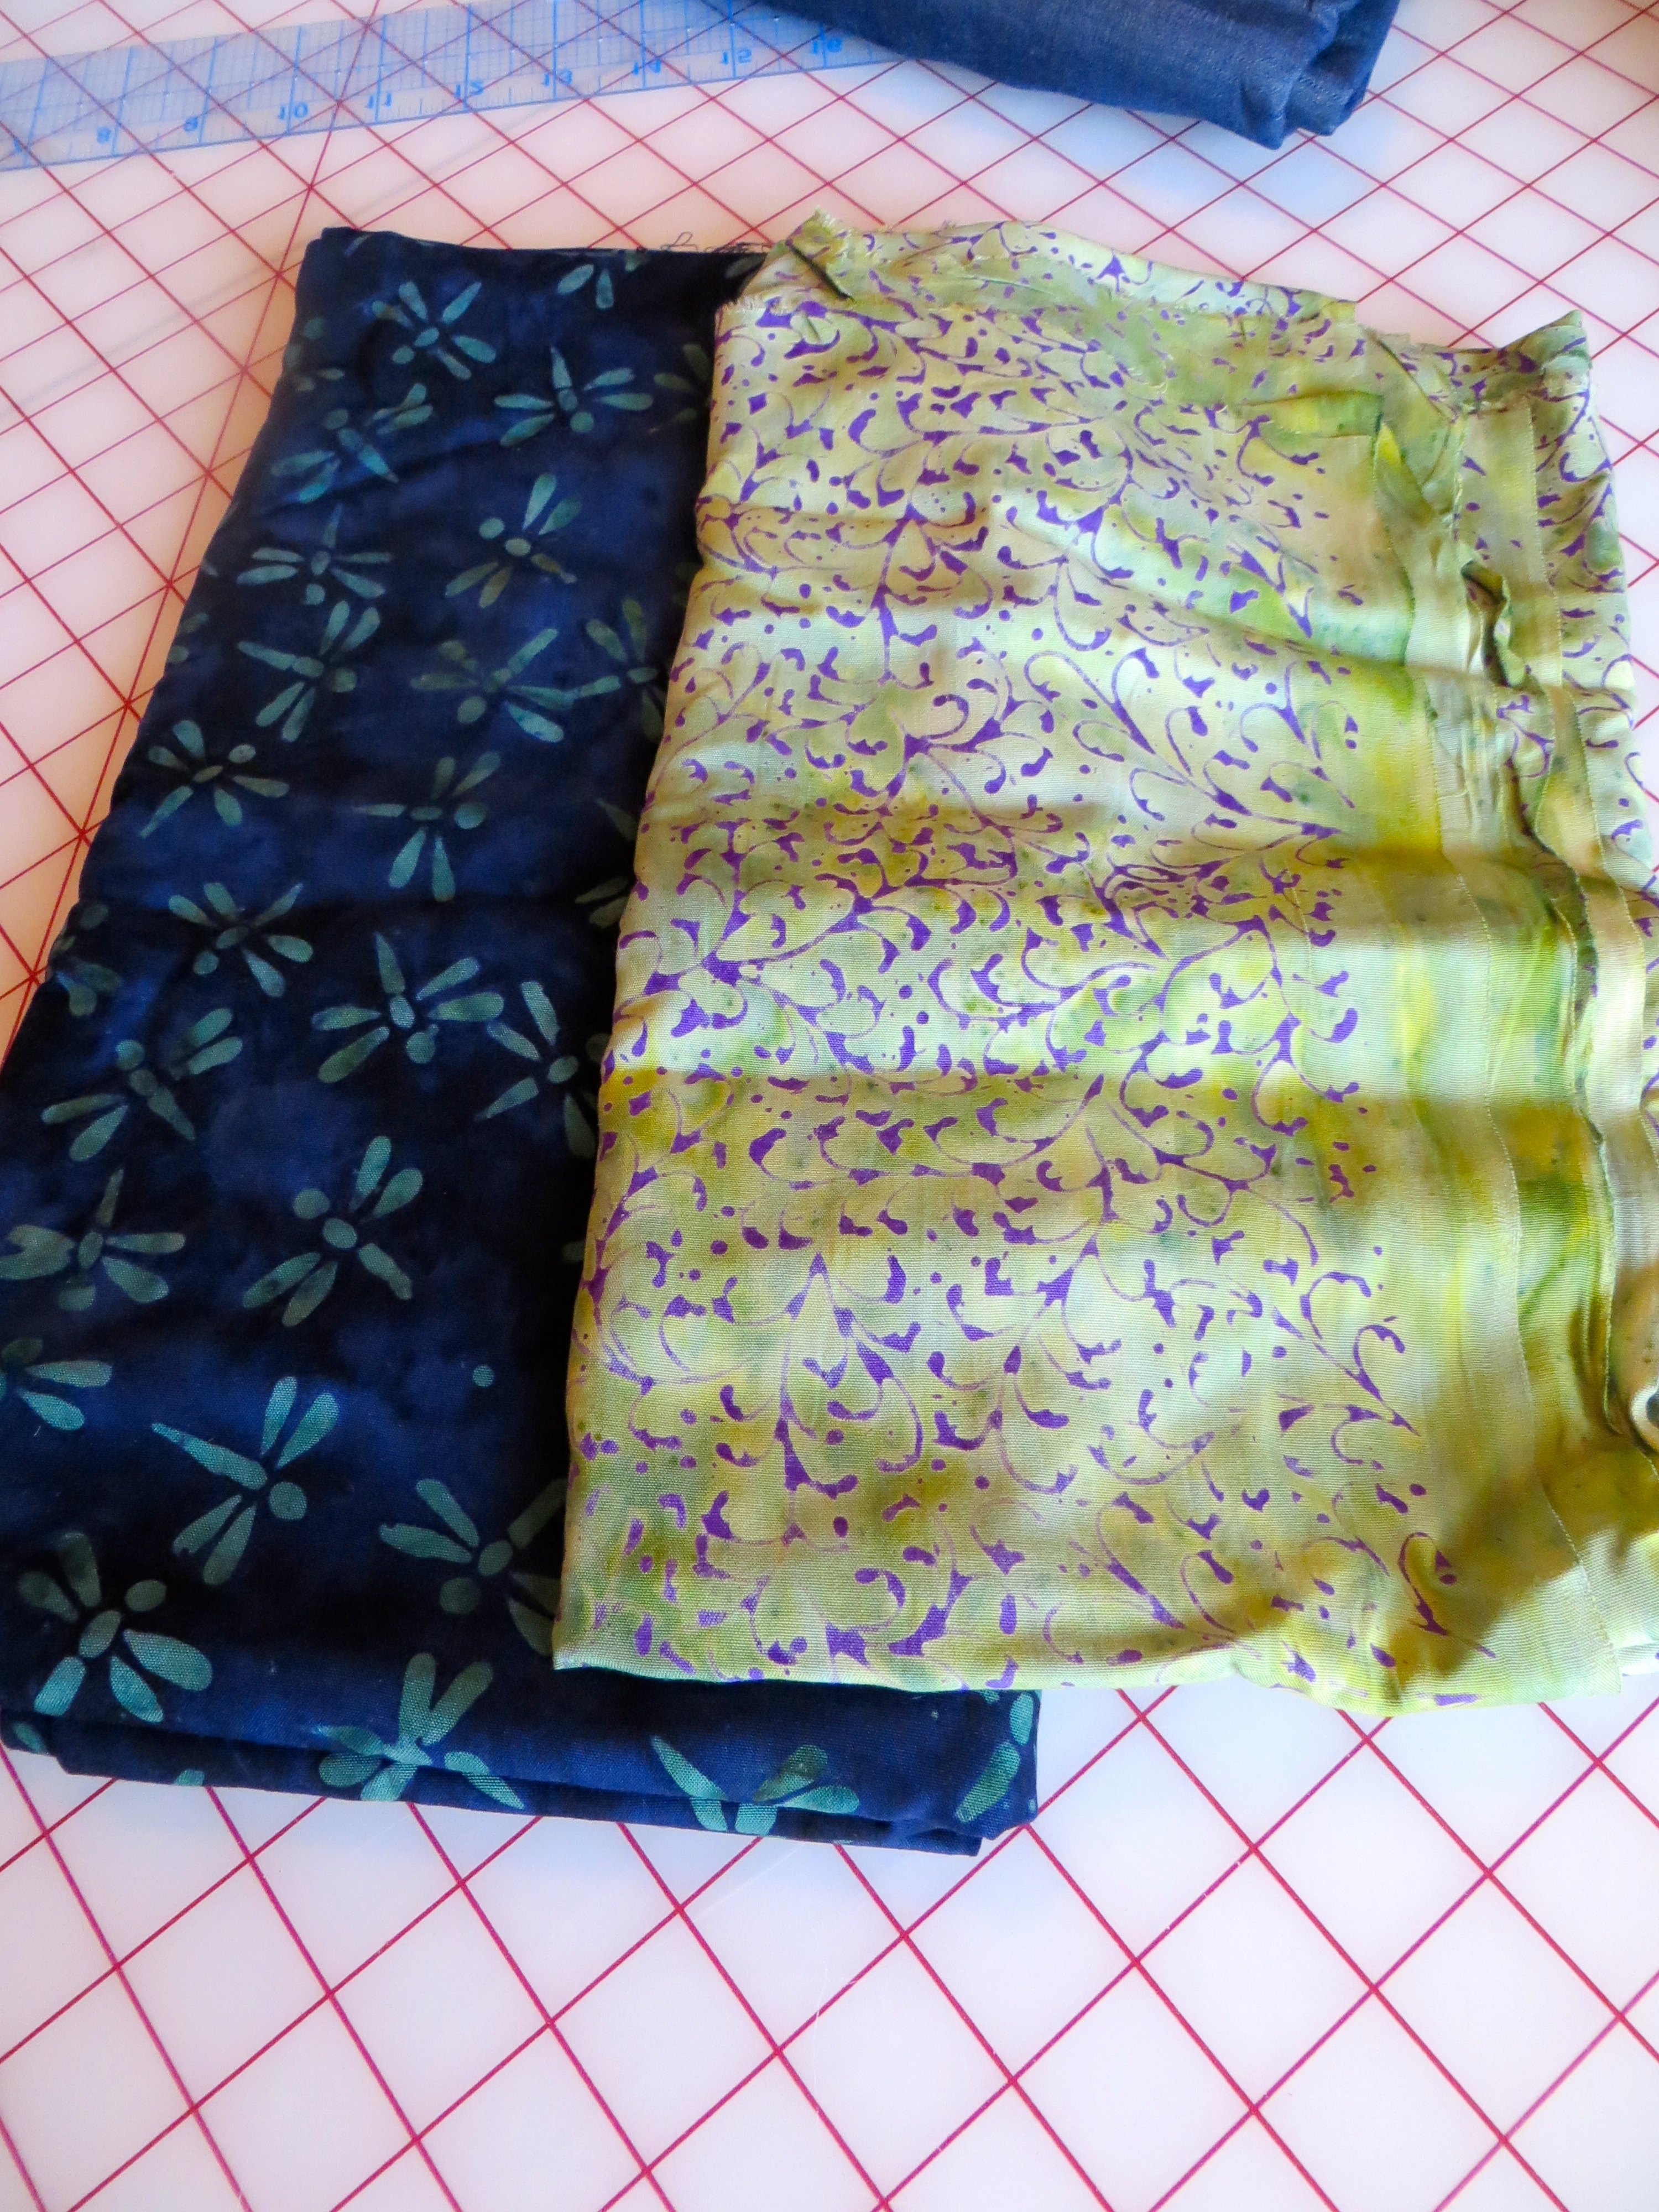
The next two pieces of fabric were bought on the US Virgin Island, St. John, during my recent cruise. On our way back to the ship, we stopped in a little retail area for a bite to eat. Walking in, I noticed a store called the Fabric Mill. Of course I had to check it out! It was owned by a nice lady from New York City who had studied fashion design but moved to St. John (I am guessing for the weather or when she retired). The wall behind her register was covered with bolts of beautiful rayon and cotton batiks. I picked up a few yards of my two favorite rayons. She also carried a nice selection of clothing and accessories, and I bought a cute sun hat to shade my pasty white face.

Homemade MoonPies
Cookie Dough
6 ounces (1 1/2 sticks) unsalted butter
¼ cup light brown sugar, firmly packed
¼ cup cane syrup (I used Alaga)
¼ teaspoon vanilla extract
1½ cups all-purpose flour
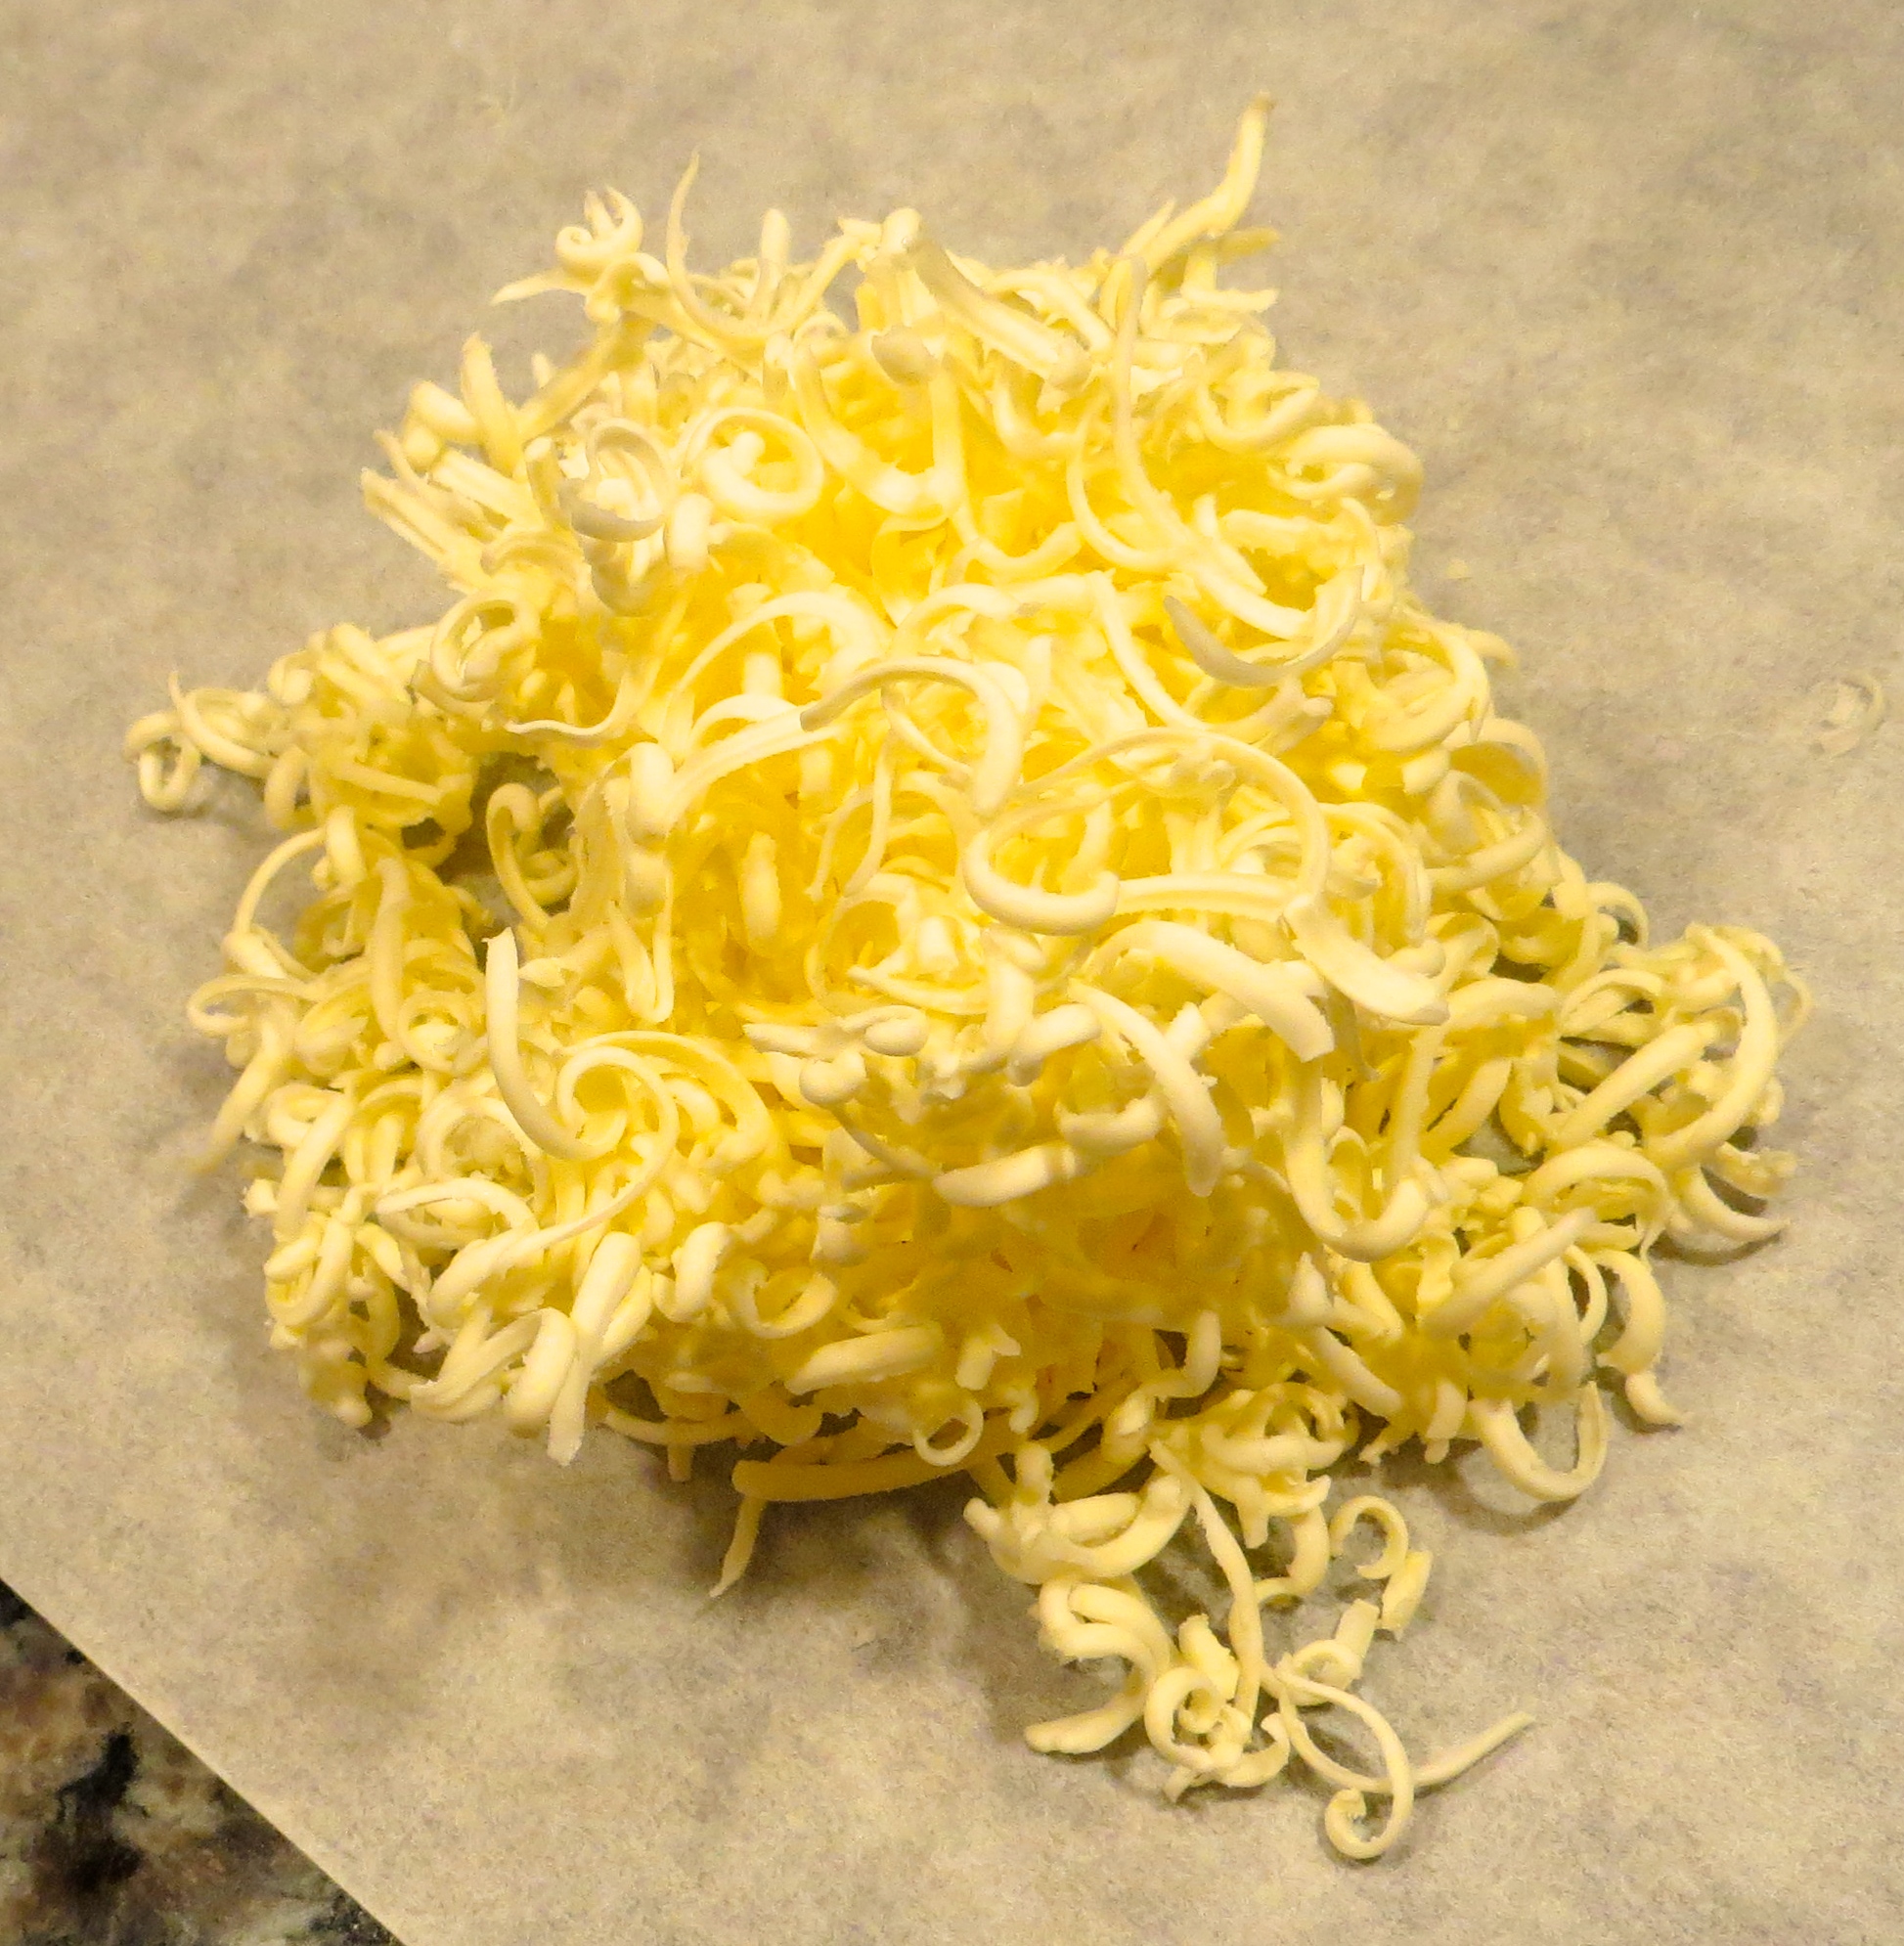
1¼ cups graham cracker crumbs, ground fine (approximately 1 whole sleeve of crackers)
¾ teaspoon kosher salt
½ teaspoon baking powder
½ teaspoon baking soda
¼ teaspoon ground cinnamon
2 Tablespoons whole milk
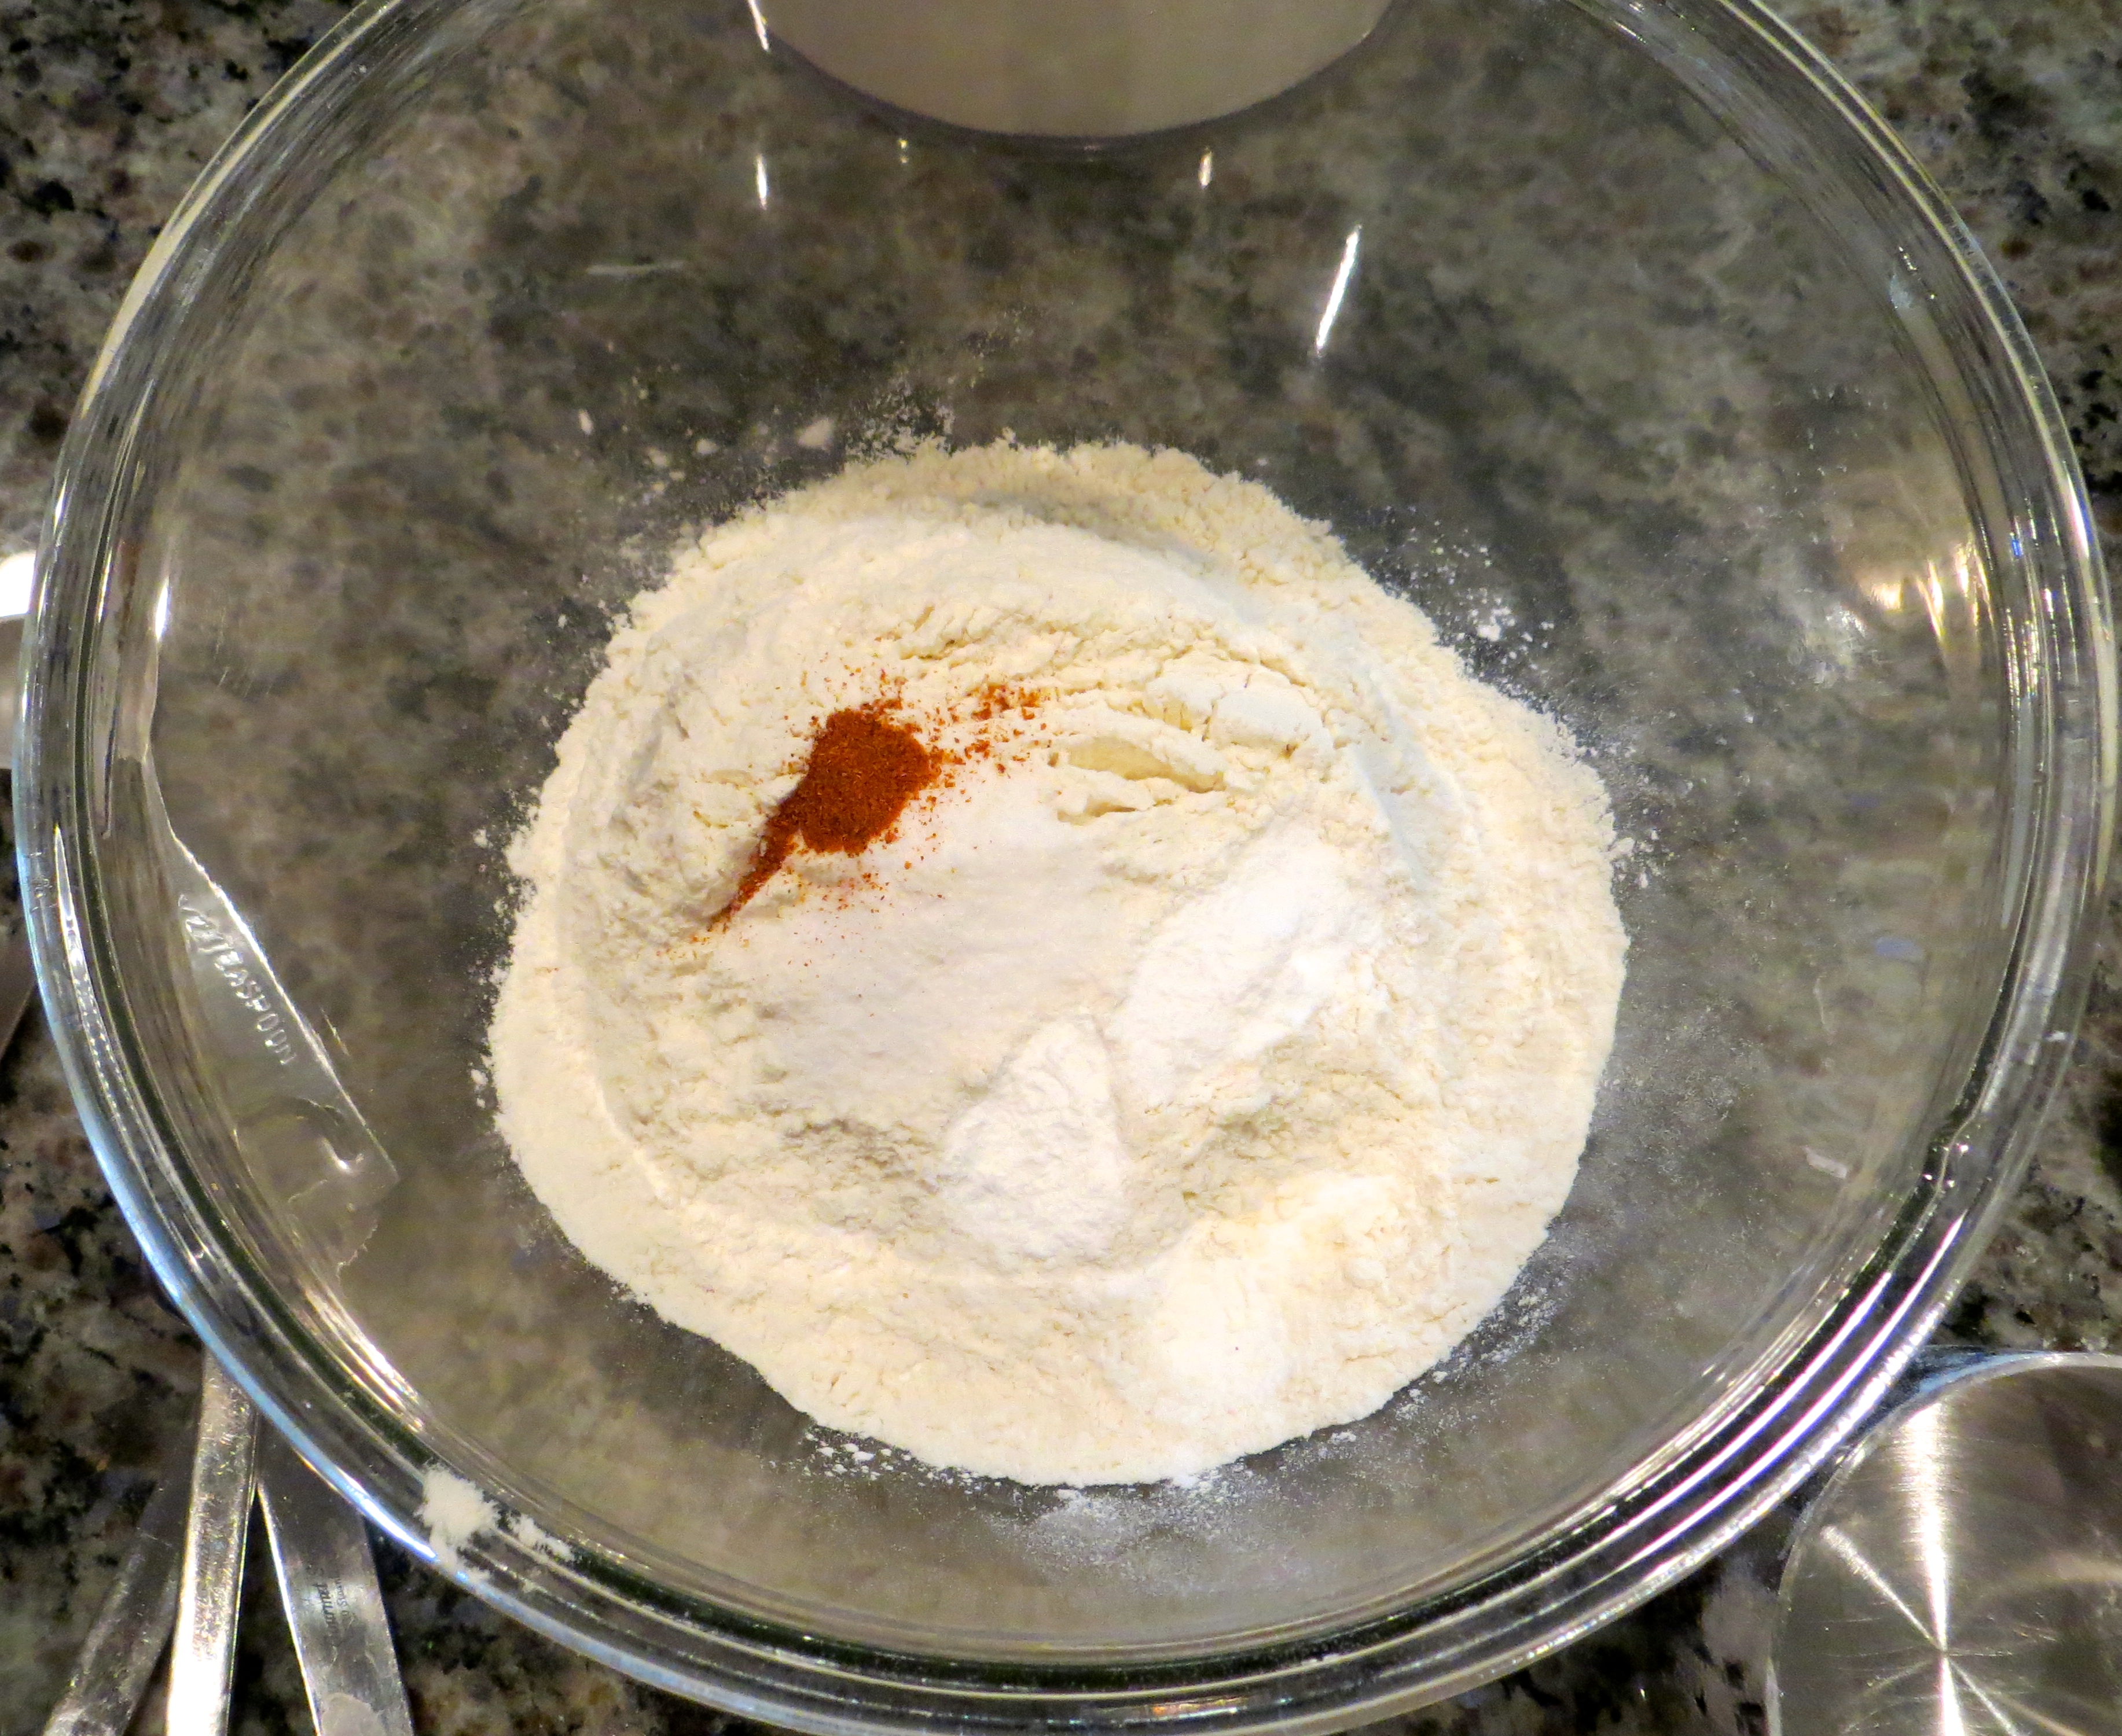
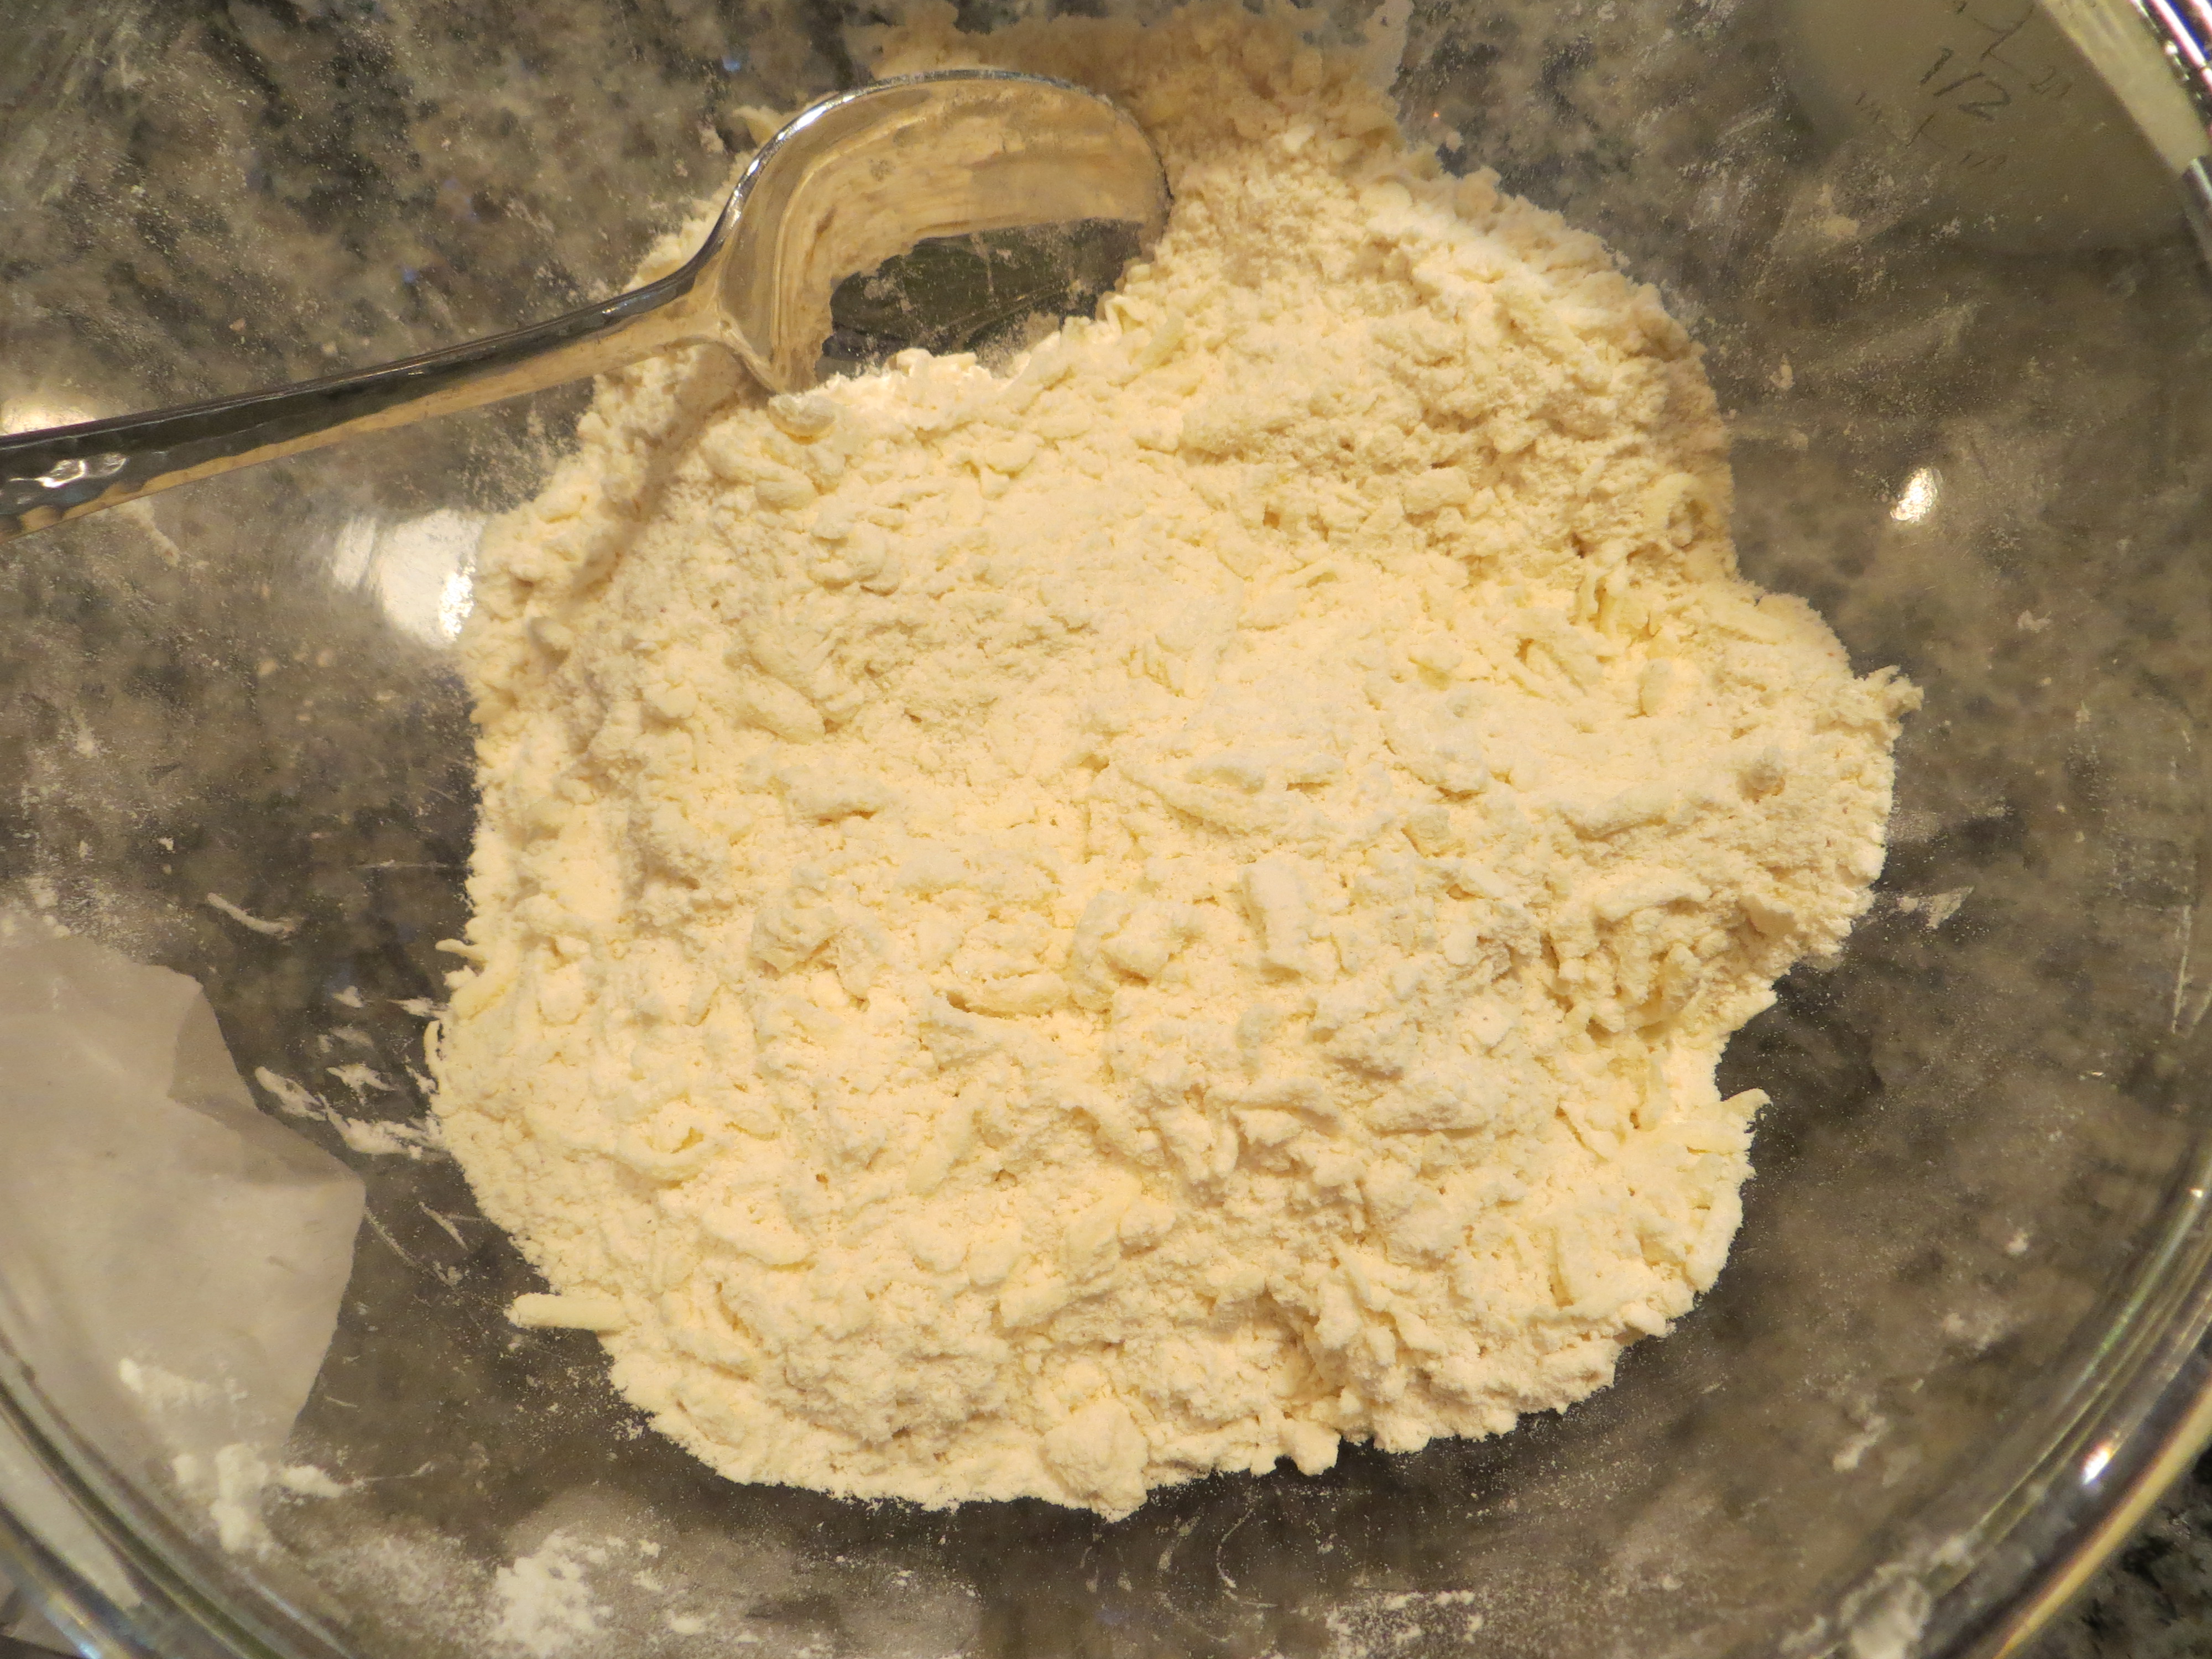
Cream butter, brown sugar, syrup, and vanilla in the bowl of an electric mixer fitted with the paddle attachment for 1 minute. In a separate bowl, combine the dry ingredients and whisk to combine.
Add the dry ingredients to the butter mixture and mix on low speed; slowly stream in the milk.
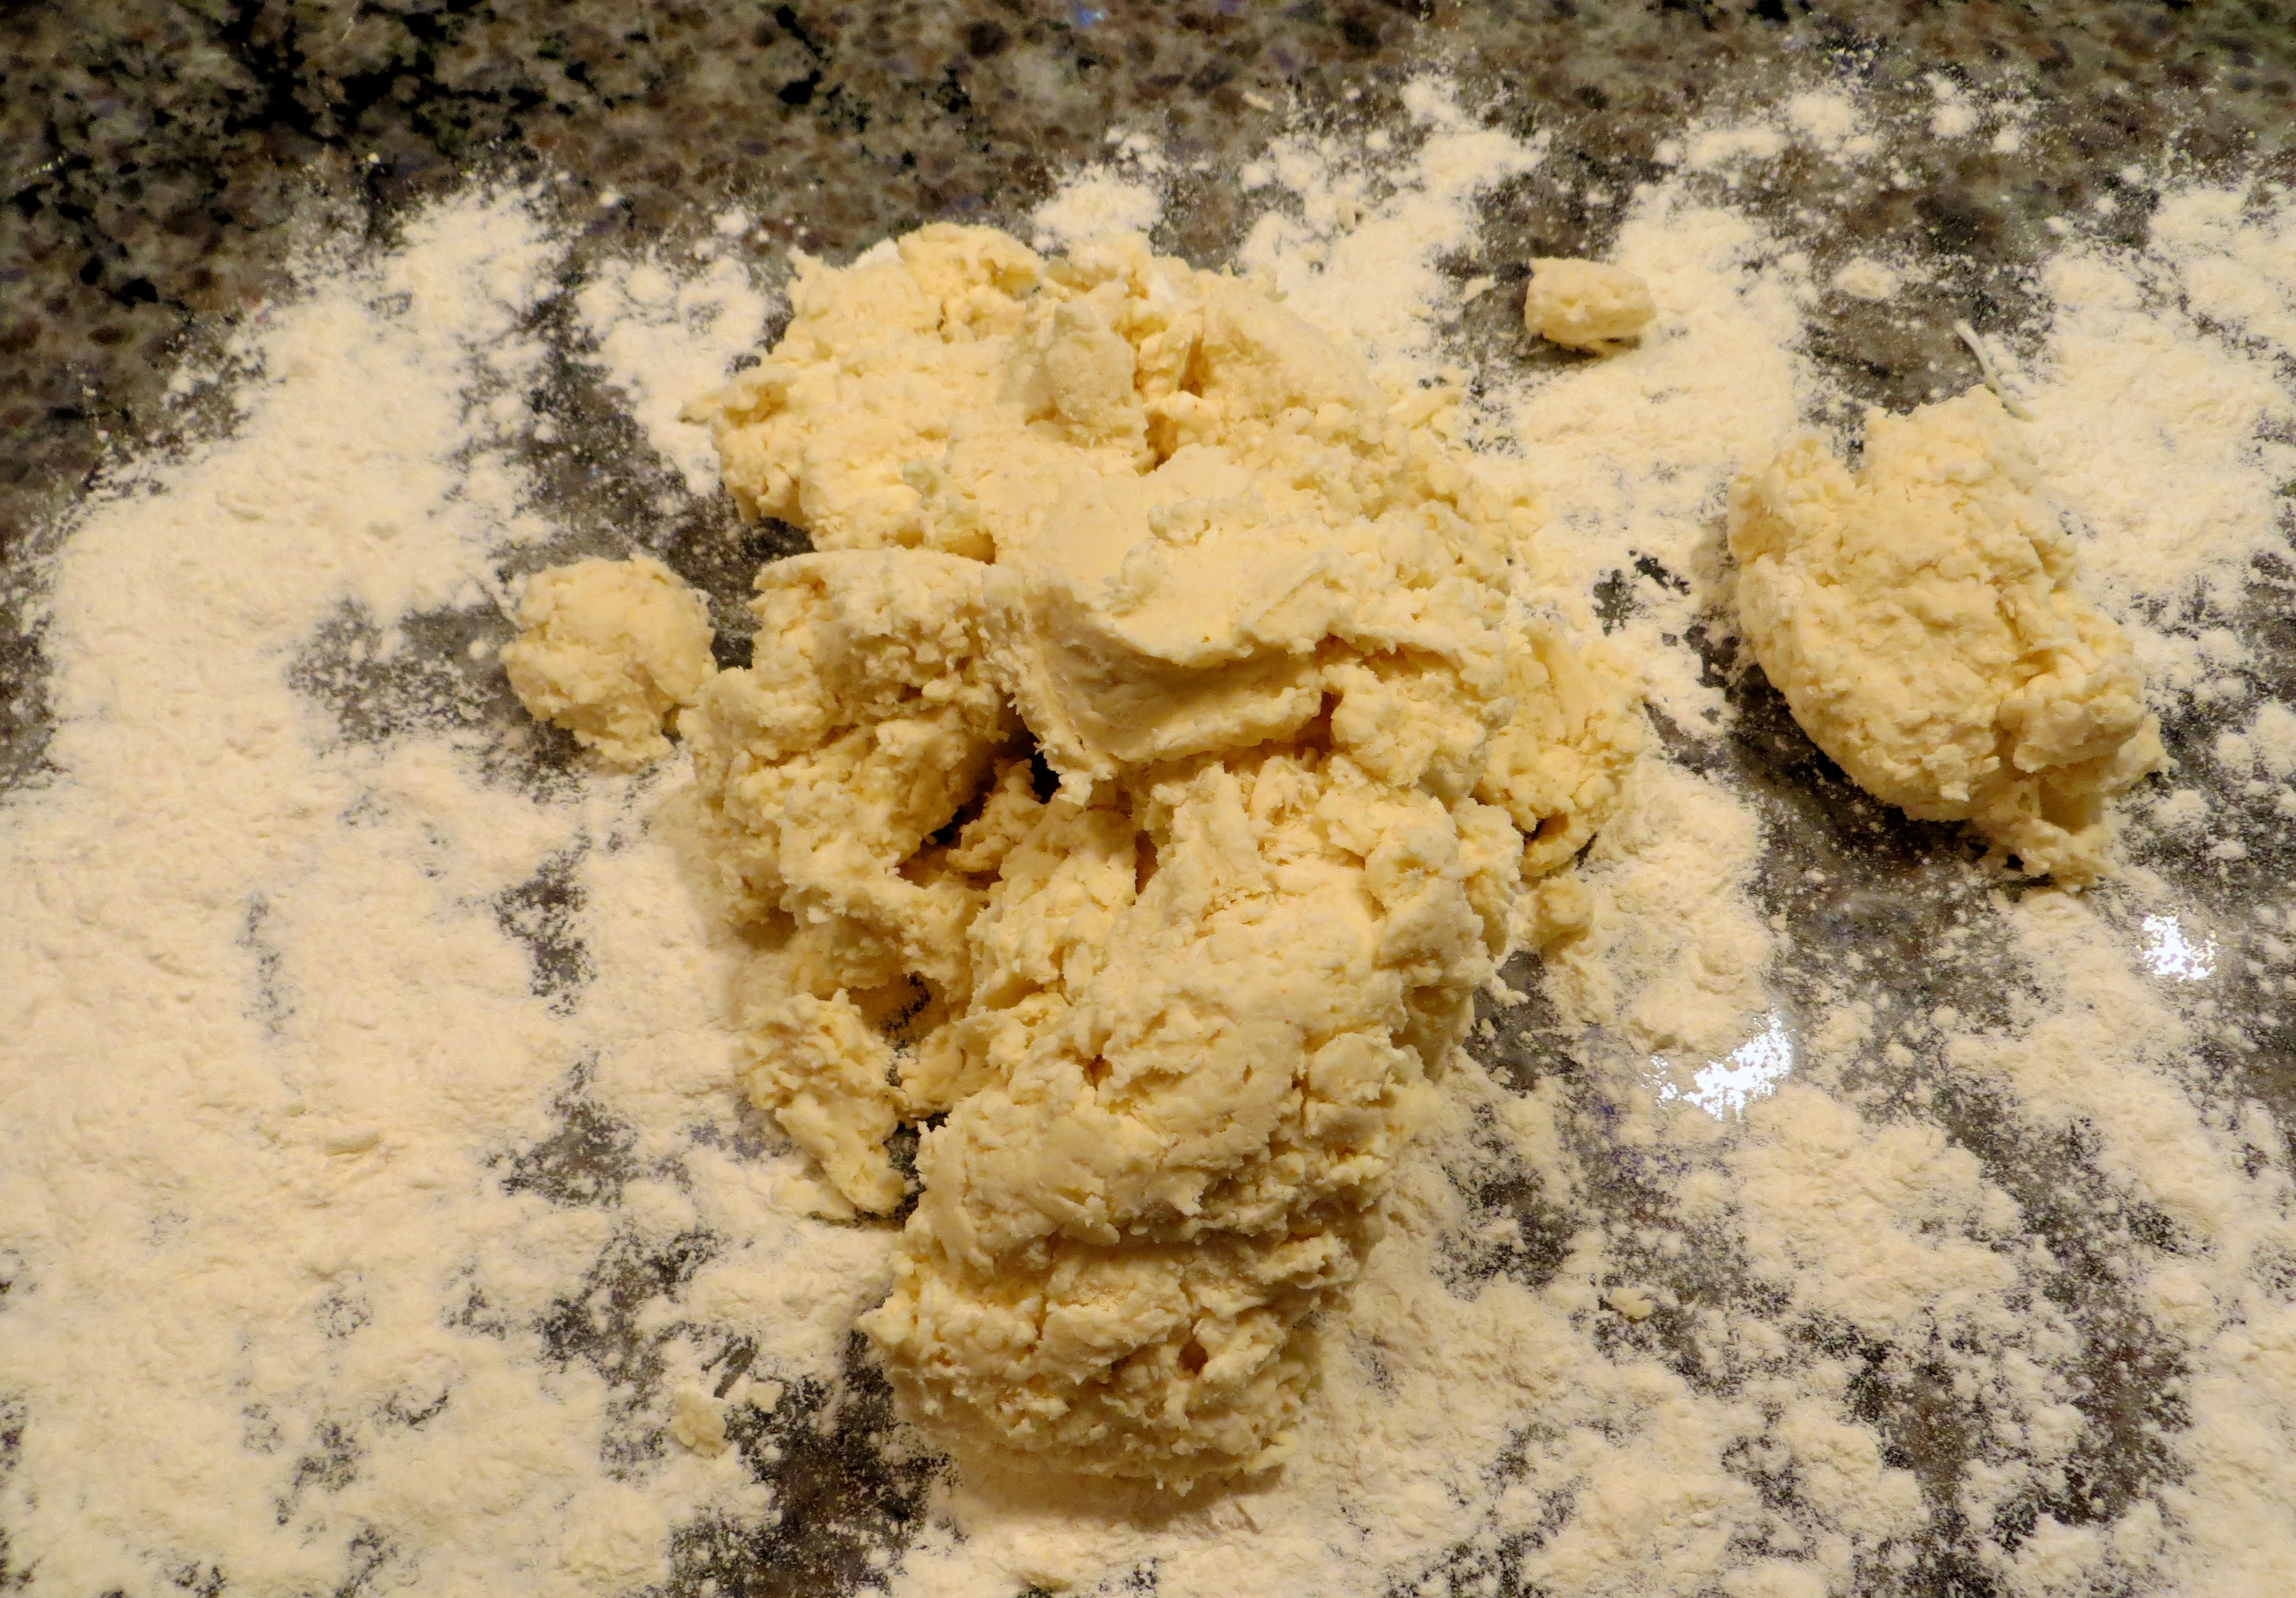
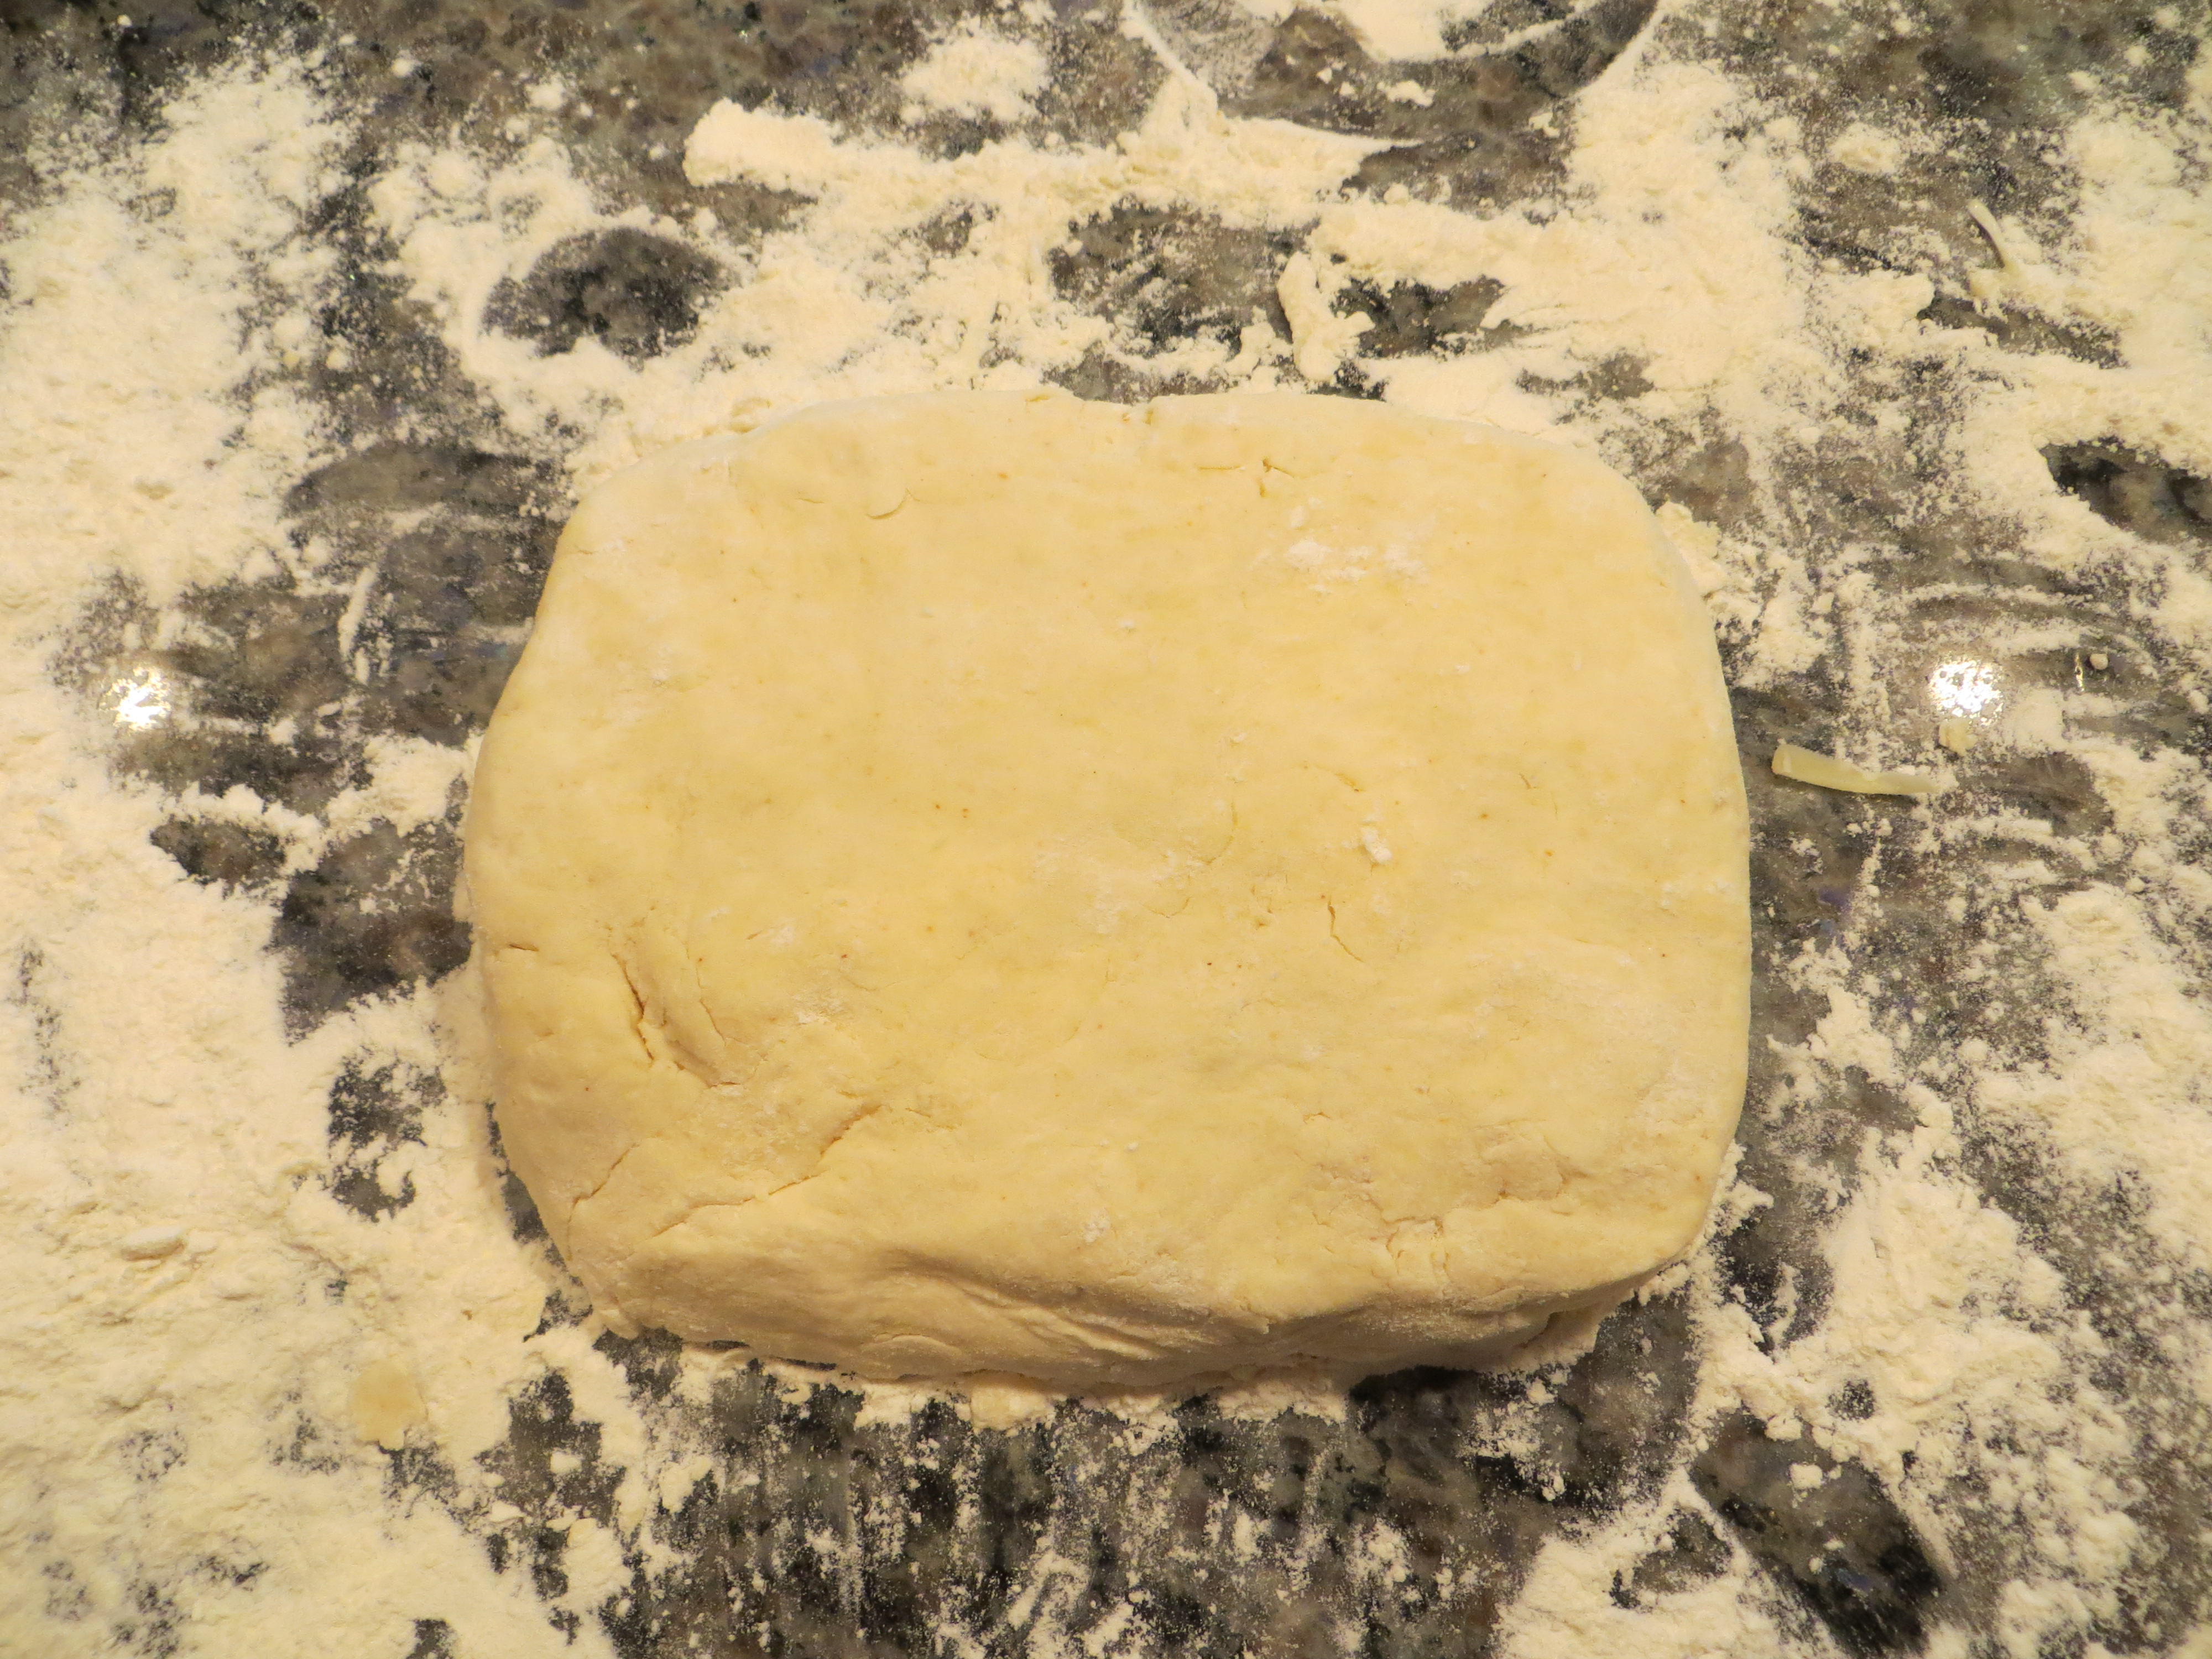
Continue mixing until the dough comes together. Press the dough into a disk, wrap it in plastic, and refrigerate it for at least 1 hour (I refrigerated mine for a day and let it thaw at room temperature for 30 minutes).
Preheat the oven to 325 degrees.
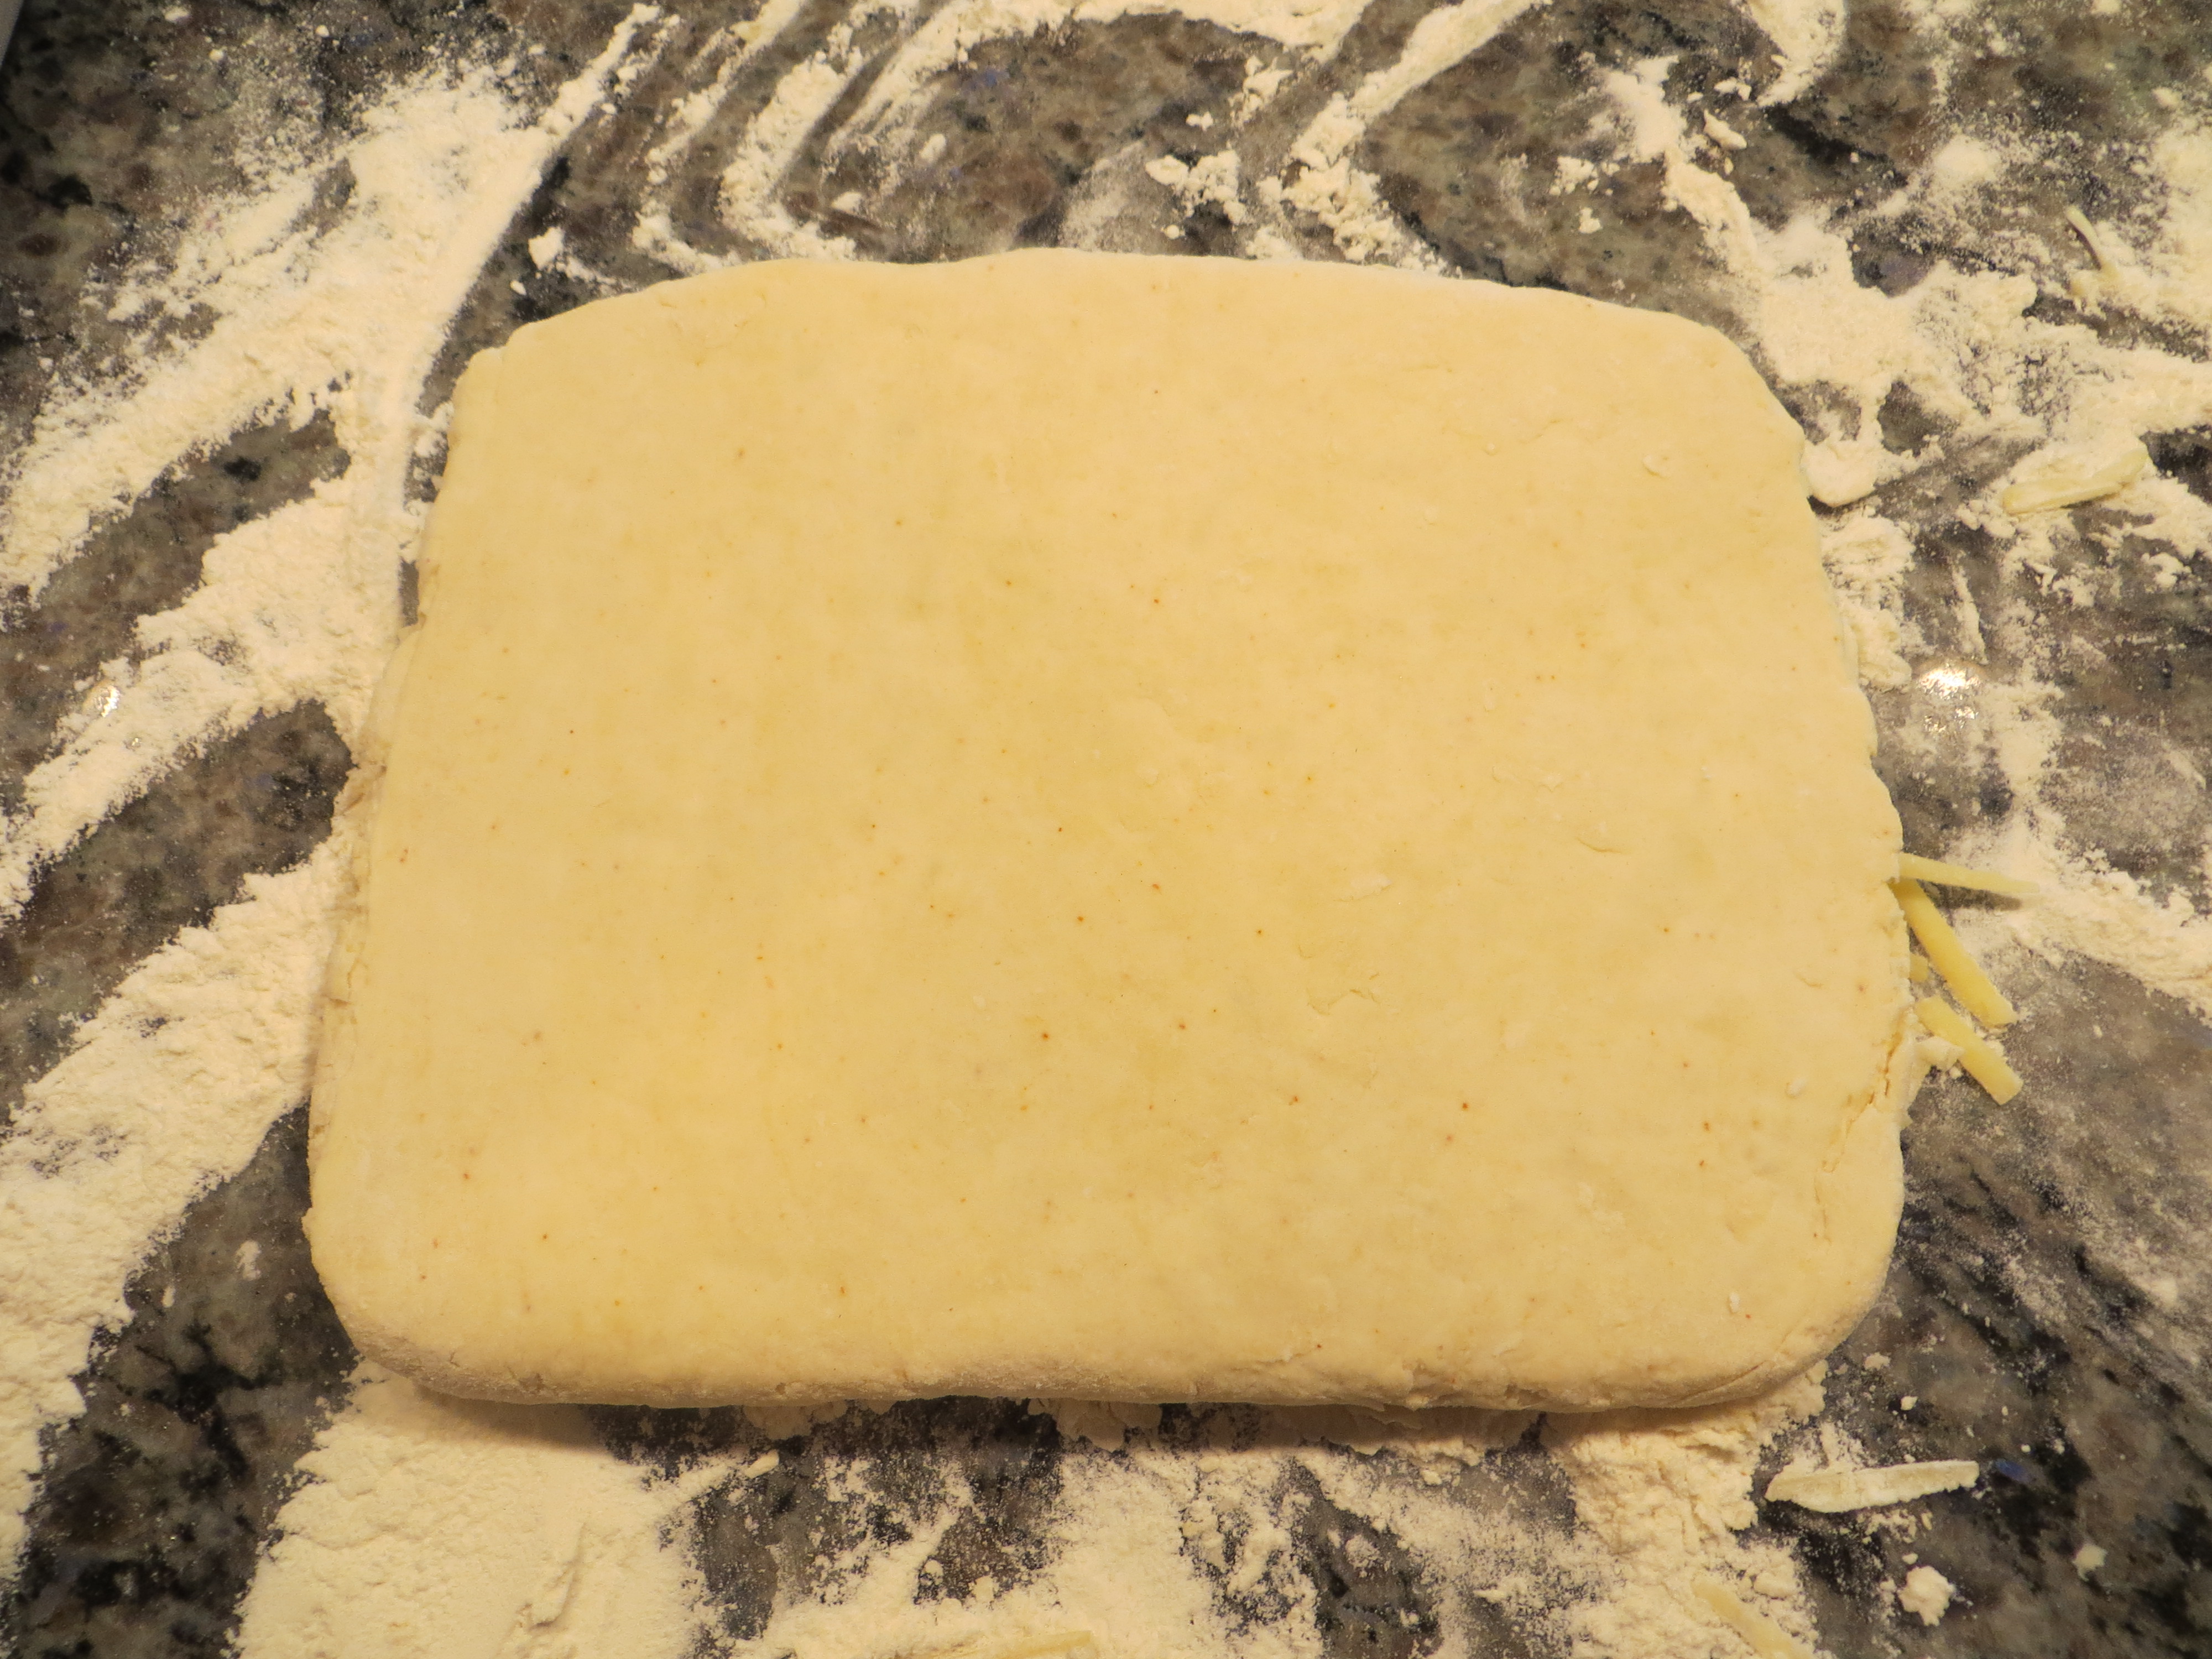
Turn out the chilled dough onto a floured surface, then roll it to ¼” thick. Stamp out cookies using a 2- or 3-inch round cookie cutter (yield will depend on size and thickness).
Place cookies 2″ apart on a parchment-lined baking sheet and bake for 10 to 12 minutes. Remove the cookies from the oven and cool completely.
You can start the marshmallow while the cookies are cooling if you are making it all at one time.
Marshmallow
2 3/4 teaspoons powdered gelatin
5 Tablespoons plus 1 teaspoon water, ice-cold, plus ¼ cup at room temperature
2 Tablespoons plus 2 teaspoons light corn syrup
2 Tablespoons honey
1/2 cup granulated sugar
2 large egg whites
Sprinkle gelatin over ice-cold water and set aside.
Combine room-temperature water, corn syrup, honey, and sugar in a small pot, insert candy thermometer, and simmer until mixture reaches 240 degrees. When the thermometer reaches 200 degrees—but not before—place egg whites in the bowl of an electric mixer fitted with a whisk attachment, and whip on high.
Once the sugar mixture hits 240, remove it from the heat, and stir in the bloomed gelatin. Then, while egg whites are whipping, slowly drizzle the hot sugar mixture down the inside of the bowl to avoid spattering the hot syrup. I find this easiest to do using a glass measuring cup with a pour spout (like a Pyrex). Continue whipping for an additional 8-10 minutes, until the mixture stiffens. The mixer bowl will still feel warm to the touch but no longer hot.
Match up the cookies in pairs according to size. Flip over half of the cooled cookies. Lightly coat a spoon with nonstick cooking spray, and spoon approximately a quarter cup of marshmallow onto each flipped cookie (less if you used a smaller cutter). Use the remaining cookies as tops; gently push down until you can see the marshmallow come just to the edge. Chill in refrigerator for at least 15 minutes while making the chocolate coating.
Chocolate Coating
1 lb. bittersweet chocolate (61%–70% cacao)
2 tbsp. vegetable oil or canola oil
Melt chocolate in a heatproof bowl in the microwave in 30 second intervals, stirring after each interval. Once only a few unmelted chunks remain, remove from microwave and stir until chocolate is smooth. Let it cool slightly and once the chocolate is no longer hot, slowly whisk in the oil in a steady stream. Allow the chocolate to cool for about 5 minutes before proceeding with assembly. Depending on your cookie yield, you can probably get away with 12 ounces of chocolate and 1 1/2 tablespoons of oil. With my 19 two-inch cookies, I had a fair amount of chocolate left over.
Assembly
Line a cookie sheet with parchment or foil and place a cooling rack inside. This will allow extra chocolate to drip off the cookies while they set. The lining will make clean up easier. Submerge chilled cookies in the melted chocolate, using a fork to gently lift the sandwiches out of the bowl, scraping excess chocolate on the side of the bowl. Place on cooling rack and let set until shell hardens (several hours in my case). Store in an airtight container.
Adapted from Garden and Gun Feb/Mar 2014.

Tags: chocolate, cookies, fabric, mardi gras