Howdy, friends! I hope this missive finds you well. I have been doing some sewing and knitting lately and finally have something finished to show you!

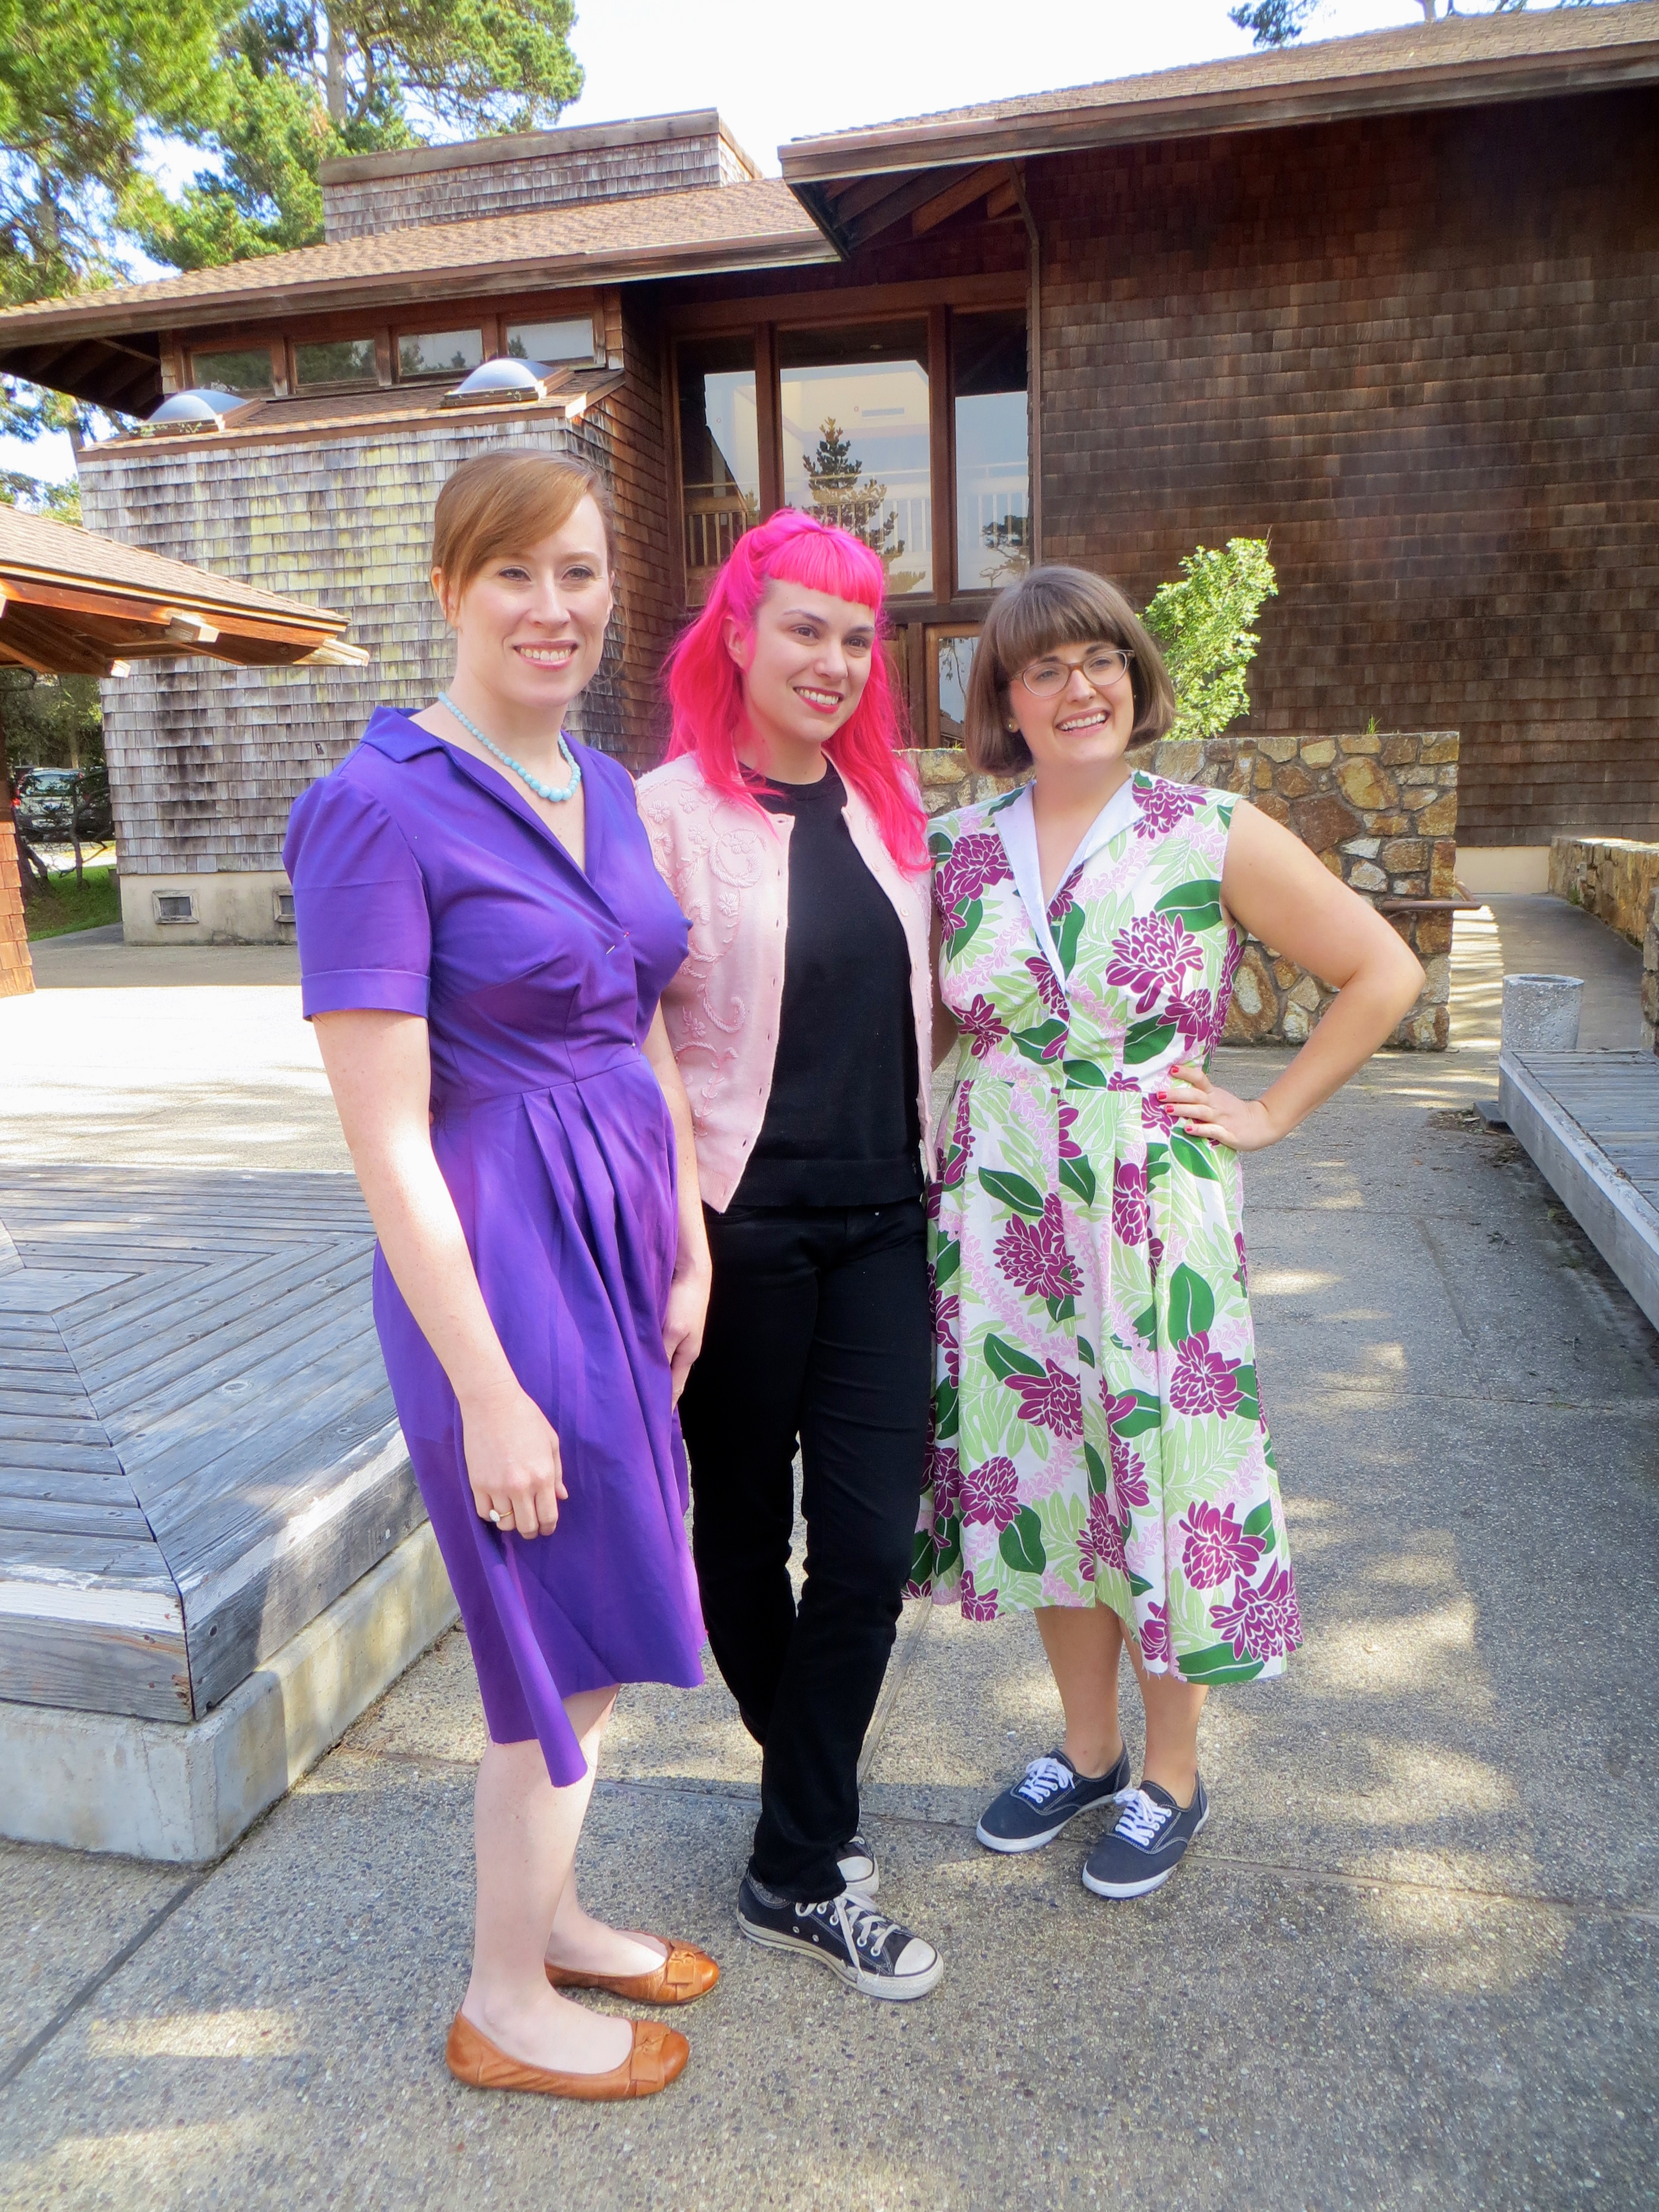
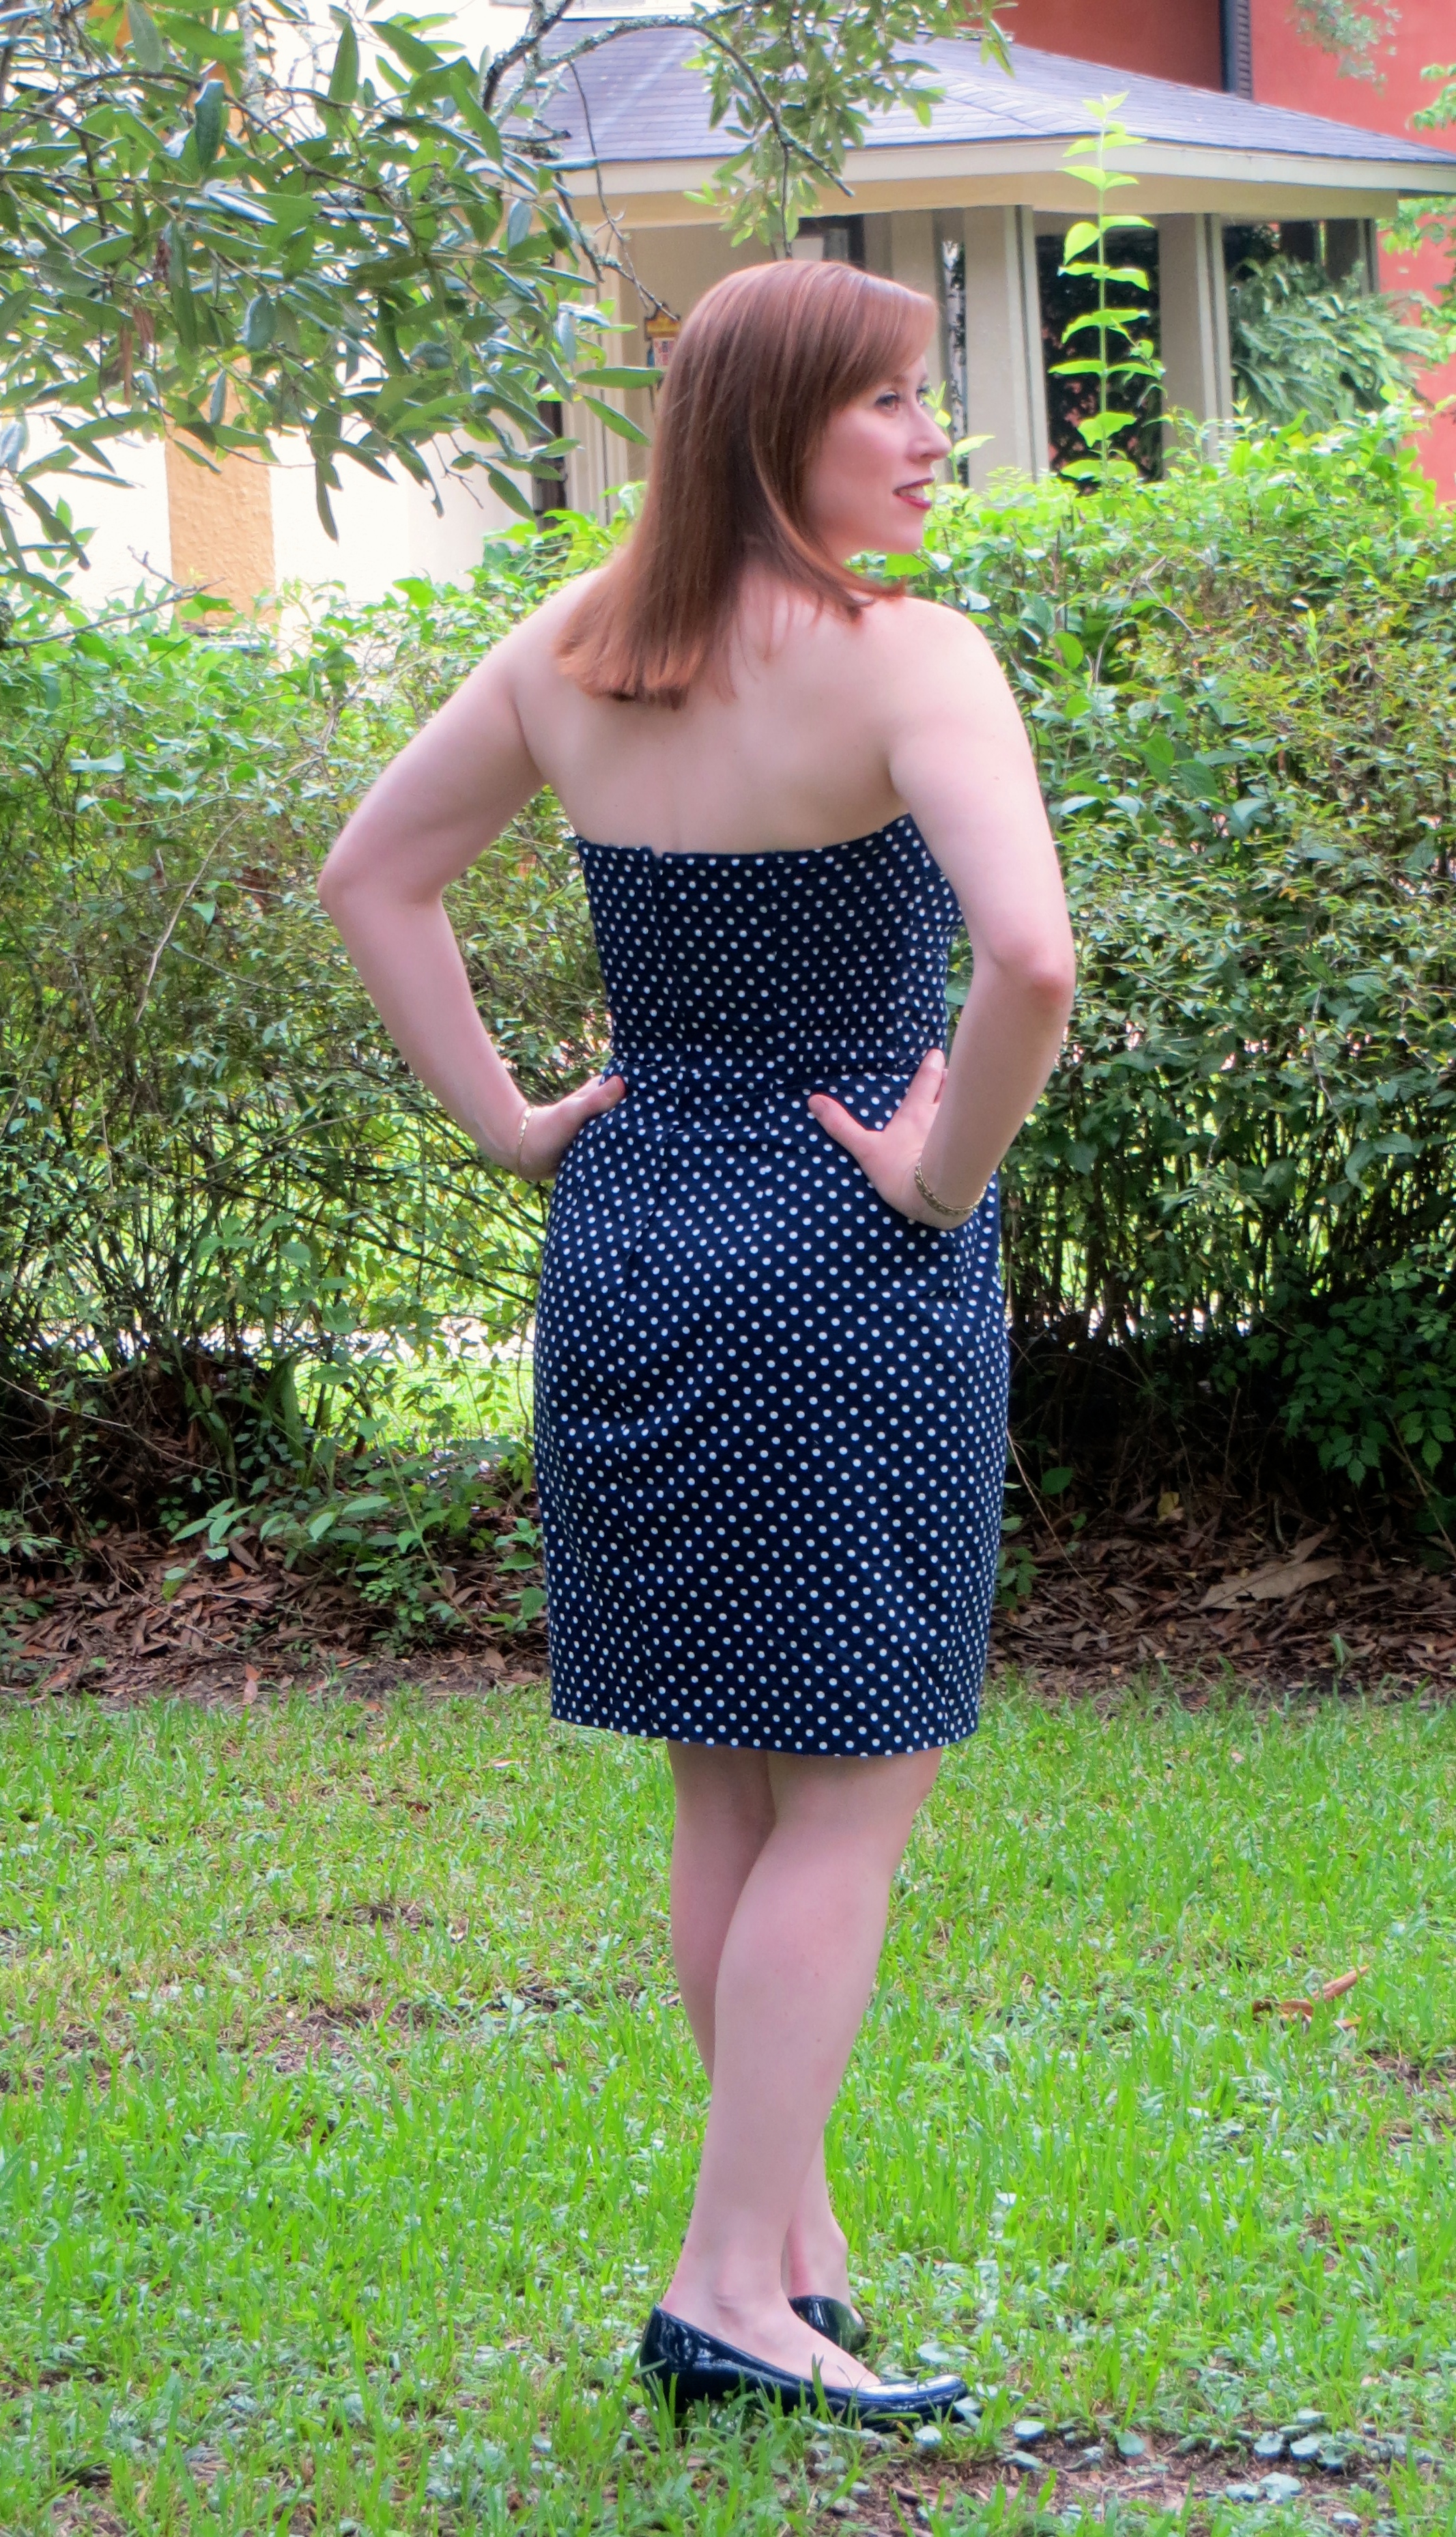
This is Butterick 6019, a bombshell dress by Gretchen Hirsch of Gertie’s New Blog for Better Sewing. I have been muslining a dress like this intermittently for the past 2 years — I finally bit the bullet and finished one!

I chose this pattern because it has a lot of visual interest with the fitted bodice with sash accent, sarong-style skirt, and shirring on the back bodice. I think the shirring is what attracted me the most.

Alright, now for some wordy business about the process of creating this dress!
I started with the 14 D-cup pattern and made a muslin of the bodice. I ended up taking it in at the top and letting it out a smidge in the waist. I did a swayback adjustment on the bodice (but should have done one on the skirt, too). I also added about an inch to the bodice height to make the neckline more decent.
I found the cups to be waaaay too pointy for my taste so I tamed that down quite a bit also. I ended up shortening the bodice about an inch under the bust — I am accepting the fact that I am very short-waisted or my boobs are saggy…
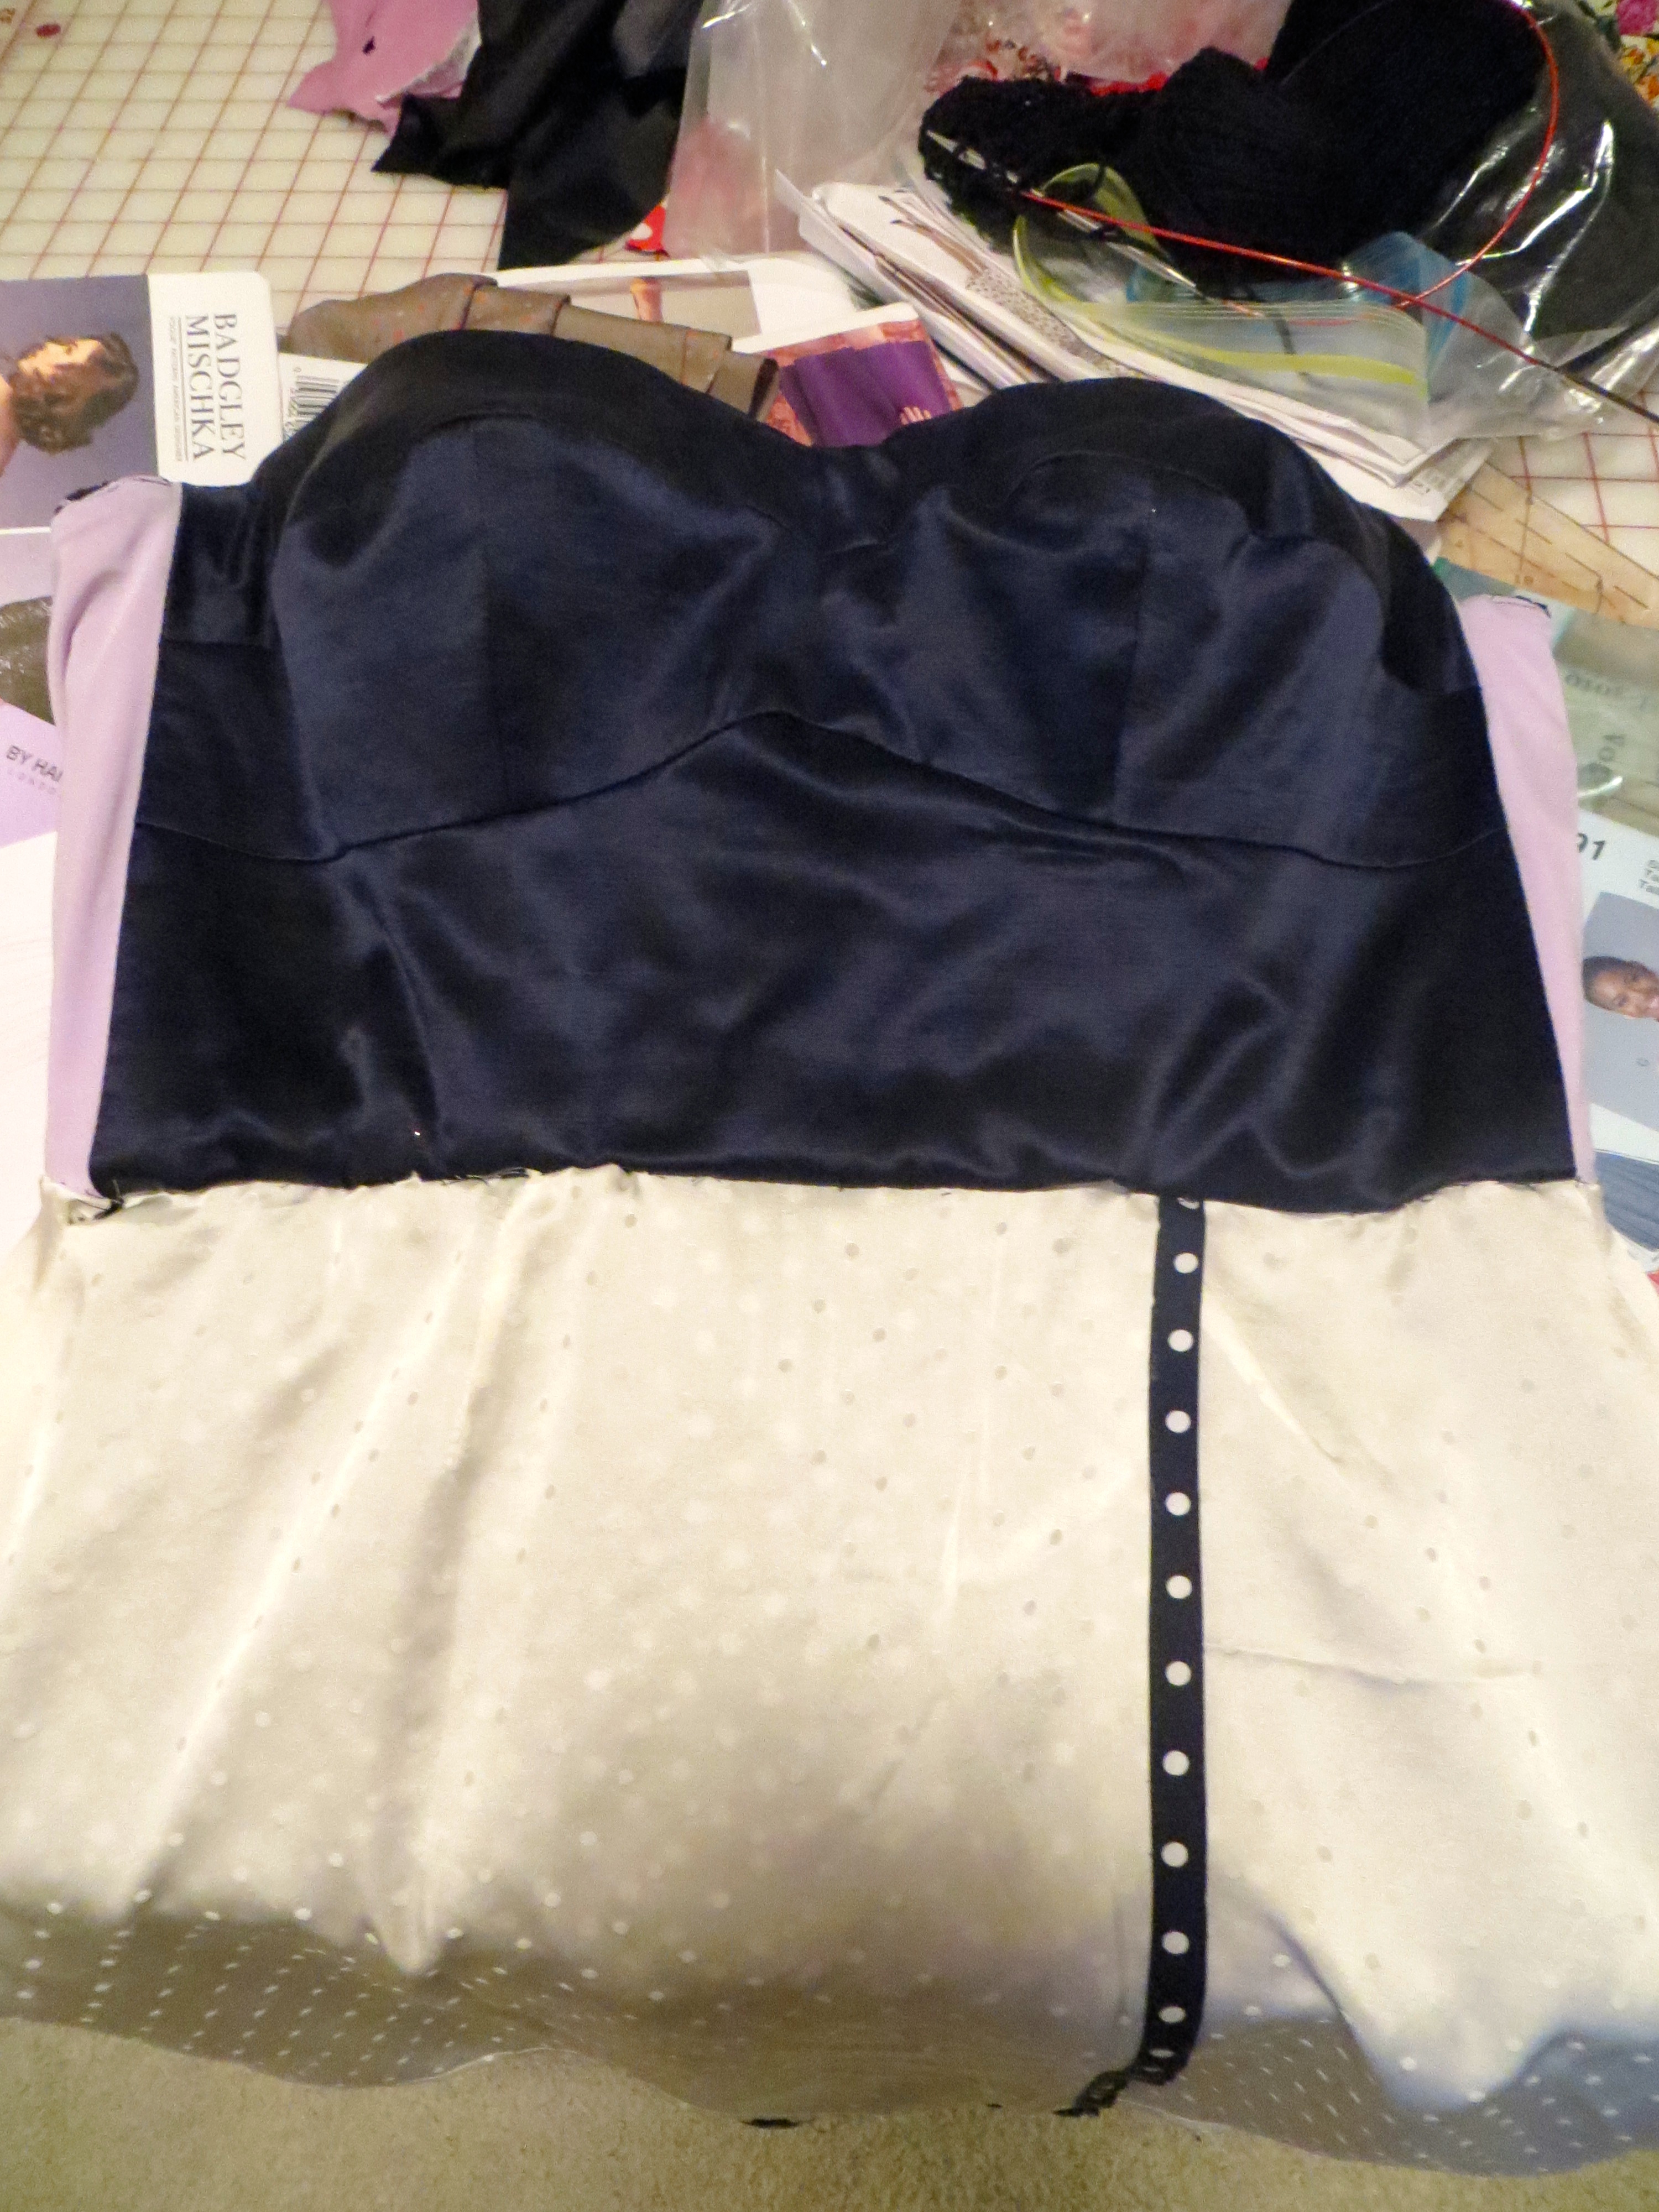
That was all pretty straightforward stuff. The project got complicated when I decided to fully line the dress (the pattern only calls for partially lining the bodice — and for good reason I discovered) and then underline the bodice.
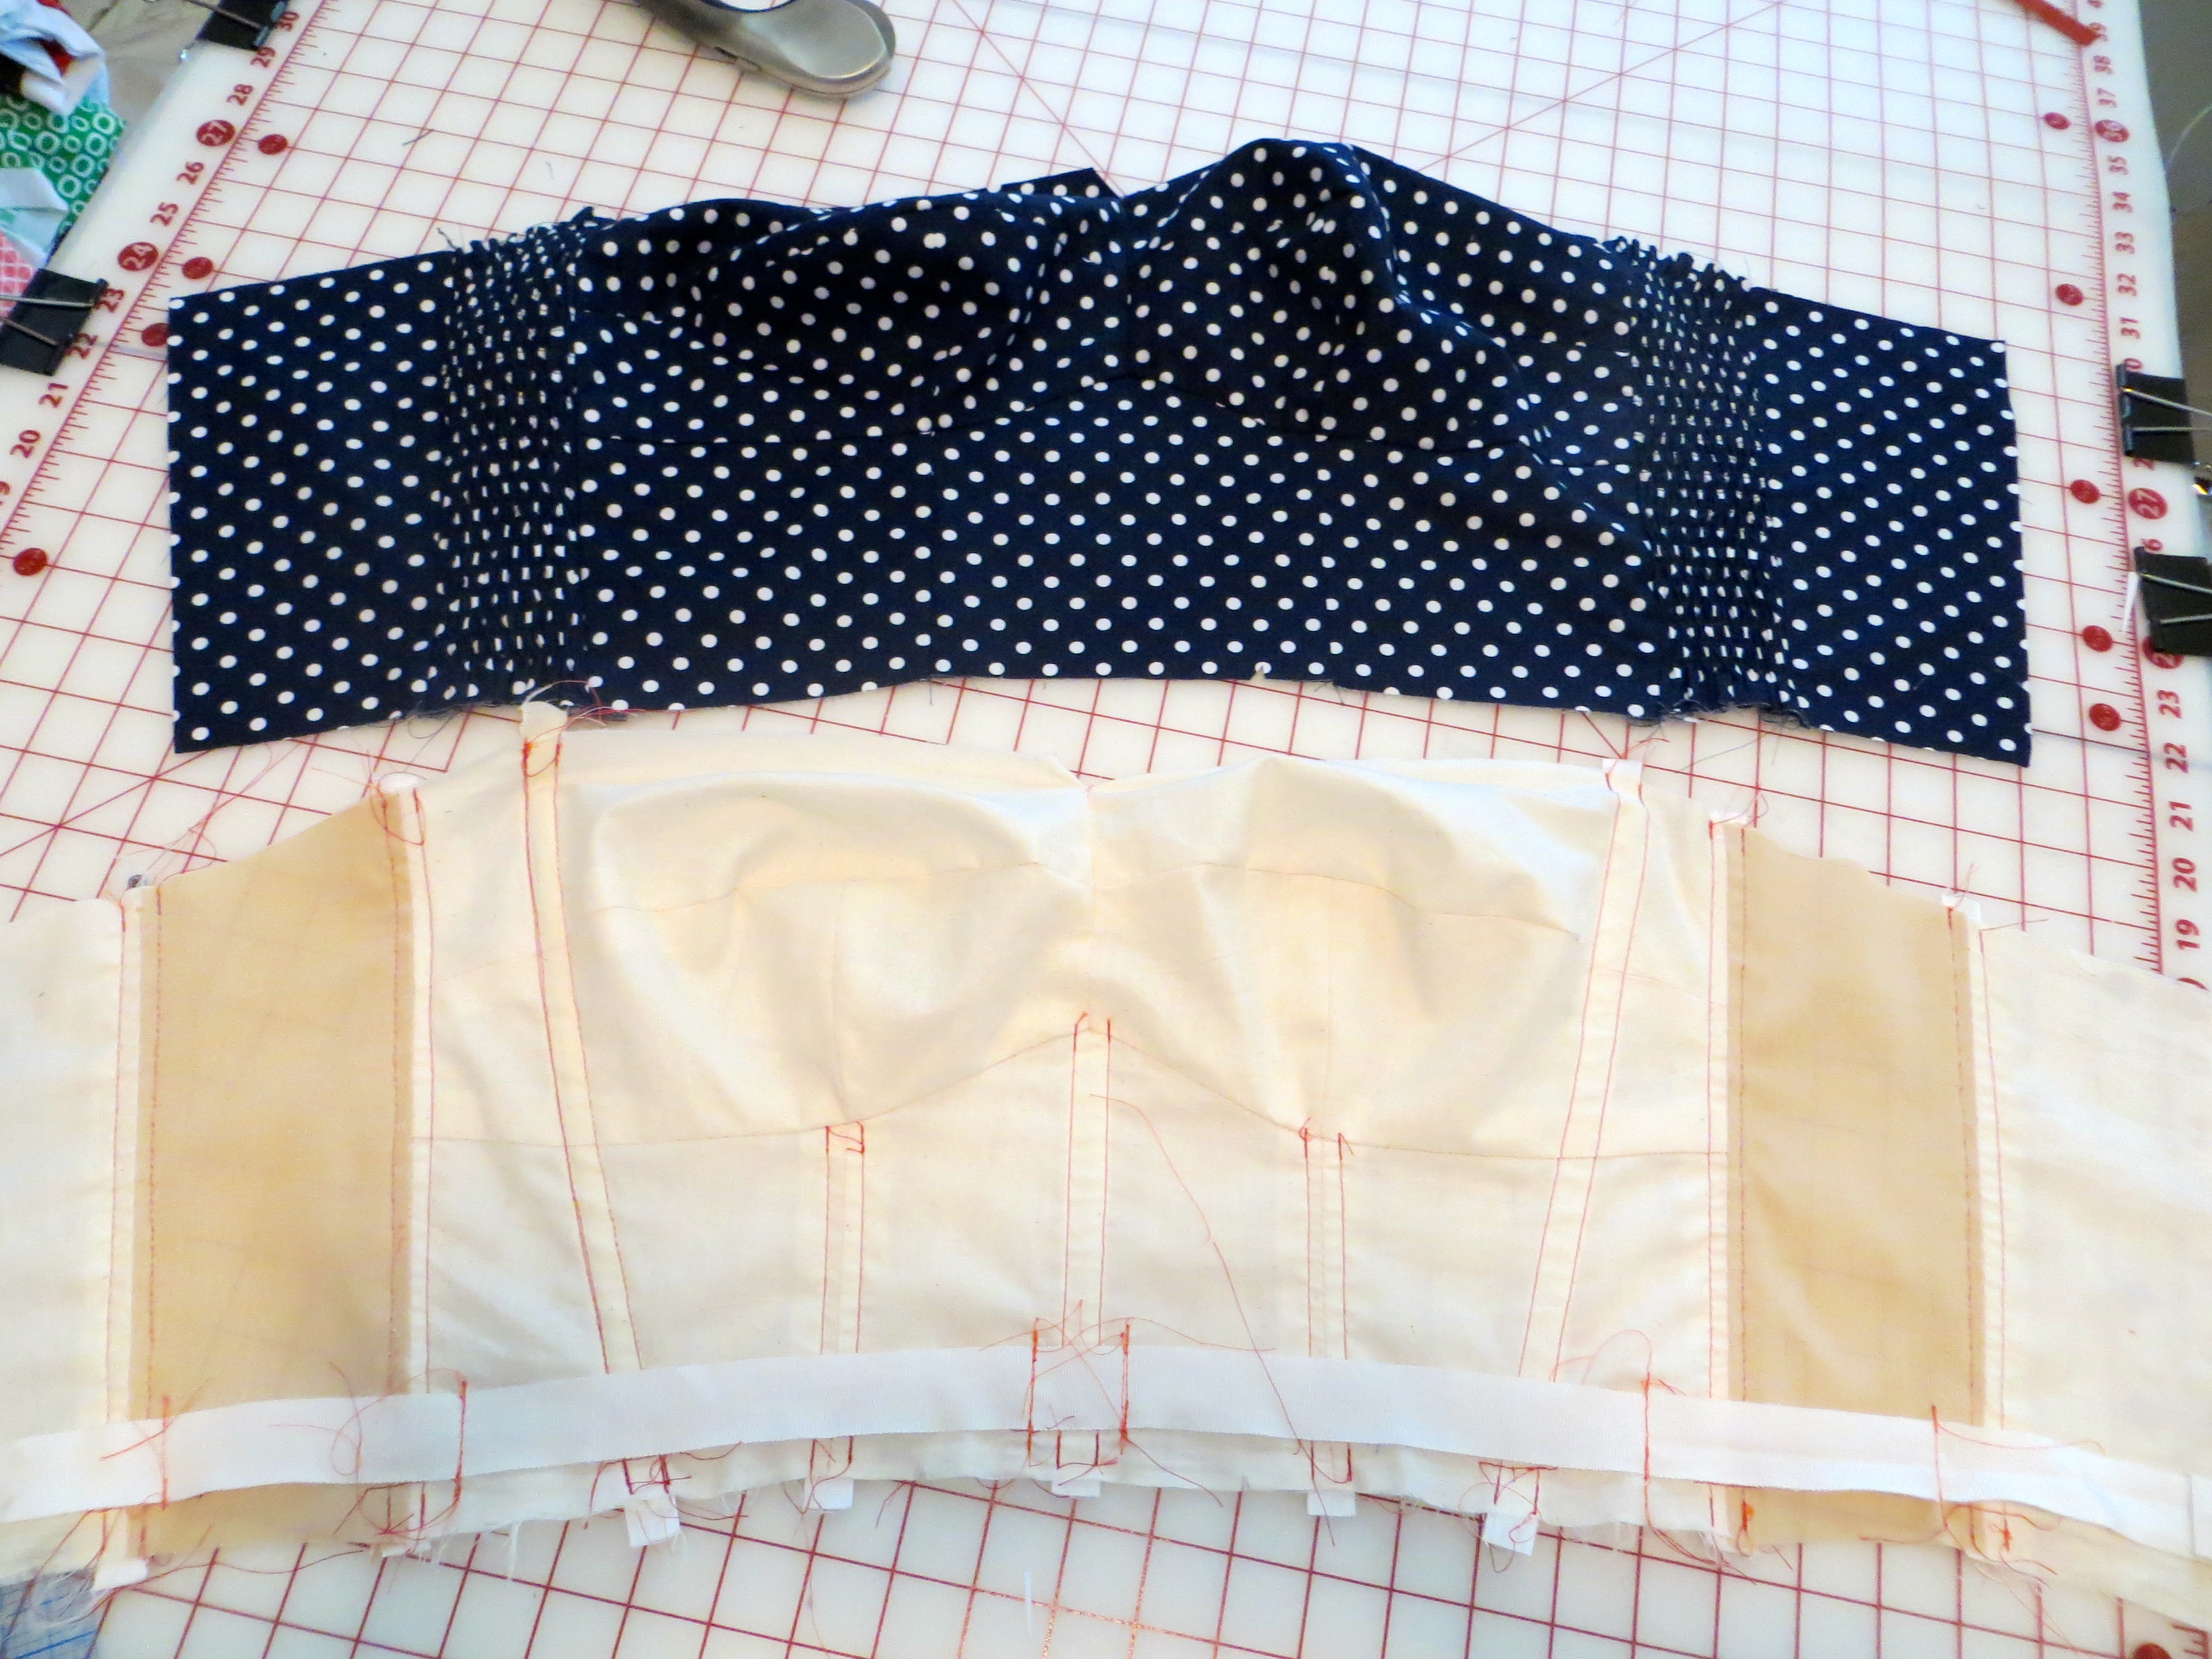
The bodice underlining was simple enough. I just used corset mesh cut a little bigger than the shirred pieces to stabilize that area but still allow for some stretch. I used muslin for the rest of the underlining and added way more boning channels than the pattern’s prescribed two. I sewed a waist stay to a few points on the bodice. Next time I make a dress like this, I will extend the underlining layer down to my high hip to keep it from cutting into my waist.

I also used bra foam for the cups instead of the batting that was called for.
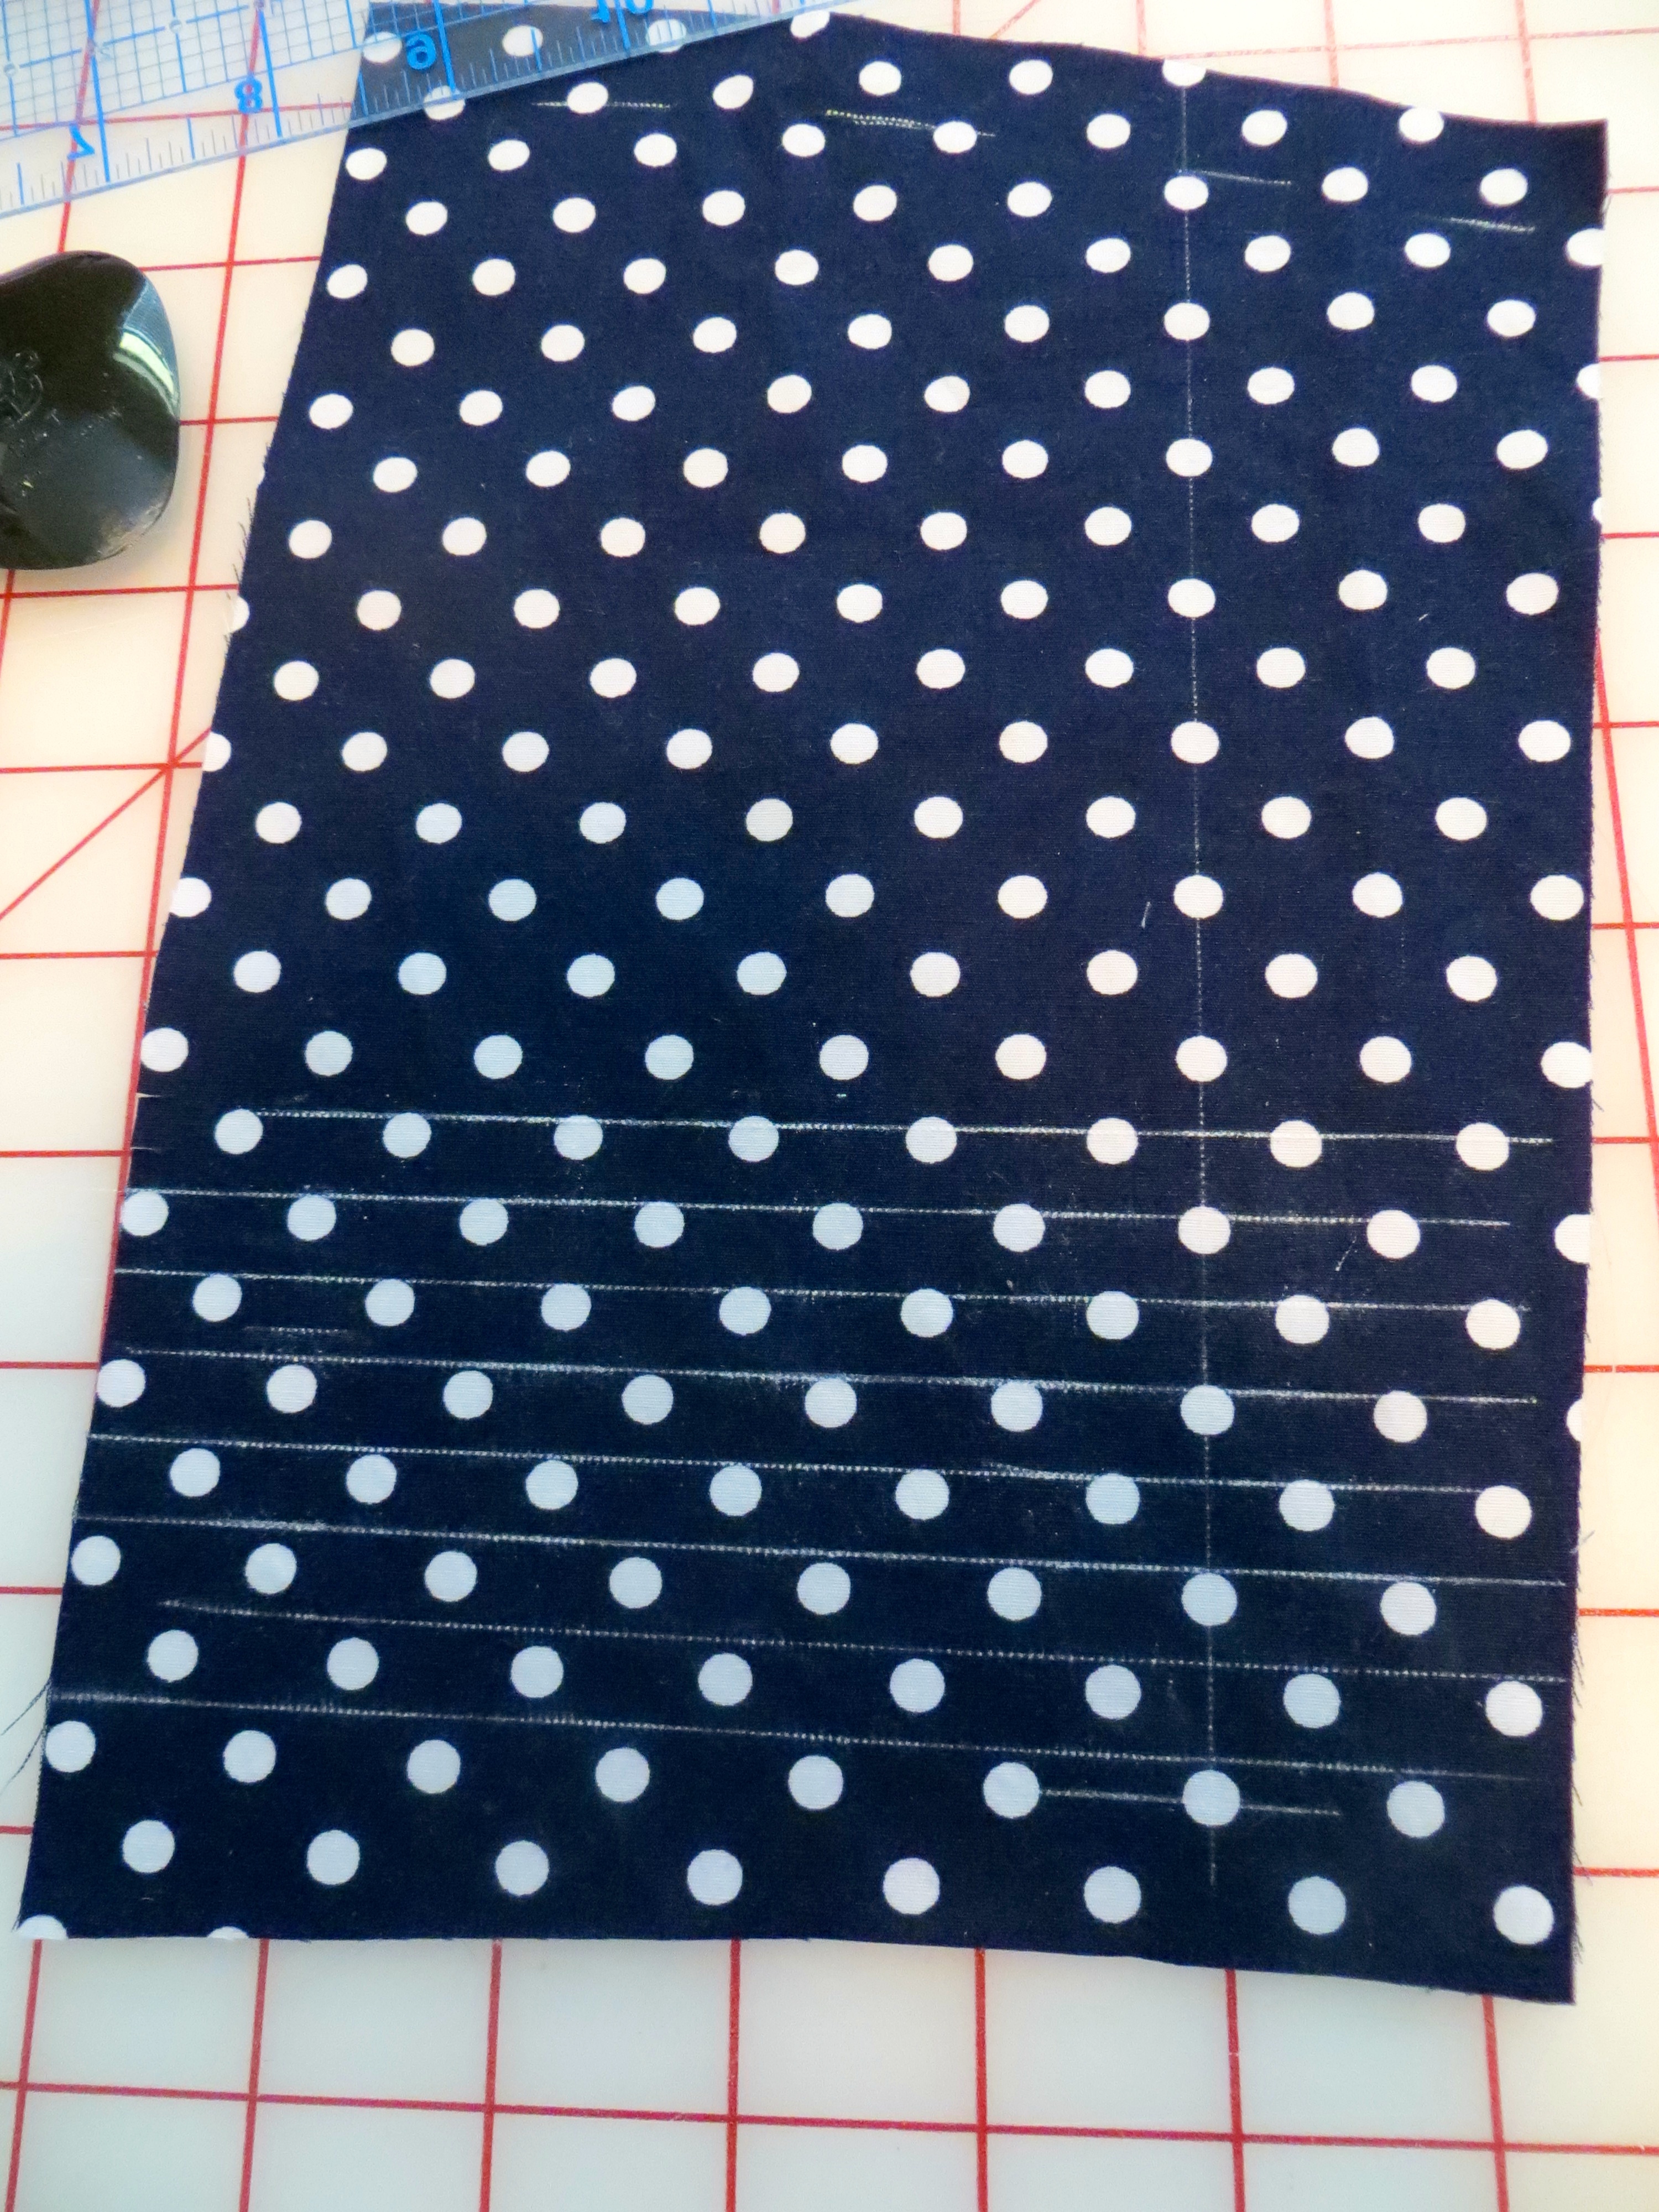
For the shirring, I marked lines perpendicular to the grain at 3/8″ intervals. Sewing all the shirring was one of the most tedious parts of the project but also one of the most rewarding. Look how beautiful!

My dress is made from a navy and white polka dot silk cotton blend. It has a nice crisp hand but shows lint like it’s going out of style!

To line the bodice, I used a luscious 4 ply silk satin remnant for the non-stretch sections and a scrap from the Gertie slip kit (not finished yet) for the areas under the shirring. I left small openings in the back bodice lining seams to allow the waist stay to pull through.
Now, lining the skirt was a whole different monster. Since the skirt has a wrap front, I couldn’t just duplicate it and stick it inside. I decided to have the lining attached at the front vertical edges of both wrap panels which meant that something had to be stitched by hand — yuck! But hand stitch I did and don’t judge my really sloppy work.
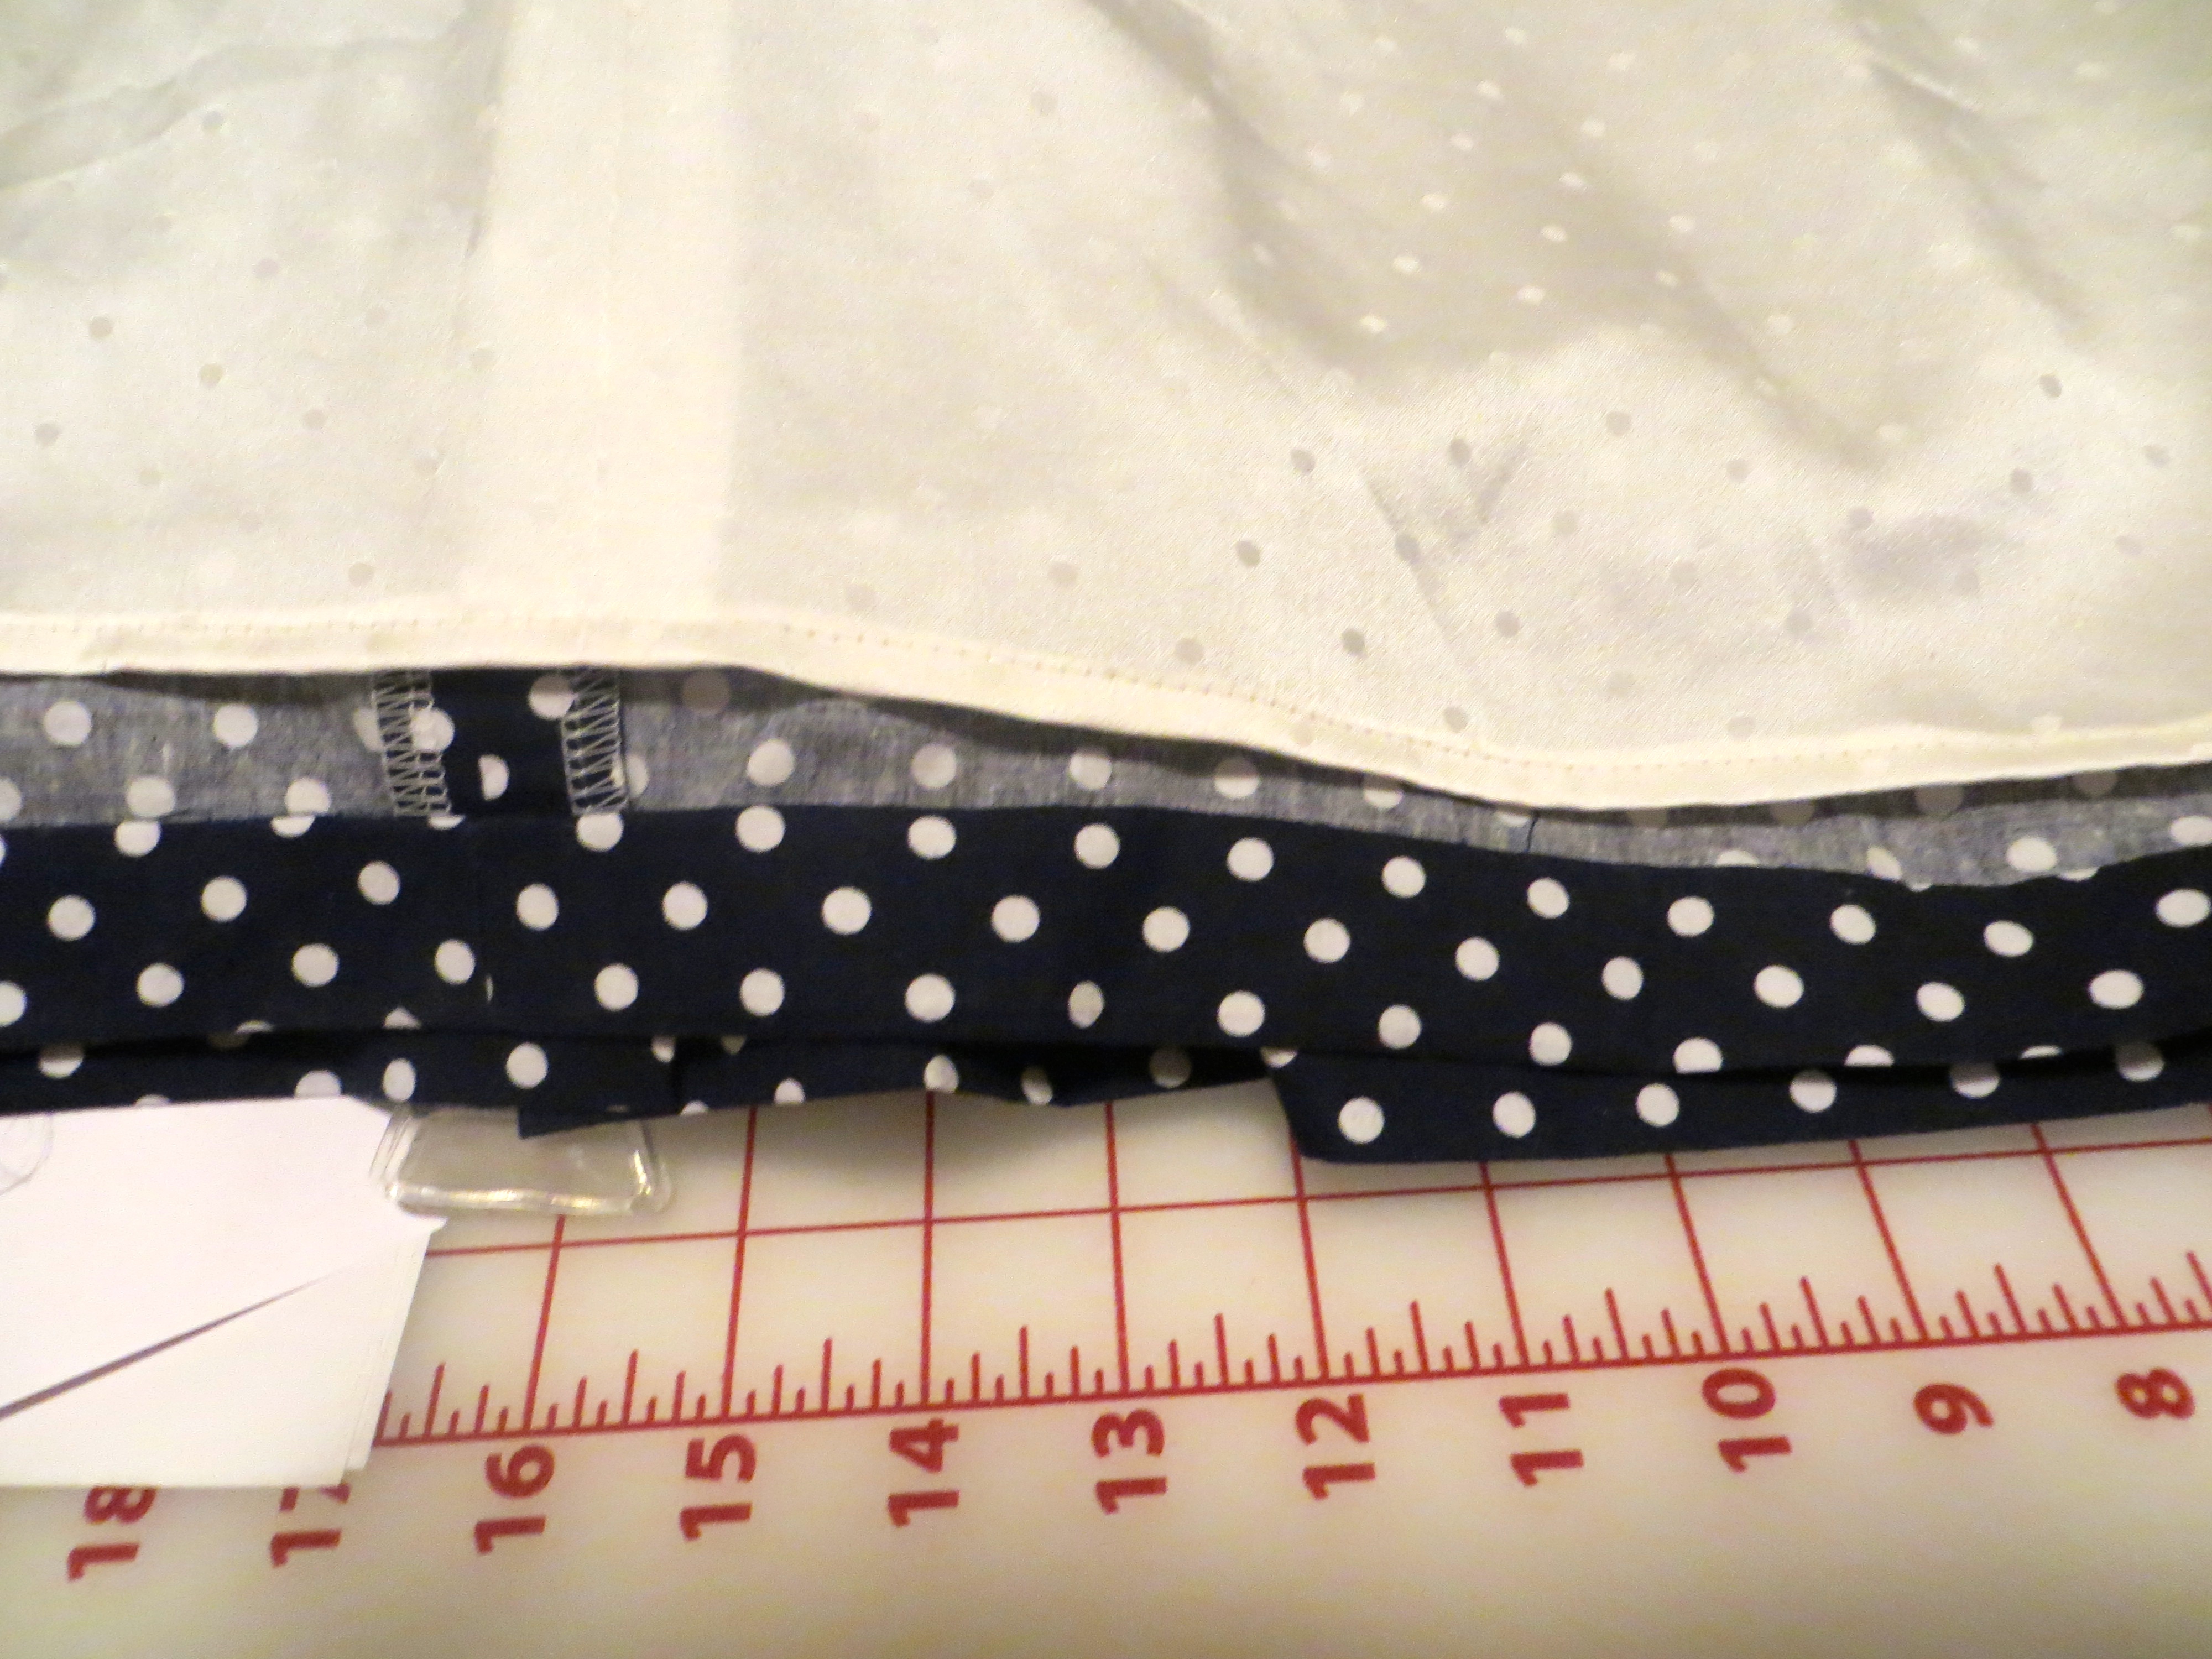
I did a machine hem on the lining and a hand stitched hem on the shell. For my skirt lining, I used a cute ivory polka dot silk charmeuse.

I used my Threads #171 for inserting the lapped zipper with lining by machine, but as usual, I handpicked the overlap for greater control. Just like the method I used on my Rosy Elisalex.
I guess that’s about it on this dress. It was definitely a journey as I initially planned to wear it to a wedding a few weeks ago but ran out of time to complete it so let it sit for a few weeks before getting up the gumption to finish it. But finish it I did!

These photos were taken in the front yard of our eventual new house. I love our huge oak tree!