Hi, friends! Did you enjoy the chocolate overload yesterday? I’m back to drinking smoothies and eating kale so I can fit into the clothes I’ve been making. Too bad because those brownies are sooo good and I keep thinking about making another batch!
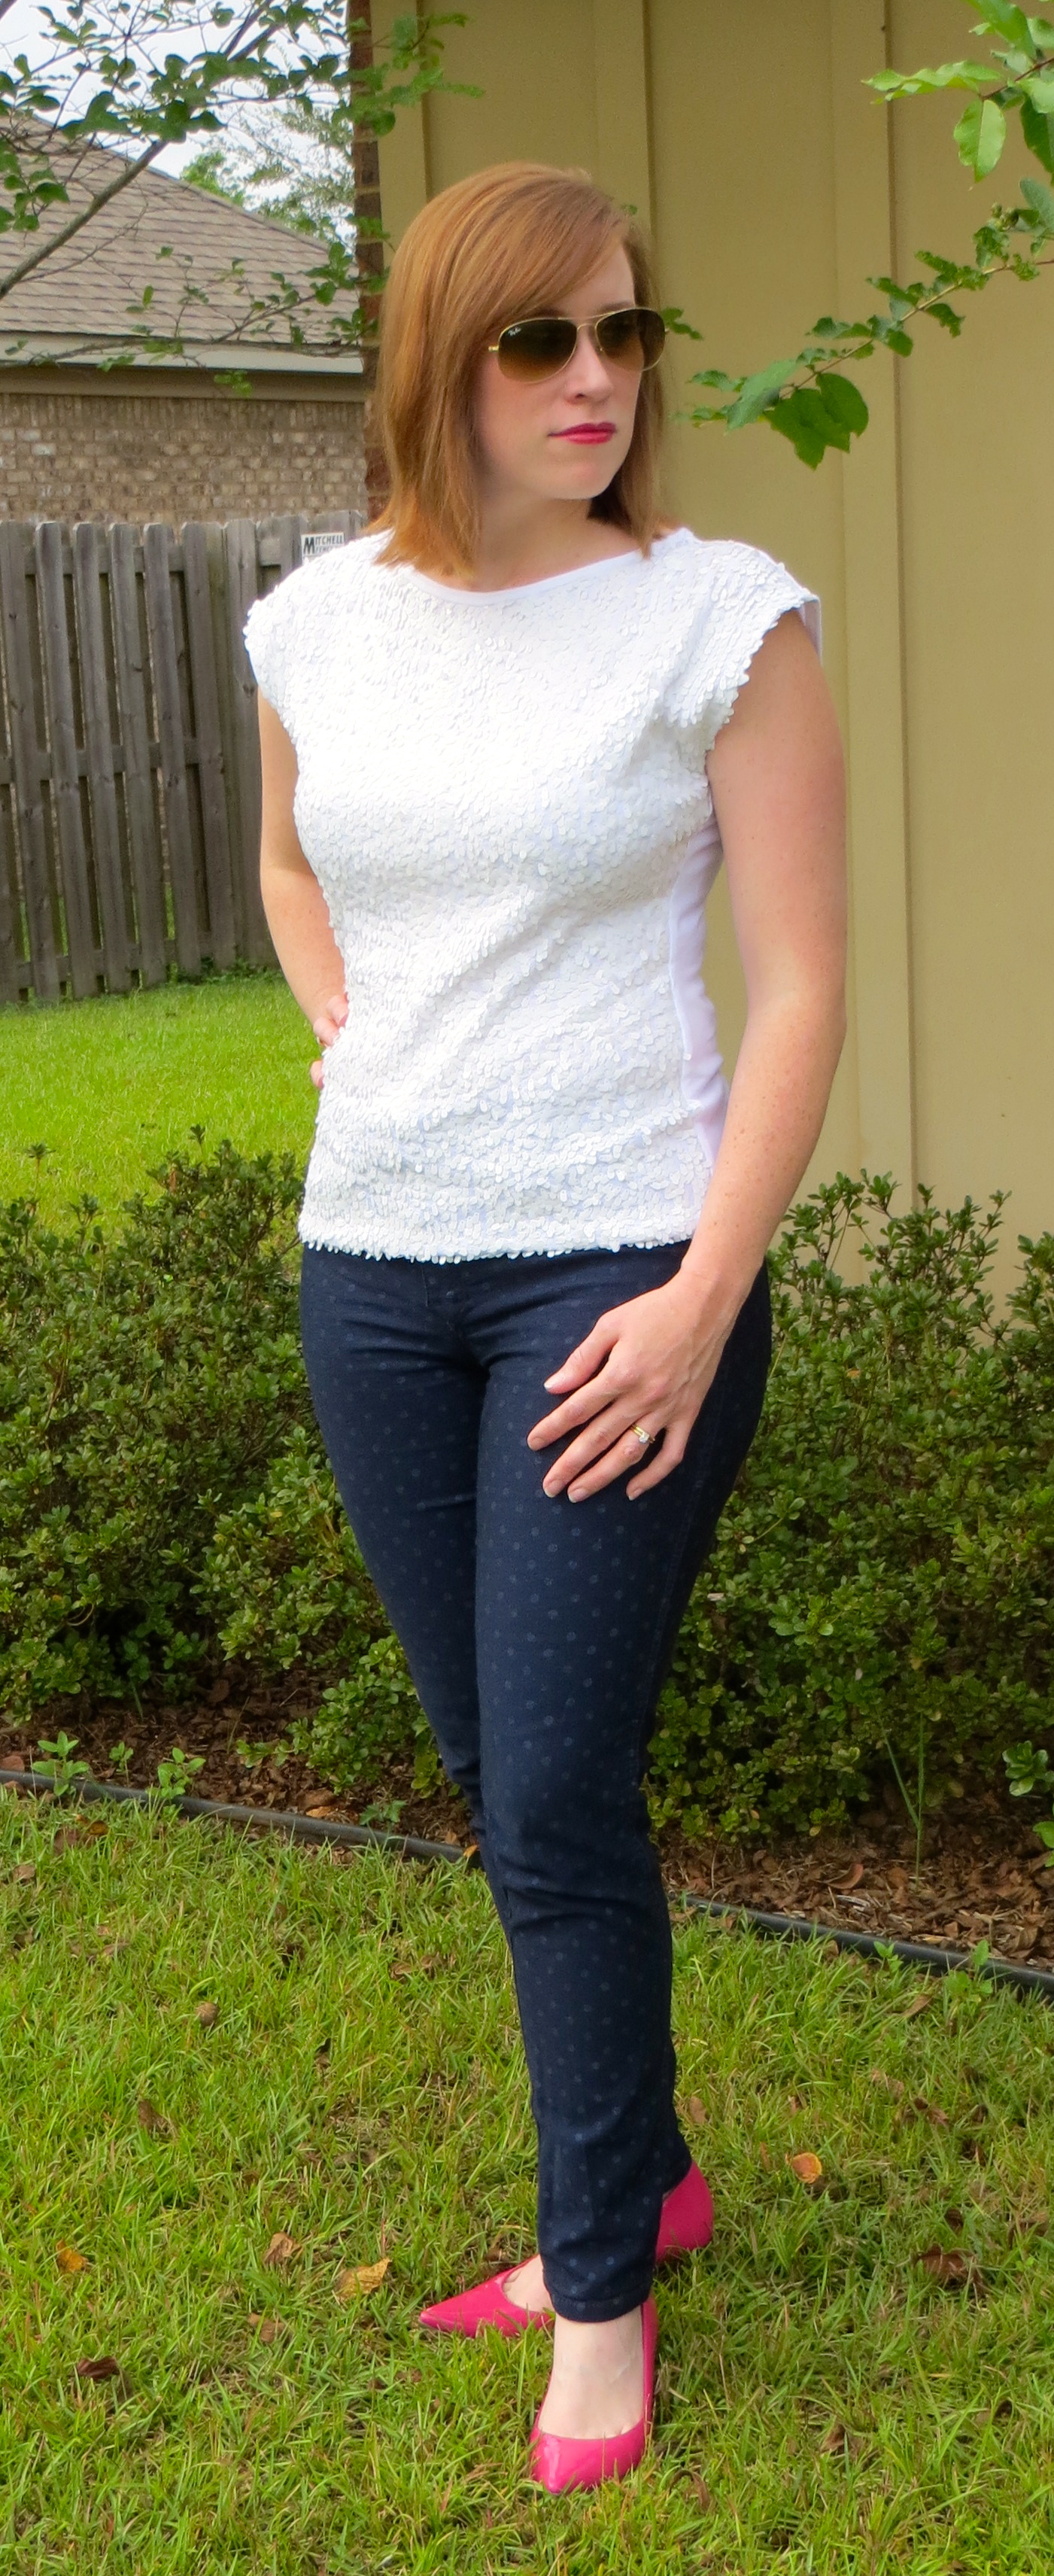
Here’s another recent make for you — the Sallie Jumpsuit by Heather Lou at Closet Case Files. I bought the pattern and sewed it up not long after it was released. And I’ve even worn it a few times since then but it’s taken me a couple tries to get photos that were good enough to post hence the delay in sharing it with you.

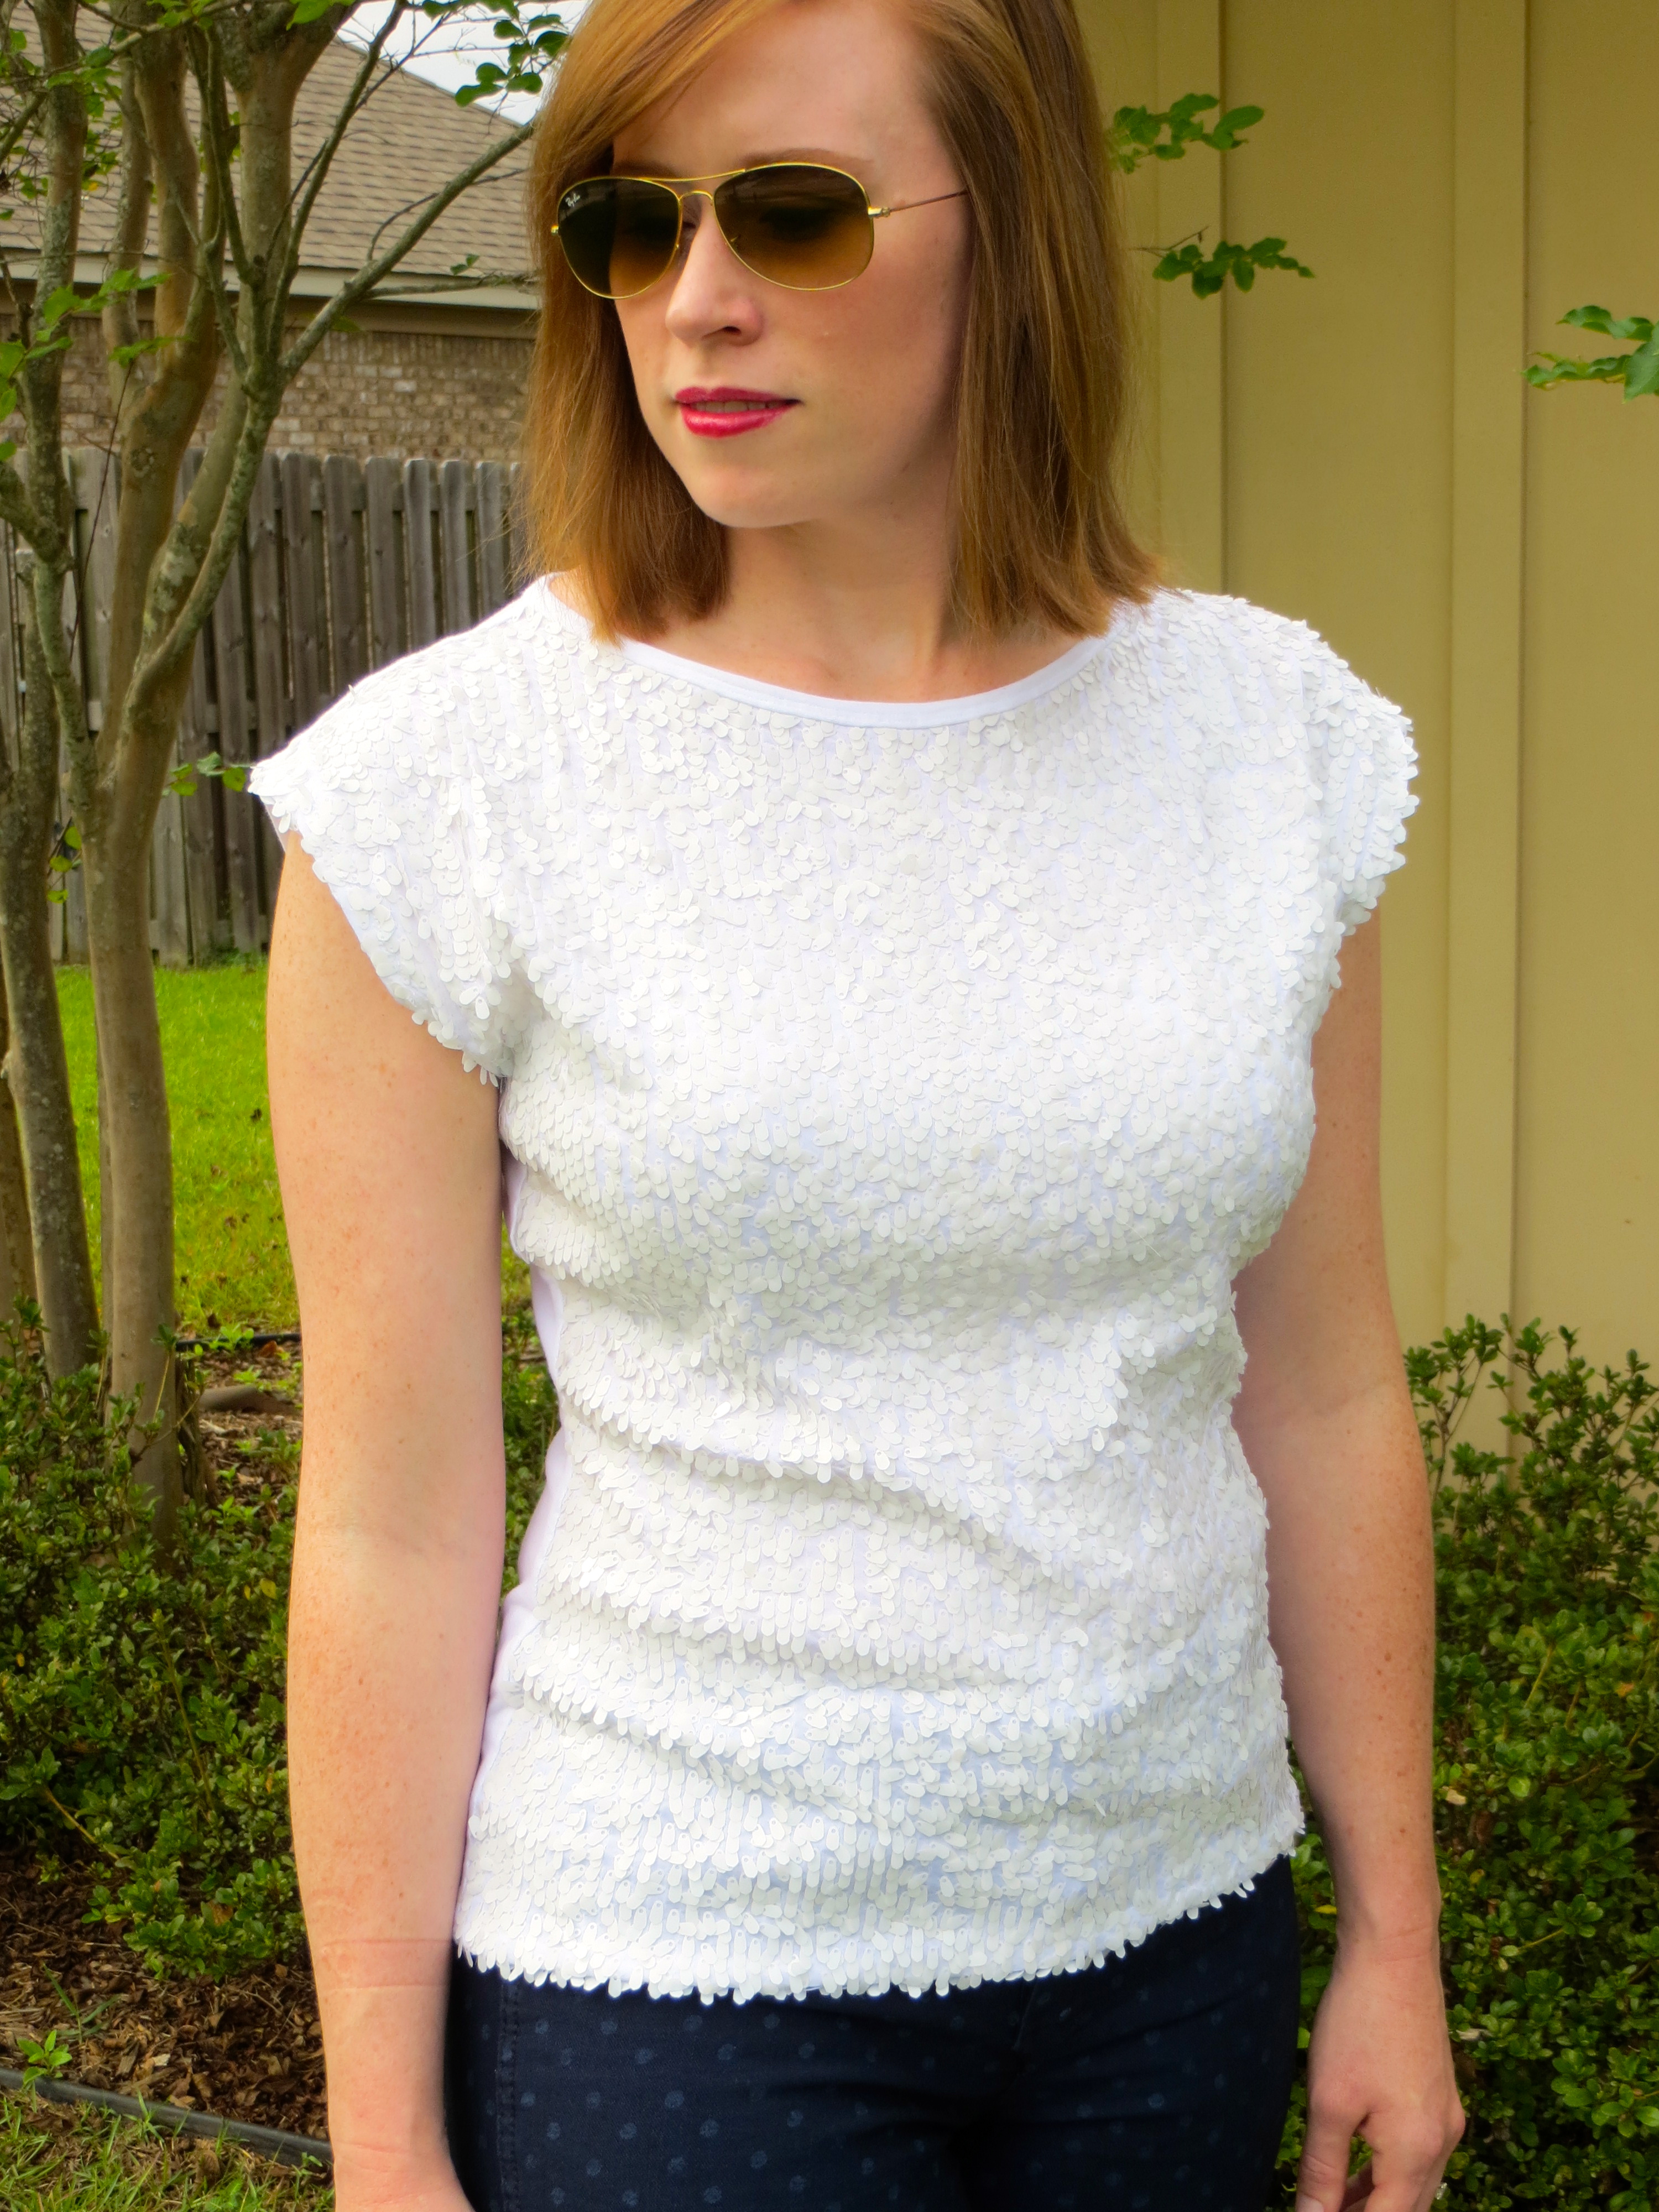
This pattern is very quick and easy to make up. I think start to finish with assembling the pattern, cutting the fabric, and construction all the way down to the hem took me about four hours. The instructions are good and the methods yield nice results with a clean finished top.
I found certain parts were easier to do on my standard machine rather than my serger. For instance, the neckline seam and the side seams of the bodice were easier to construct with the sewing machine. I did go back over the neckline with the serger to add the clear elastic for stability since my standard serger foot has a nifty little slot for guiding in elastic and I think this is so much easier than adding it with the regular sewing machine, but I do think it is hard to get into the V exactly with the serger.
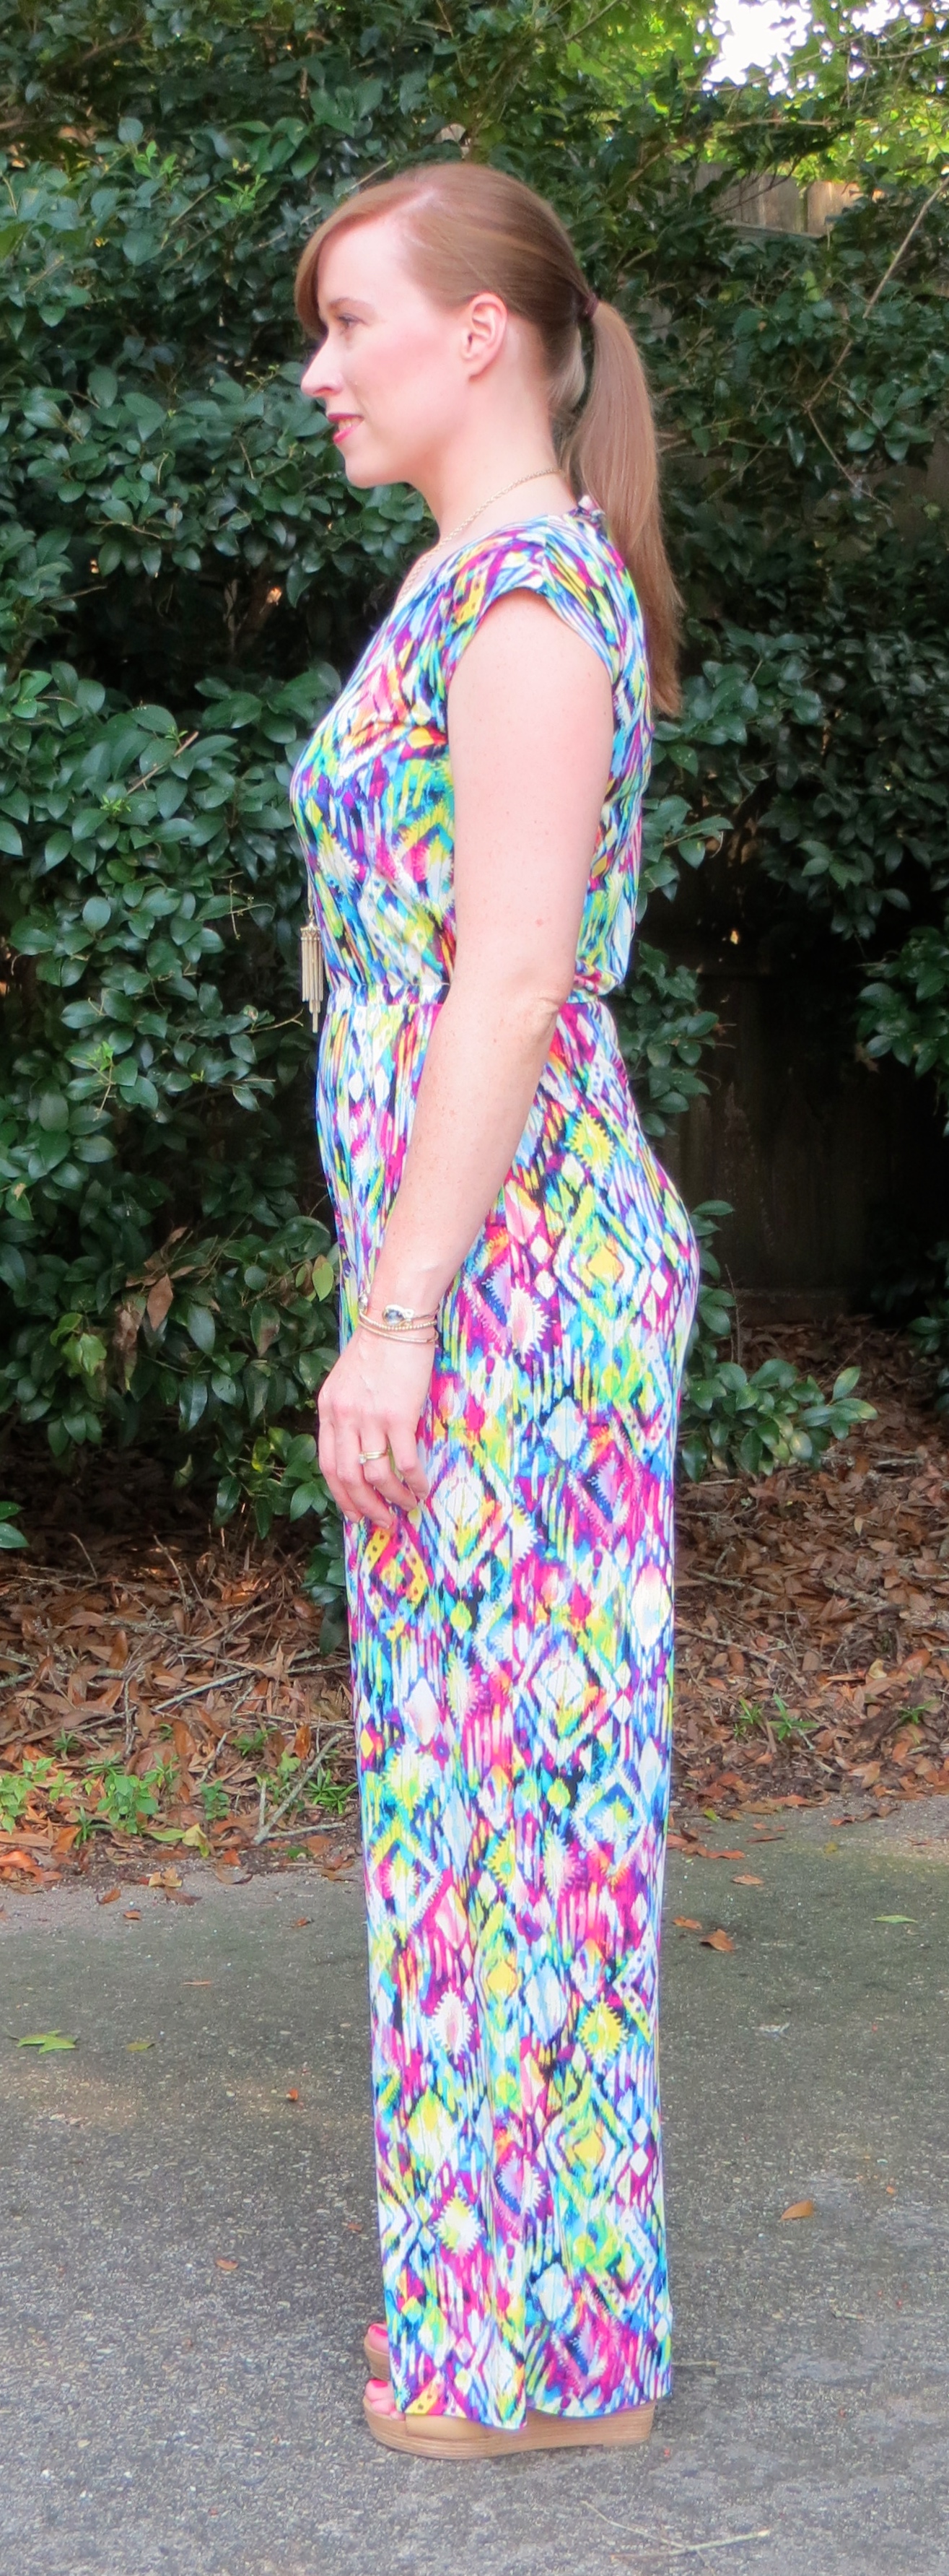
I finished the waist and pants with the serger. I fused the hems with Emma Seabrooke fusible tape and didn’t bother stitching them. I used 1/2″ knit elastic for the waistband and it is very comfortable. My fabric is a cheap lightweight ITY knit from Hancock’s.
As for the fit, I selected a 12 at the bust and graded down to a 10 at the waist then back out to a 14 at the hips. I eliminated the pockets because I don’t really use them in lightweight knit garments. I measured the rise on the pattern and found it would be too short on me and that’s not a good look in a jumpsuit. So I added 1″ to the top of the center back and 1/2″ to the inner leg of the back piece, tapering to nothing down the inseam. I also scooped out the curve a little bit. I then shortened the front rise by about 1/2″.

This all helped and the front rise is great but I need more length in the back rise on my next version as I still feel like my butt is eating the pants a little. I also plan to differentiate a front and back bodice piece on my next version as I need more ease to go over my chest. It doesn’t blouse at the center front like it does at the center back. And I think a forward shoulder adjustment would be helpful. Finally, I find the armhole to be very tight and restrictive, so next time I will lower that a bit.

But overall, my jumpsuit is very wearable and I think I will definitely try the pattern out again (or maybe I already have…).