As promised, today’s post is all about making your very own, homemade, totally-from-scratch, delicious, fresh peach jam! Before I give you the recipe details, I want to talk about a few important points regarding canning foods at home.
1. Canning food at home is EASY! You don’t have to have a bunch of special equipment or skills. Our foremothers did it with fewer modern conveniences than we have today (think hot stove and no air conditioning 😉 ). Don’t be intimidated –you can do it and you will be so glad you did!
2. Canning food at home is SAFE! If you follow the steps I outline below, the jam you prepare will be very safe to eat, up to a year (or more) from now. It is important to note, however, that you should not tinker with the recipe. Canning recipes have been tested as written to set properly and inhibit the growth of harmful bacteria (think Clostridium botulinum). The prescribed amounts of acid (AKA lemon juice) and sugar cannot be altered for this reason. If you desire a jam with less sugar, you MUST use a pectin specifically formulated for lower-sugar recipes. This is NOT one of those recipes 🙂
3. Canning food at home is FUN! Grab a bunch of friends and make a party out of it. Choose two or three recipes and spend the afternoon putting up several different preserves so that everyone’s pantry is stocked with a variety. Or better yet, knock out part of your Christmas list early. As an added bonus, there will be extra hands around to help clean up the kitchen when you’re done.

If this is your first time canning, you may want to click over to the National Center for Home Food Preservation site to familiarize yourself with the basic principles of home canning. You will find answers to all of the why’s and how’s of canning as well as recipes for sweet and savory treats to put up.
Alright, enough of the mumble-jumble — on to the fun part! This is my tried-and-true recipe for peach jam. I love it because the peach flavor is very potent and bright. What makes it so good? Just a little bit of salt. Crazy? Not really. Adding just a hint of salt to your sweet treats allows their flavors to shine while taming the lock-jaw sugariness. Try it and see for yourself 🙂
Best-Ever Peach Jam
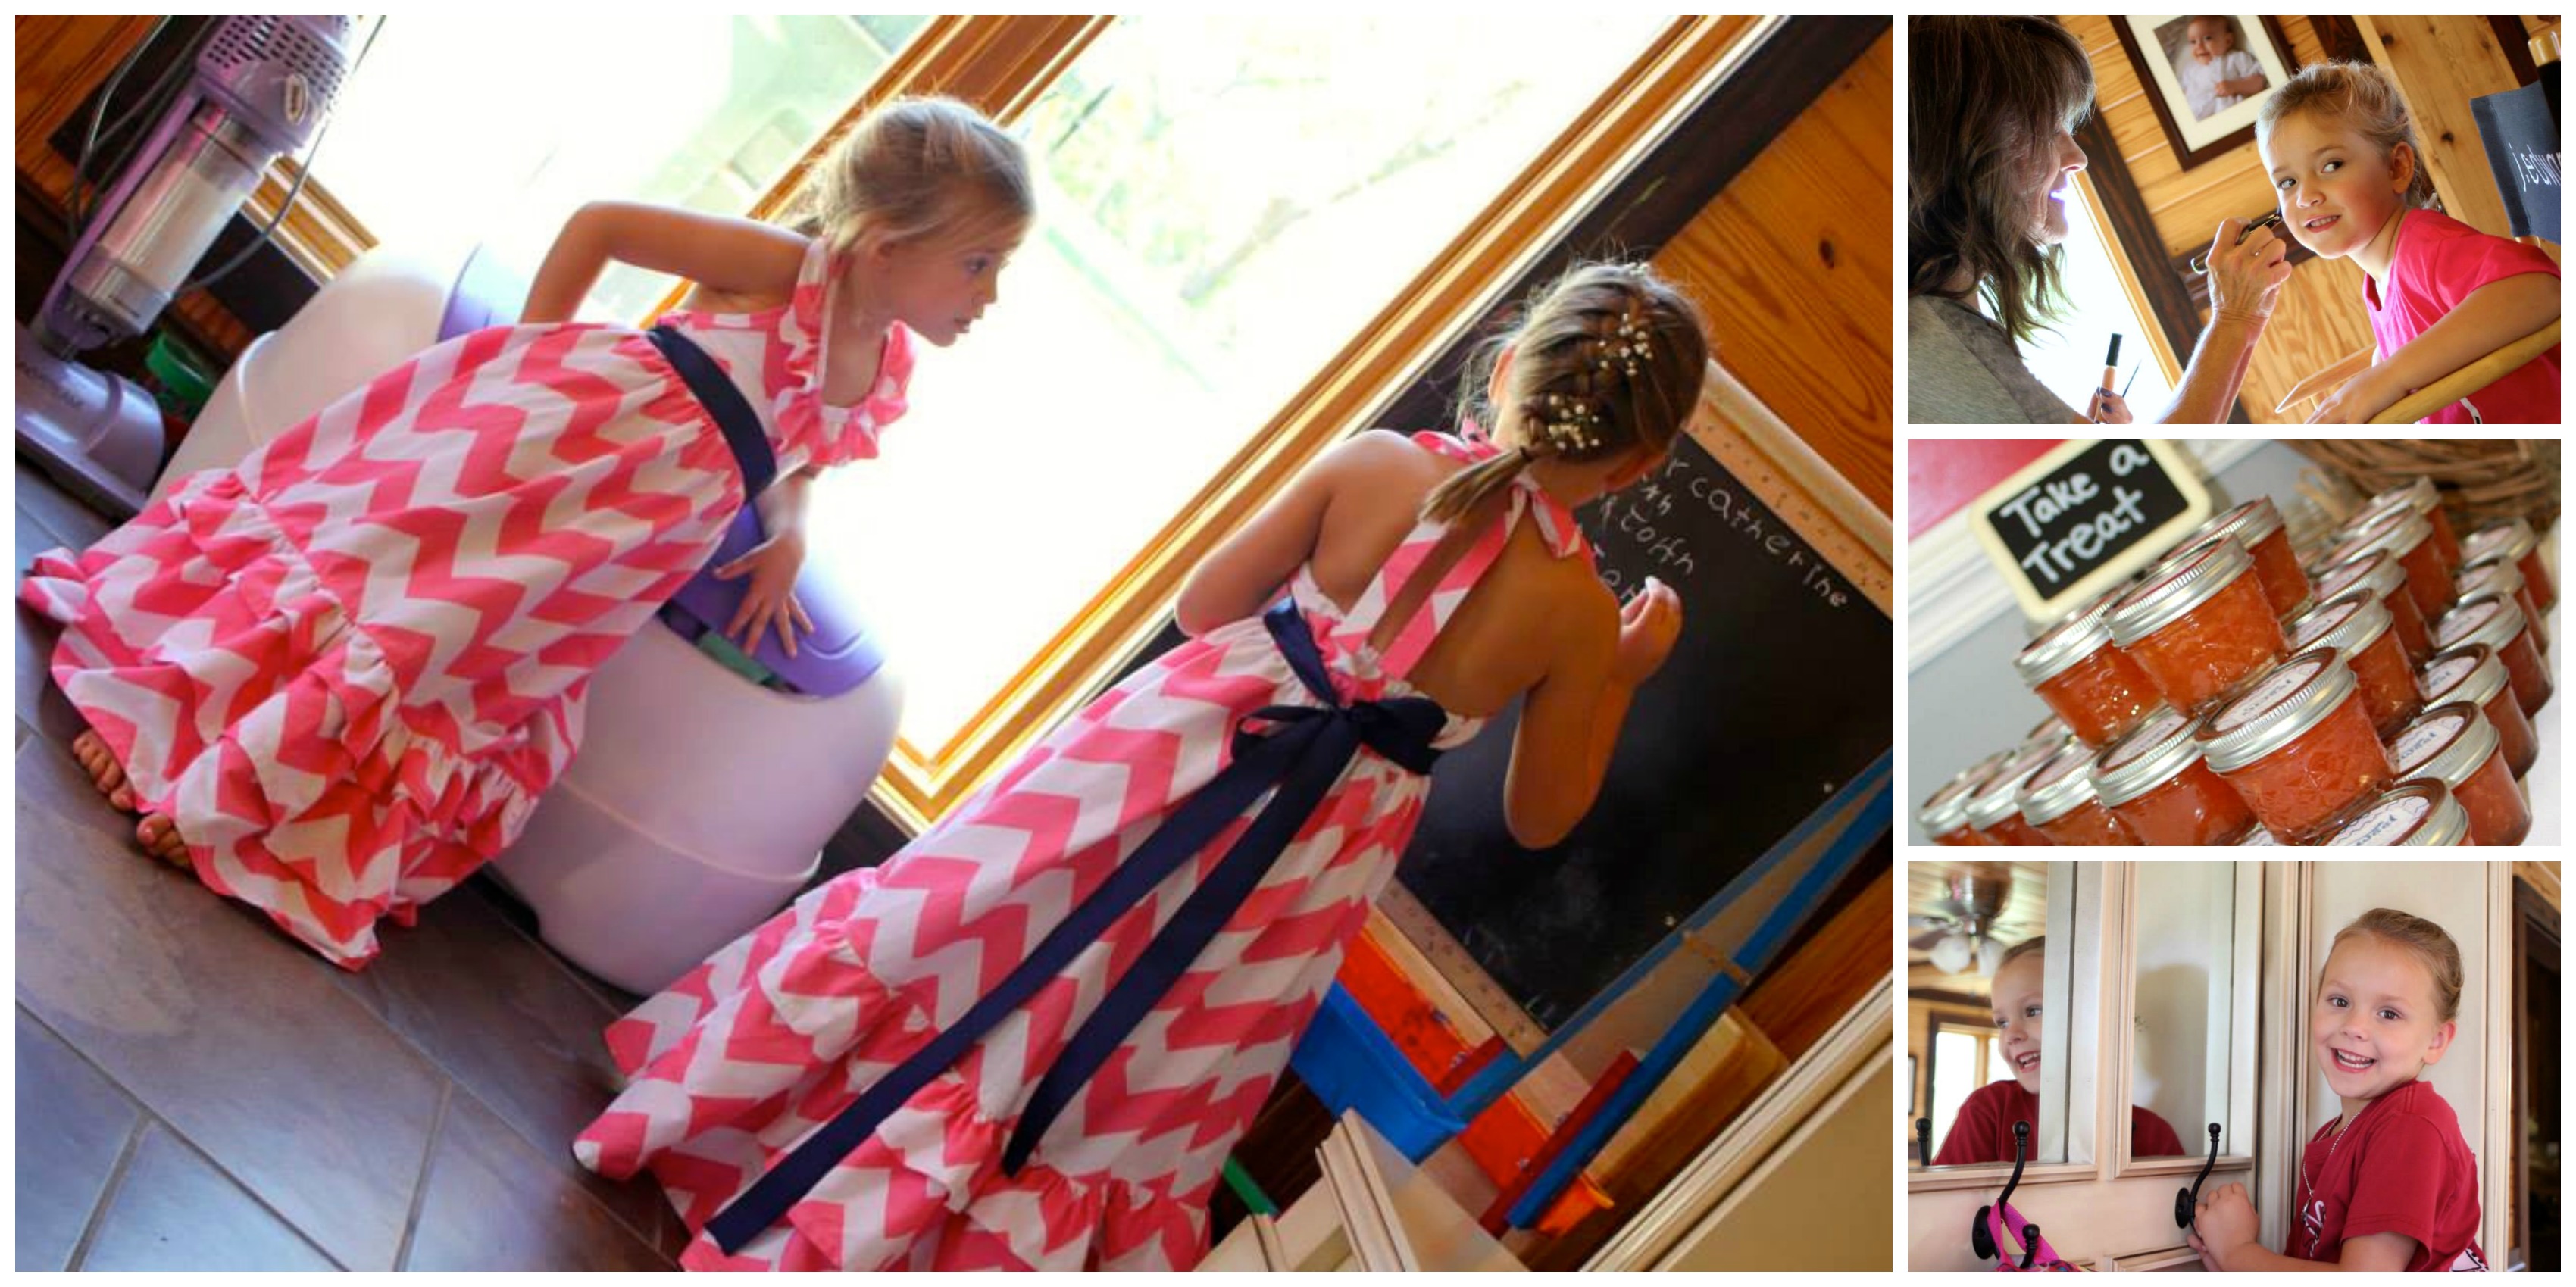
Yield: approximately 7 half-pint jars
7 half-pint canning jars with lids and rings
3 pounds fresh, ripe peaches
2 tablespoons bottled lemon juice
1 box Sure-Jell fruit pectin (NOT the kind for reduced or no sugar recipes)
1 teaspoon butter or margarine
1/2 teaspoon salt
5 1/2 cups (or 1100 grams) granulated sugar, measured into a bowl

Preheat the oven to 200 degrees F. Arrange 7 clean, dry half-pint jars on a kitchen towel on a large cookie sheet. Place the jars in the oven to keep warm until needed. This will help sterilize the glass and make the temperature of the jars closer to that of the jam when you pour it in. Place the (clean, brand new, never been used before) lids in a small bowl or pot. Cover with very hot water.
Bring a large stockpot of water to a rolling boil. Meanwhile fill a large bowl with ice water. Using a small paring knife, cut a small, shallow X into the skin on the bottom of each peach. Place 3 peaches in the boiling water for 90 seconds. Remove them immediately and submerge them in the ice water. This process will loosen the skins and make the peaches a cinch to peel. Repeat the process until all the peaches have been blanched. Once the peaches are cool, peel the skins off with your fingers. Cut off any bad spots with a small paring knife then pit and quarter the peaches. Place the peach quarters into a medium bowl and mash with a potato masher.
Rinse out the large pot and refill with fresh water and return it to high heat to boil. This will be your boiling water bath.
Measure exactly 4 cups of mashed fruit into another large pot and add in lemon juice, pectin, butter or margarine, and salt. Place the pot over high heat and bring the fruit mixture to a rolling boil (a rolling boil is one that doesn’t dissipate when stirring). Once the fruit mixture is at a rolling boil, stir in the sugar and return to a rolling boil, stirring constantly. Continue to boil, stirring constantly, for exactly 1 minute. Remove from heat and skim off any foam that has formed (although there shouldn’t be any since you added the little bit of butter).

Carefully ladle the hot mixture into the clean jars using the funnel (if you have one), filling the jars to within 1/2″ to 1/4″ of the top of the jar. Wipe the rims and threads of the jars with a clean damp cloth. Carefully remove the lids from the hot water, trying not to touch the seals, and position them on the jars. Screw the rings onto the jars until they are “fingertip tight,” i.e. just until you meet resistance and then a quarter turn more. The goal is just to get it tight enough to hold the lid down. You don’t want it so tight that it drags the seal along the jar.
By now your large stockpot should be boiling. Carefully place some of your filled jars into the canning rack and gently lower it into the boiling water. Make sure the jars are covered by at least 1″ of water. If they aren’t, add a little more water. Put the lid on the pot, and bring it back to a rolling boil. Once it starts boiling, start the timer for 10 minutes. After 10 minutes, carefully remove the jars with the jar lifter and set them on a clean, dry towel and leave them undisturbed for at least 12 hours.
You will most likely hear your jars sealing not long after you remove them from the boiling water bath. You should give yourself a very smug pat on the back when you hear that victorious little pop 🙂 However, you should still check the seals by pressing down on the center. If they don’t spring back up, your seal is good. If it pops back up at you, your jar did not seal but all is not lost. Stick that jar in the fridge and eat it within 3 weeks… if it lasts that long 🙂
And just in case you need a serving suggestion:
Try it on a Heavenly Cream Scone (recipe coming soon!)…

Tags: Canning, jam, peaches