
Howdy! I’m back today with the other half of my 2015 Outfit Along post. You can see more details on my cardigan here.

As I mentioned to you in the first post, I decided pretty last minute to get started on this outfit, July 13 to be exact, and I didn’t start sewing the dress until the 24th. But since I had already made my chosen pattern, Vogue 1353, once before, I knew I could make it up pretty quickly.
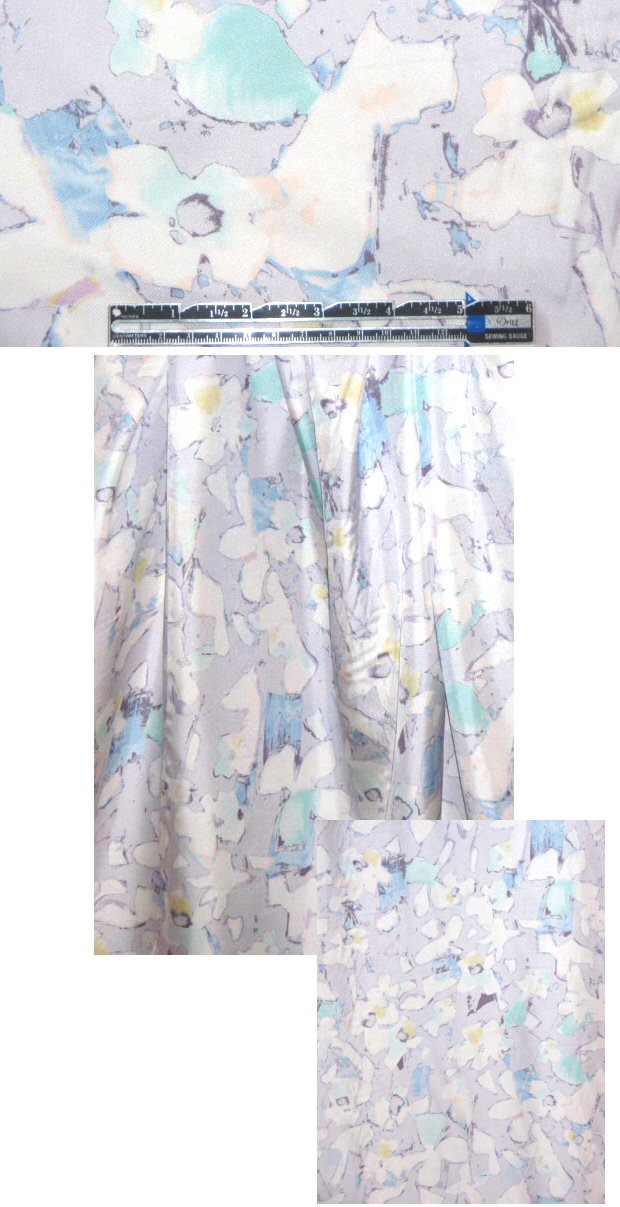
I chose this light purple colorway silk twill from my stash to match the cardigan. From the Emma One Sock website:
A very pretty silk twill print from a NY designer, this blouse/dress weight is opaque with a lovely drape and a pleasing soft sheen. The print is a floral collage with a 21″ repeat, in pastel tones of pale lavender, blue, yellow, pink and cream…
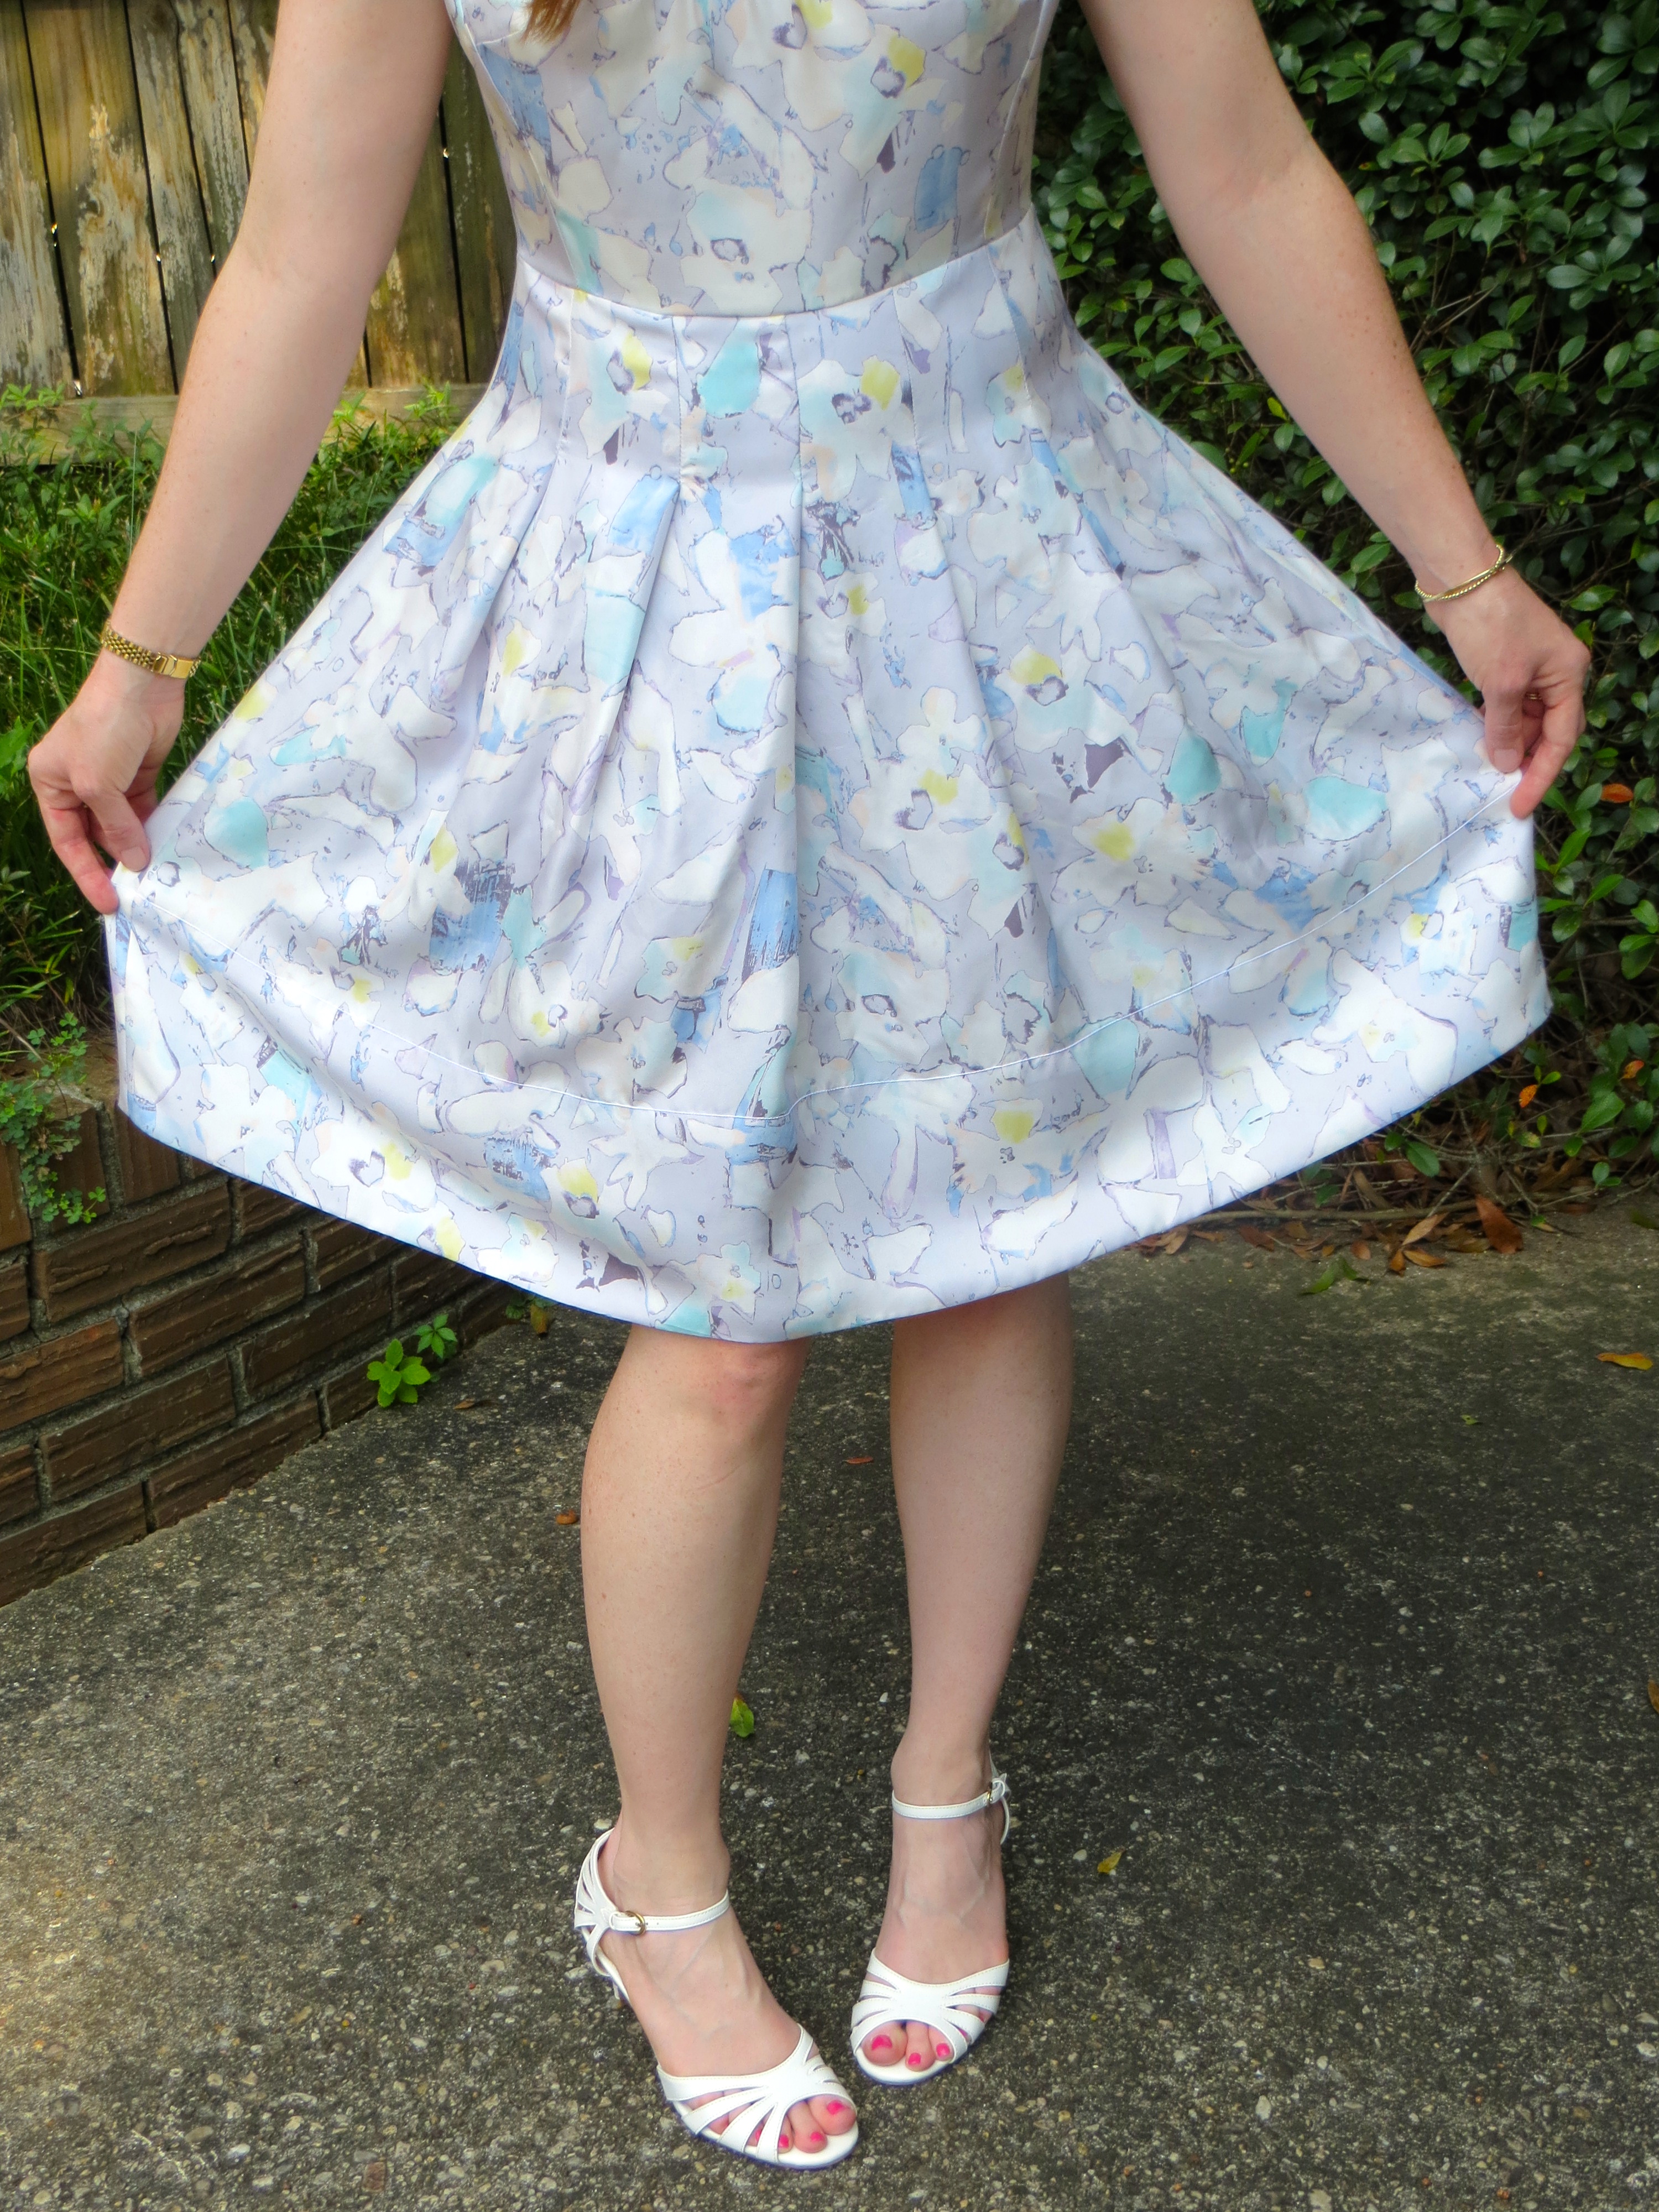
I love the soft purple base with irregular white flowers and splashes of soft blue and yellow. I think it would make a great dress for Easter or a baby/bridal shower. The twill fabrication gives the silk more body than a charmeuse although it is still very “silky” feeling. It is like the fabric of a necktie without all the interfacing. The fabric makes the dress very enjoyable to wear as it swishes really well. However, I do think a sturdier fabric, like the cotton sateen in my original version, is better for everyday interpretations of this dress. I will not wear this silk dress to work — it will be reserved for church, brunch, bridal showers, etc.

I lined the dress with white rayon Bemberg and used Siri sew in interfacing from Emma One Sock.

I won’t belabor the alterations as those were covered in my last post. My only additional modifications were to shift the shoulder straps in by 1/2″ and to alter the lining pieces by trimming 1/8″ off the neckline and armhole edges to help the lining roll to the inside (and it did help). I had to draft separate lining pieces for the bodice back and bodice side front to do this but that was as simple as tracing the original piece then trimming the desired edges. I had enough fabric this time to cut the skirt pieces with the pleats full width so I removed the modification I had made last time but I think I may like it better with narrower pleats.

Next time I will remember to add 1/2″ to the skirt length at center back and taper it to nothing at the side seam. Instead I had to cut 1/2″ off the front of the skirt after the fact before sewing on the hem facing.
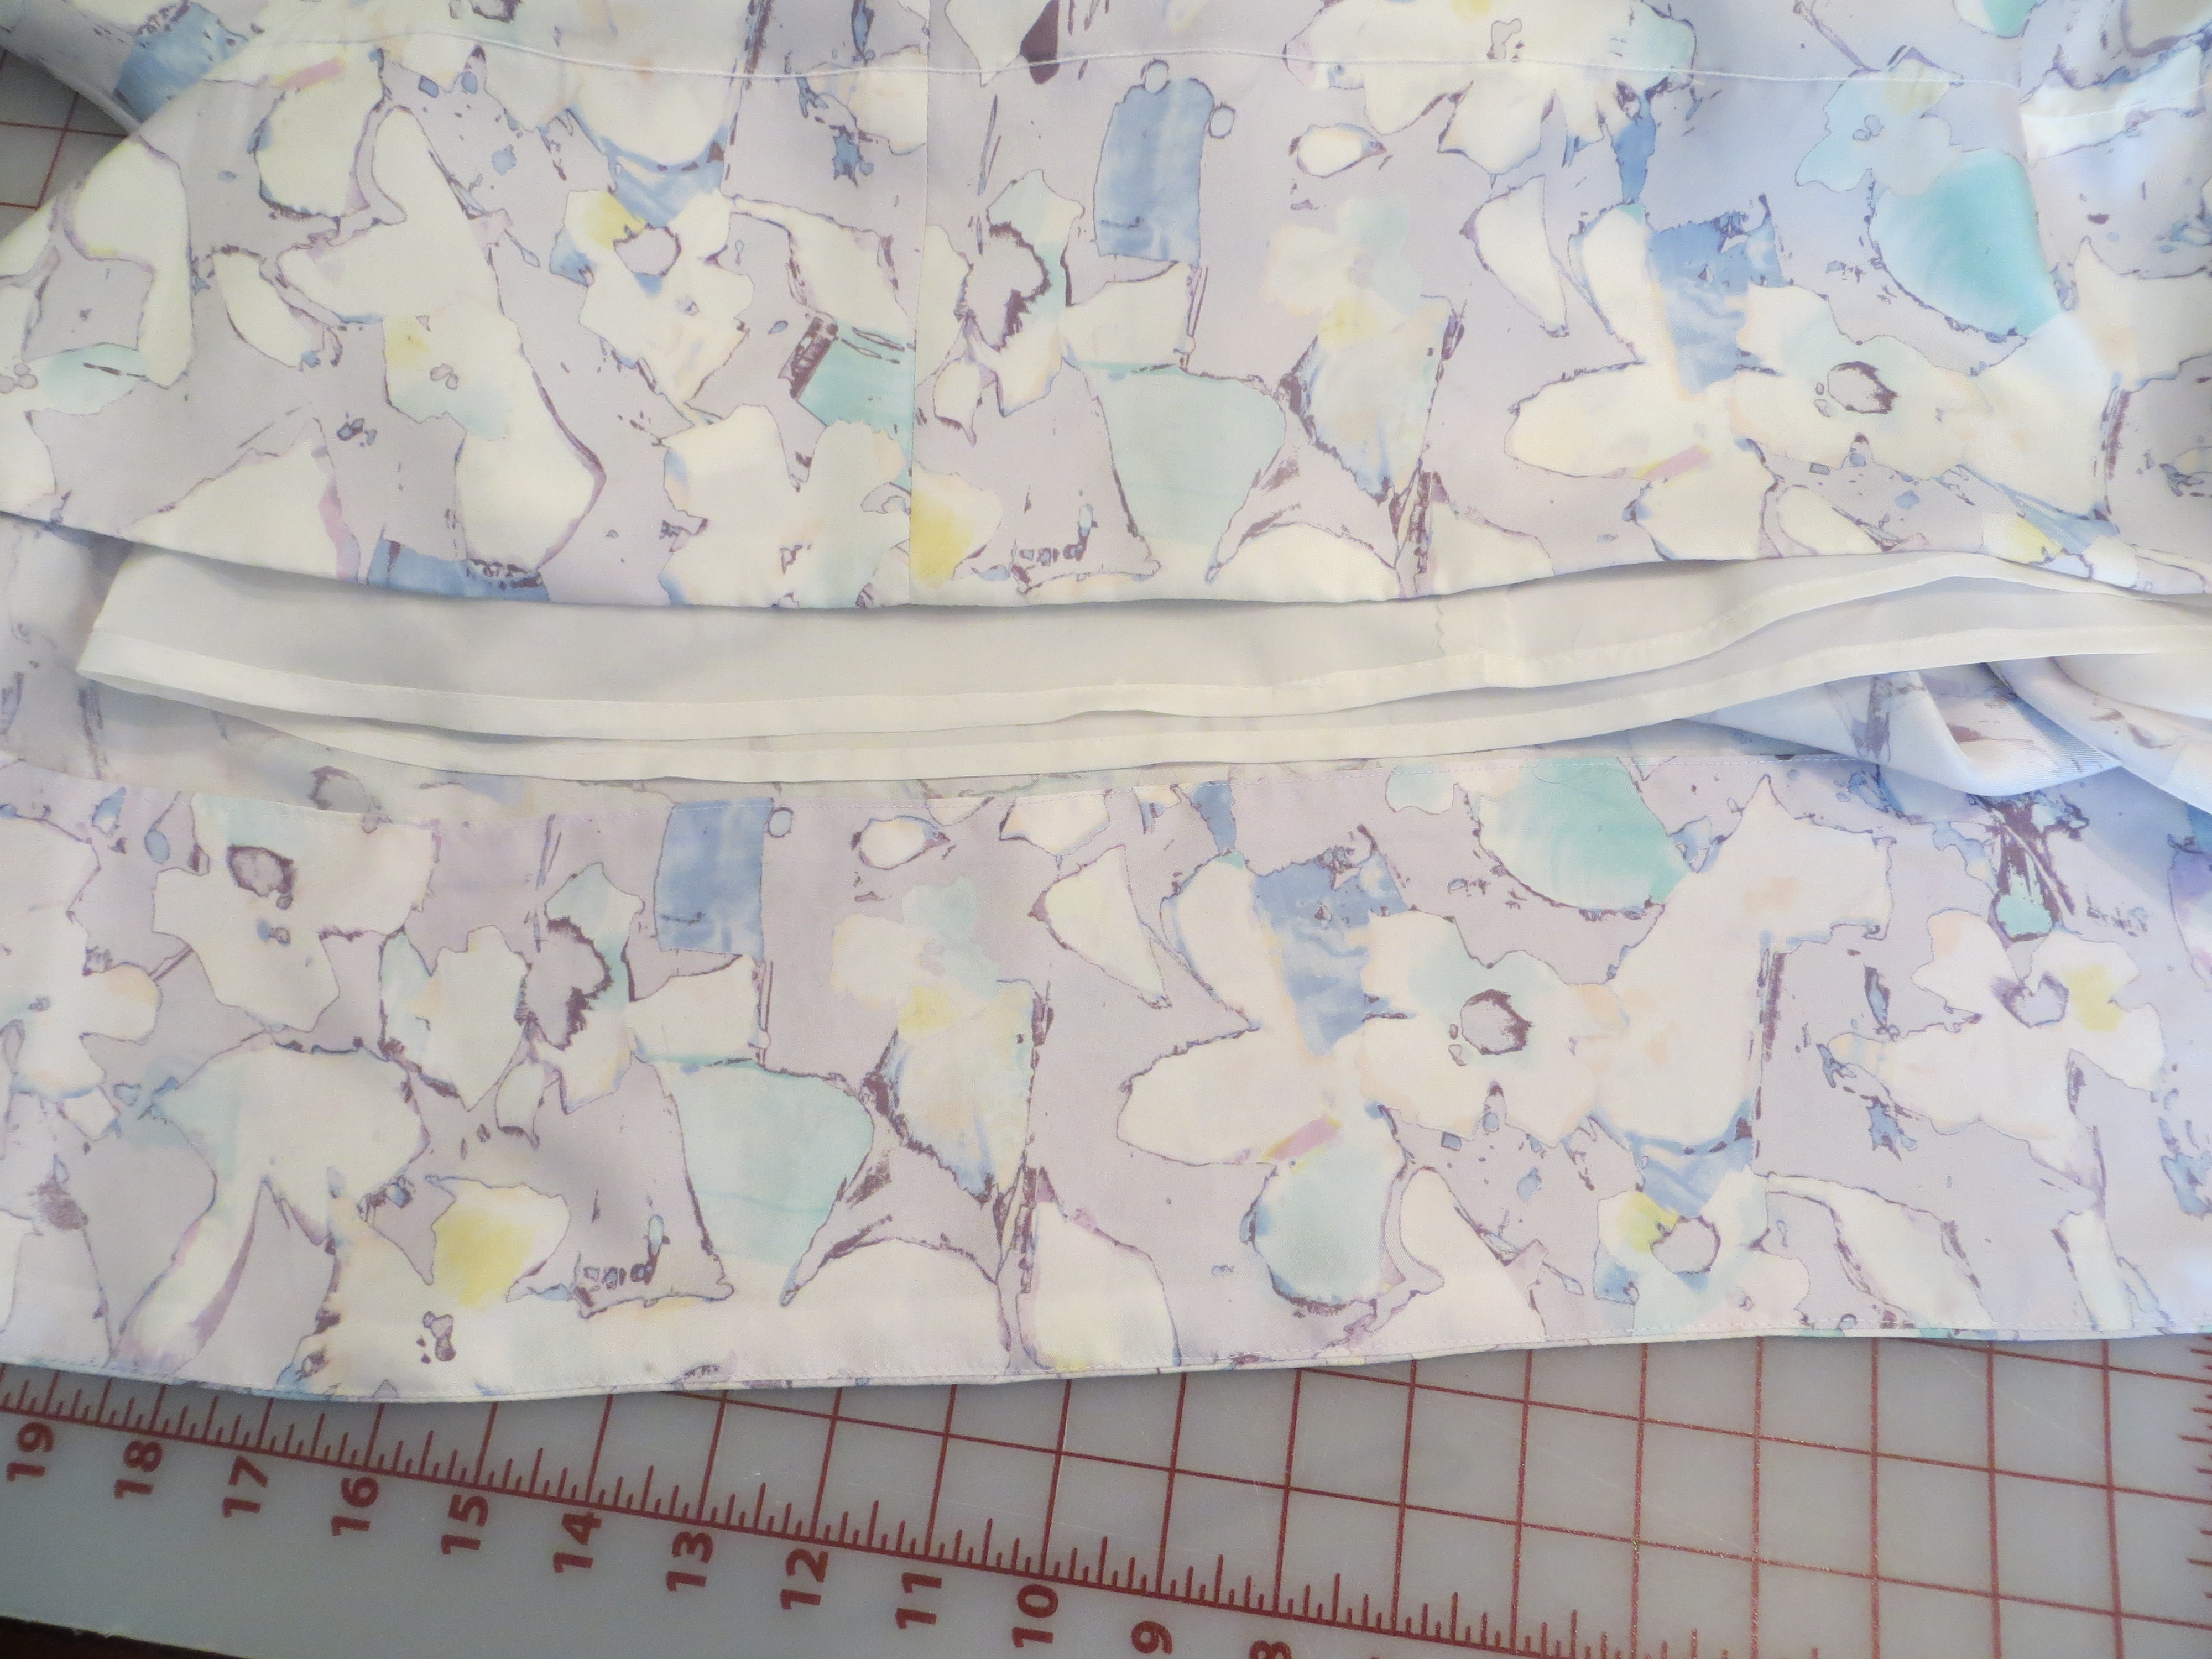
Like last time, I used self-fabric instead of lining to face them hem because I like this look better. I stitched the facing in place with the chainstitch on my coverstitch and let the wrong side of the stitching show on the outside of the dress.

I used this tutorial on Pattern Scissors Cloth to fully line the dress by machine and I used this tutorial to get a precisely installed invisible zipper that doesn’t require a hook and eye. So this dress doesn’t have any handstitching in it — yay!
I don’t think there’s much else to say so I’ll sign off for today. I’ll be back tomorrow with the promised tutorial on using your sewing machine to make buttonholes in your hand-knit garments!


