I may be setting a posting record this week and I know I am setting a record by posting my first official tutorial. Yay!
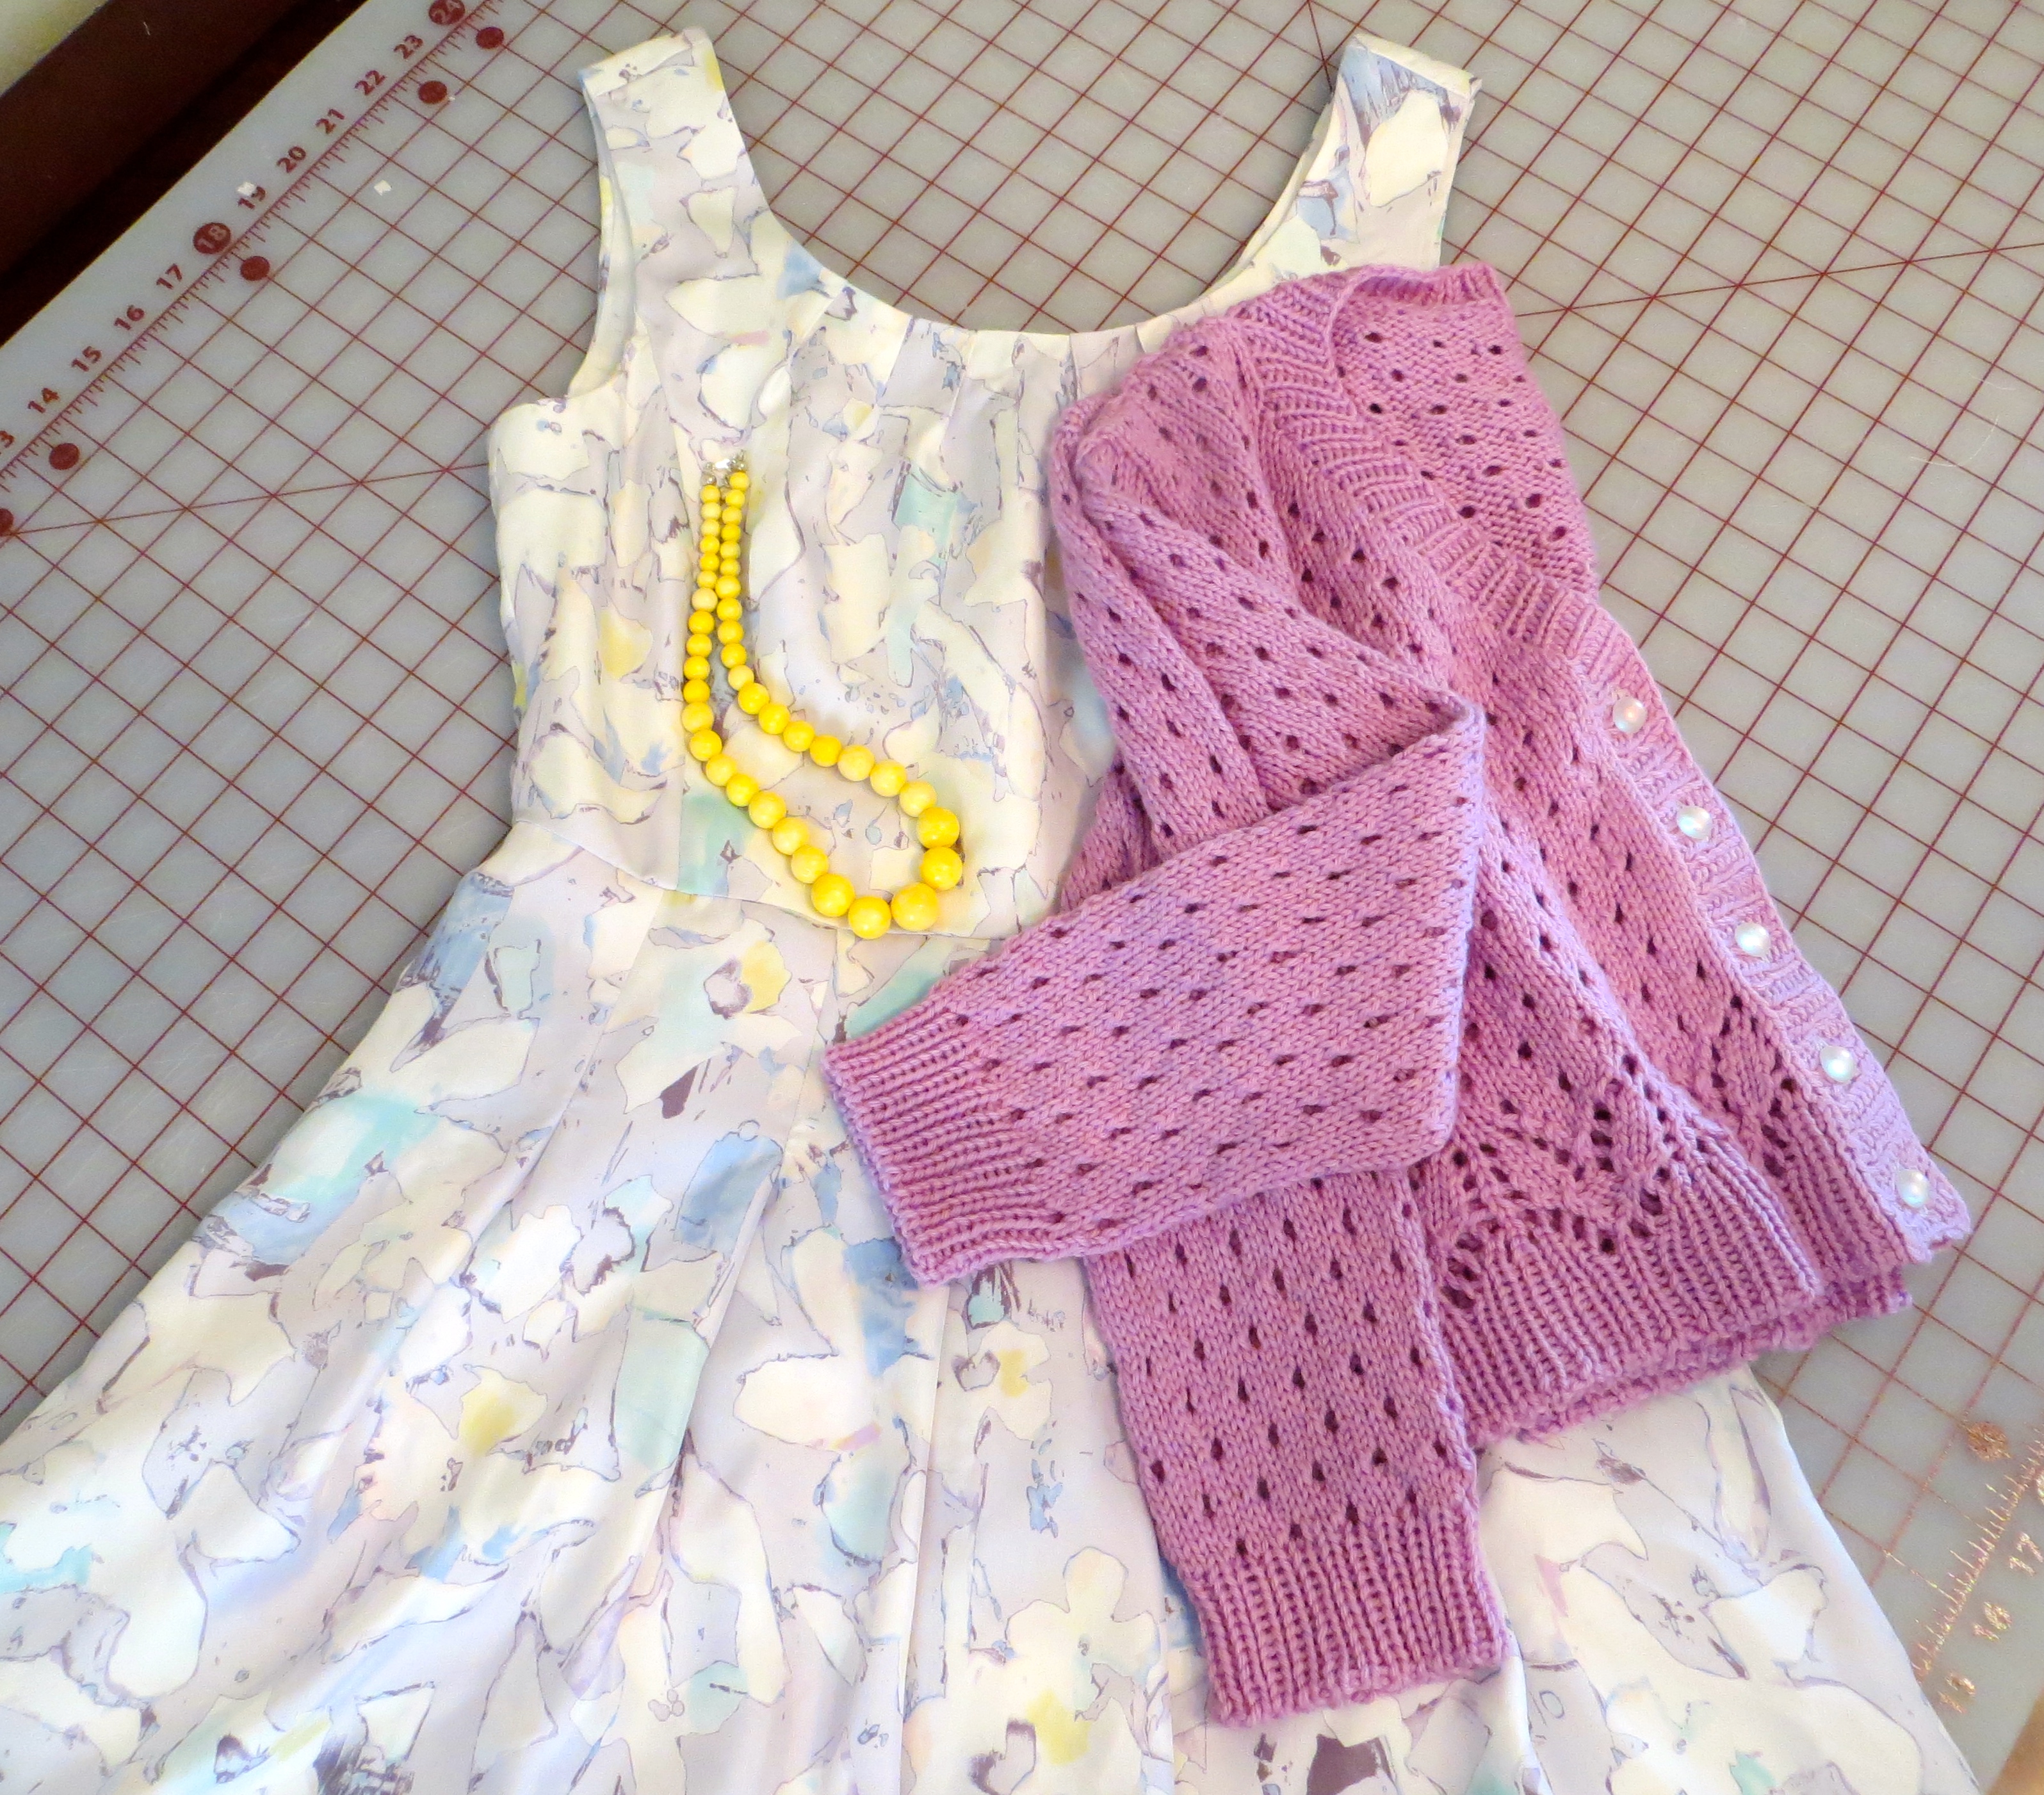
When it got time to knit the button band on my Sunshower Cardigan, I knew I wasn’t crazy about the idea of knitted buttonholes. I have made cardigans like this before (unblogged), and I feel like the buttonholes always stretch. You can even see this in the model photos for the pattern. I have tried reinforcing the button band with grosgrain ribbon but even this is tricky because your machined buttonholes in the ribbon have to line up perfectly with your knitted buttonholes or your button band will bunch up or pull between the buttons.
So I did a little internet searching about machine sewing buttonholes into hand knit garments and most of the posts that came up had to do with knitting machines — not helpful. I found a few forum posts where people had talked about it but the general consensus among knitters was one of fear and trepidation when a sewing machine and hand-knit were mentioned together. But the way I look at it, my hand knit garment is just “fabric” so if I take the proper precautions for that type of fabric, I should be able to sew it with my machine.
Before you use your sewing machine on your hand knit fabric, you need to take into consideration the stability of the fabric and the loftiness of the fabric. So the steps I will present to you here will help you have sturdy and attractive buttonholes that don’t pull out of shape with a little negative ease and that give you the flexibility of choosing your buttons after the garment is completed and not having your button choice restricted by the size of the knitted buttonhole.
First, when you start to knit the button band of your cardigan, ignore the instructions for creating buttonholes and just continue to work in pattern until your button band is completed. Consider using a slightly stretchy bind off such as this one.
Then, block your cardigan according to your pattern schematic. This is very important. We don’t want to stabilize the bands to the wrong length.

Next, it is necessary to stabilize the button band so it doesn’t stretch out. I used grosgrain ribbon for this and I think this is a pretty popular technique even with knitted button holes. Simply cut two lengths of grosgrain, Petersham, (or satin would probably work) ribbon that is no wider than the button band and slipstitch it to the back side of both bands. I trimmed the ends of my ribbon with pinking shears and sealed them with FrayCheck but you could also turn them under 1/4″ and sew them down.
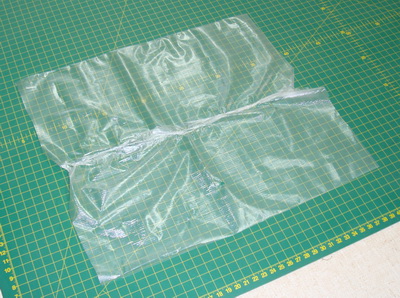
Image source
Next, we need to prevent the top side of our knitted fabric from getting caught in the machine. We want it to glide smoothly through as your machine stitches your buttonholes. For this, I used a wash-away stabilzer called Solvy. You could also use tissue paper but I recommend keeping some Solvy around as it lasts a long time when you only use it for small projects like this and you will find other uses for it in your sewing. Cut a strip slightly larger than the button band.

Now set your cardigan and Solvy strip aside for a minute and let’s practice some buttonholes on a swatch. Hopefully you knit a gauge swatch before you knit your garment. That will come in handy now. If you didn’t, I highly recommend knitting one up because picking a wonky buttonhole out of your hand knit is not a job I would want to undertake.
Cut a 4″ piece of ribbon and baste it to the backside of the swatch. Now cut a little strip of Solvy and pin it to the top of your knit swatch. Now, set your machine to stitch a buttonhole. All machines are different but mine does an automatic all-in-one buttonhole with adjustable stitch width and length. I found a stitch width of 5.0 and length of 0.2 to work best for me. The shorter stitch length creates more of a satin like stitch which I think holds the yarn together better. But I suggest you do at least three test button holes on your swatch to test out different settings. And make sure you make them the same size you will need for your intended buttons because we will need to measure it for alignment purposes.
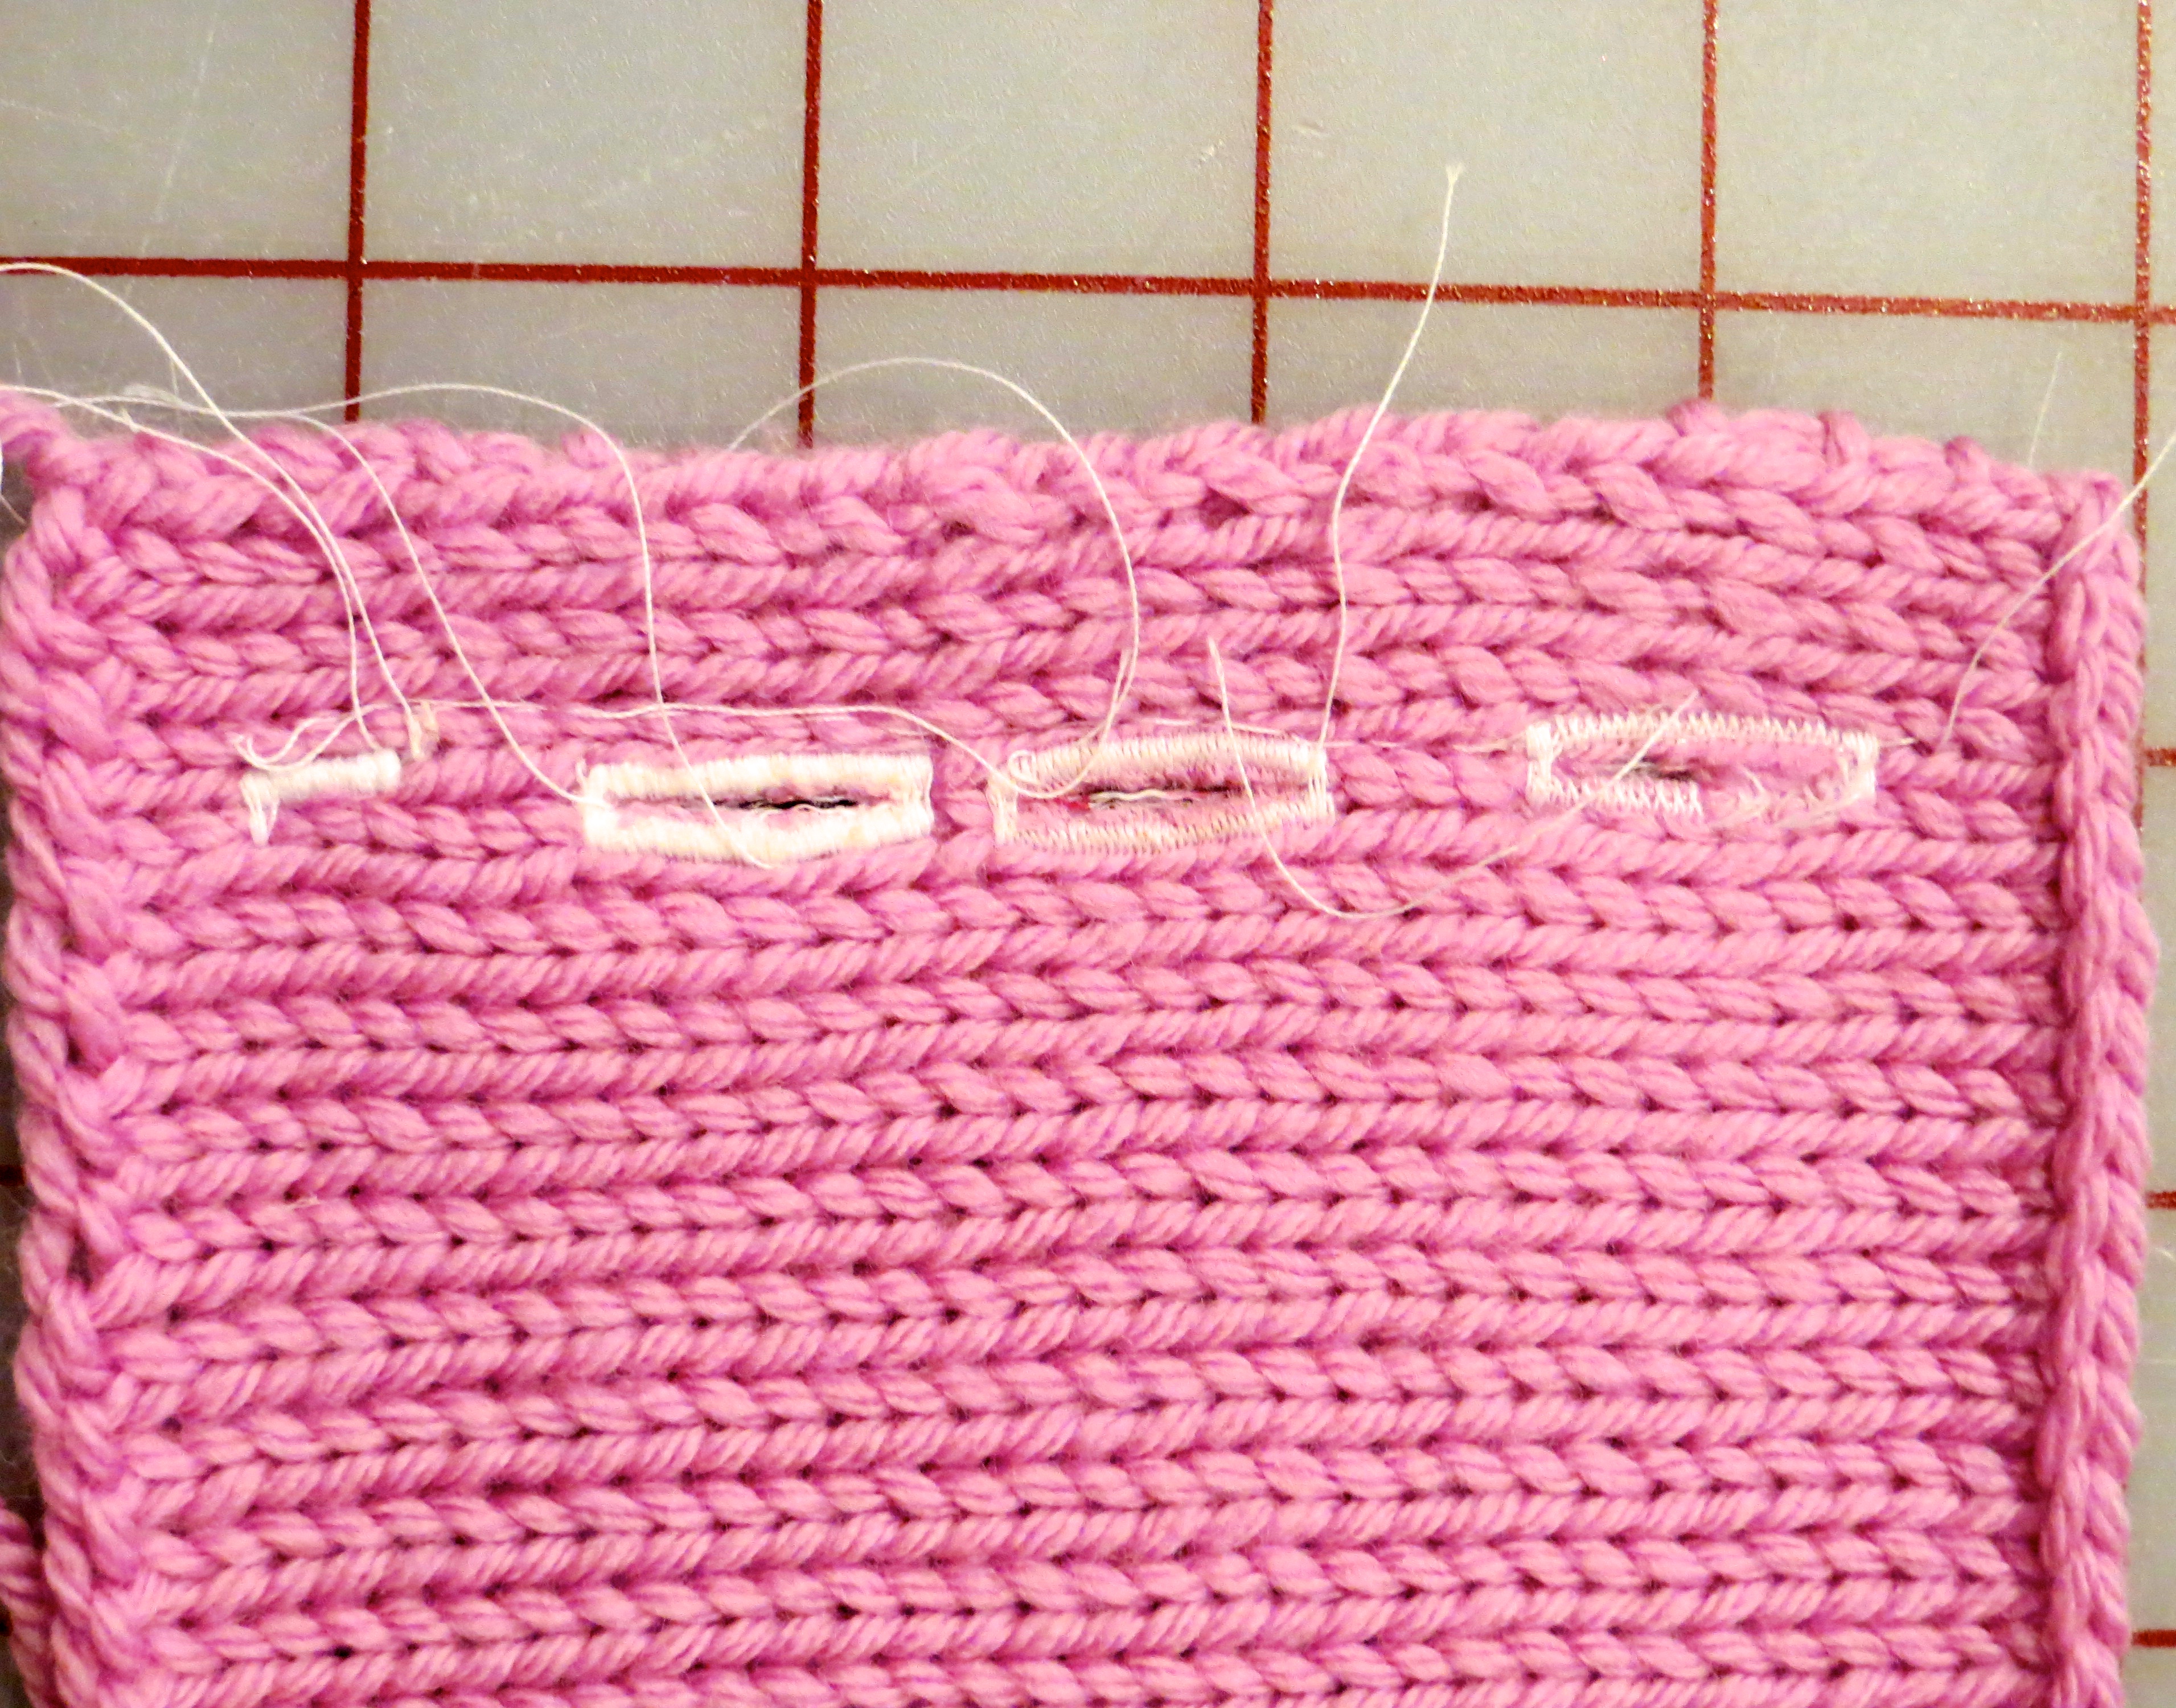
From left to right: stitch length 0.2, 0.3 and 0.4. You can see the longer stitch length looks messier.
Once you have sewn at least three test buttonholes on different settings, tear away the Solvy and dab some FrayCheck along the front and back of the uncut buttonholes and steam it with your iron to help it dry softer. Once dry, carefully cut the buttonholes open, preferably with a buttonhole cutter.
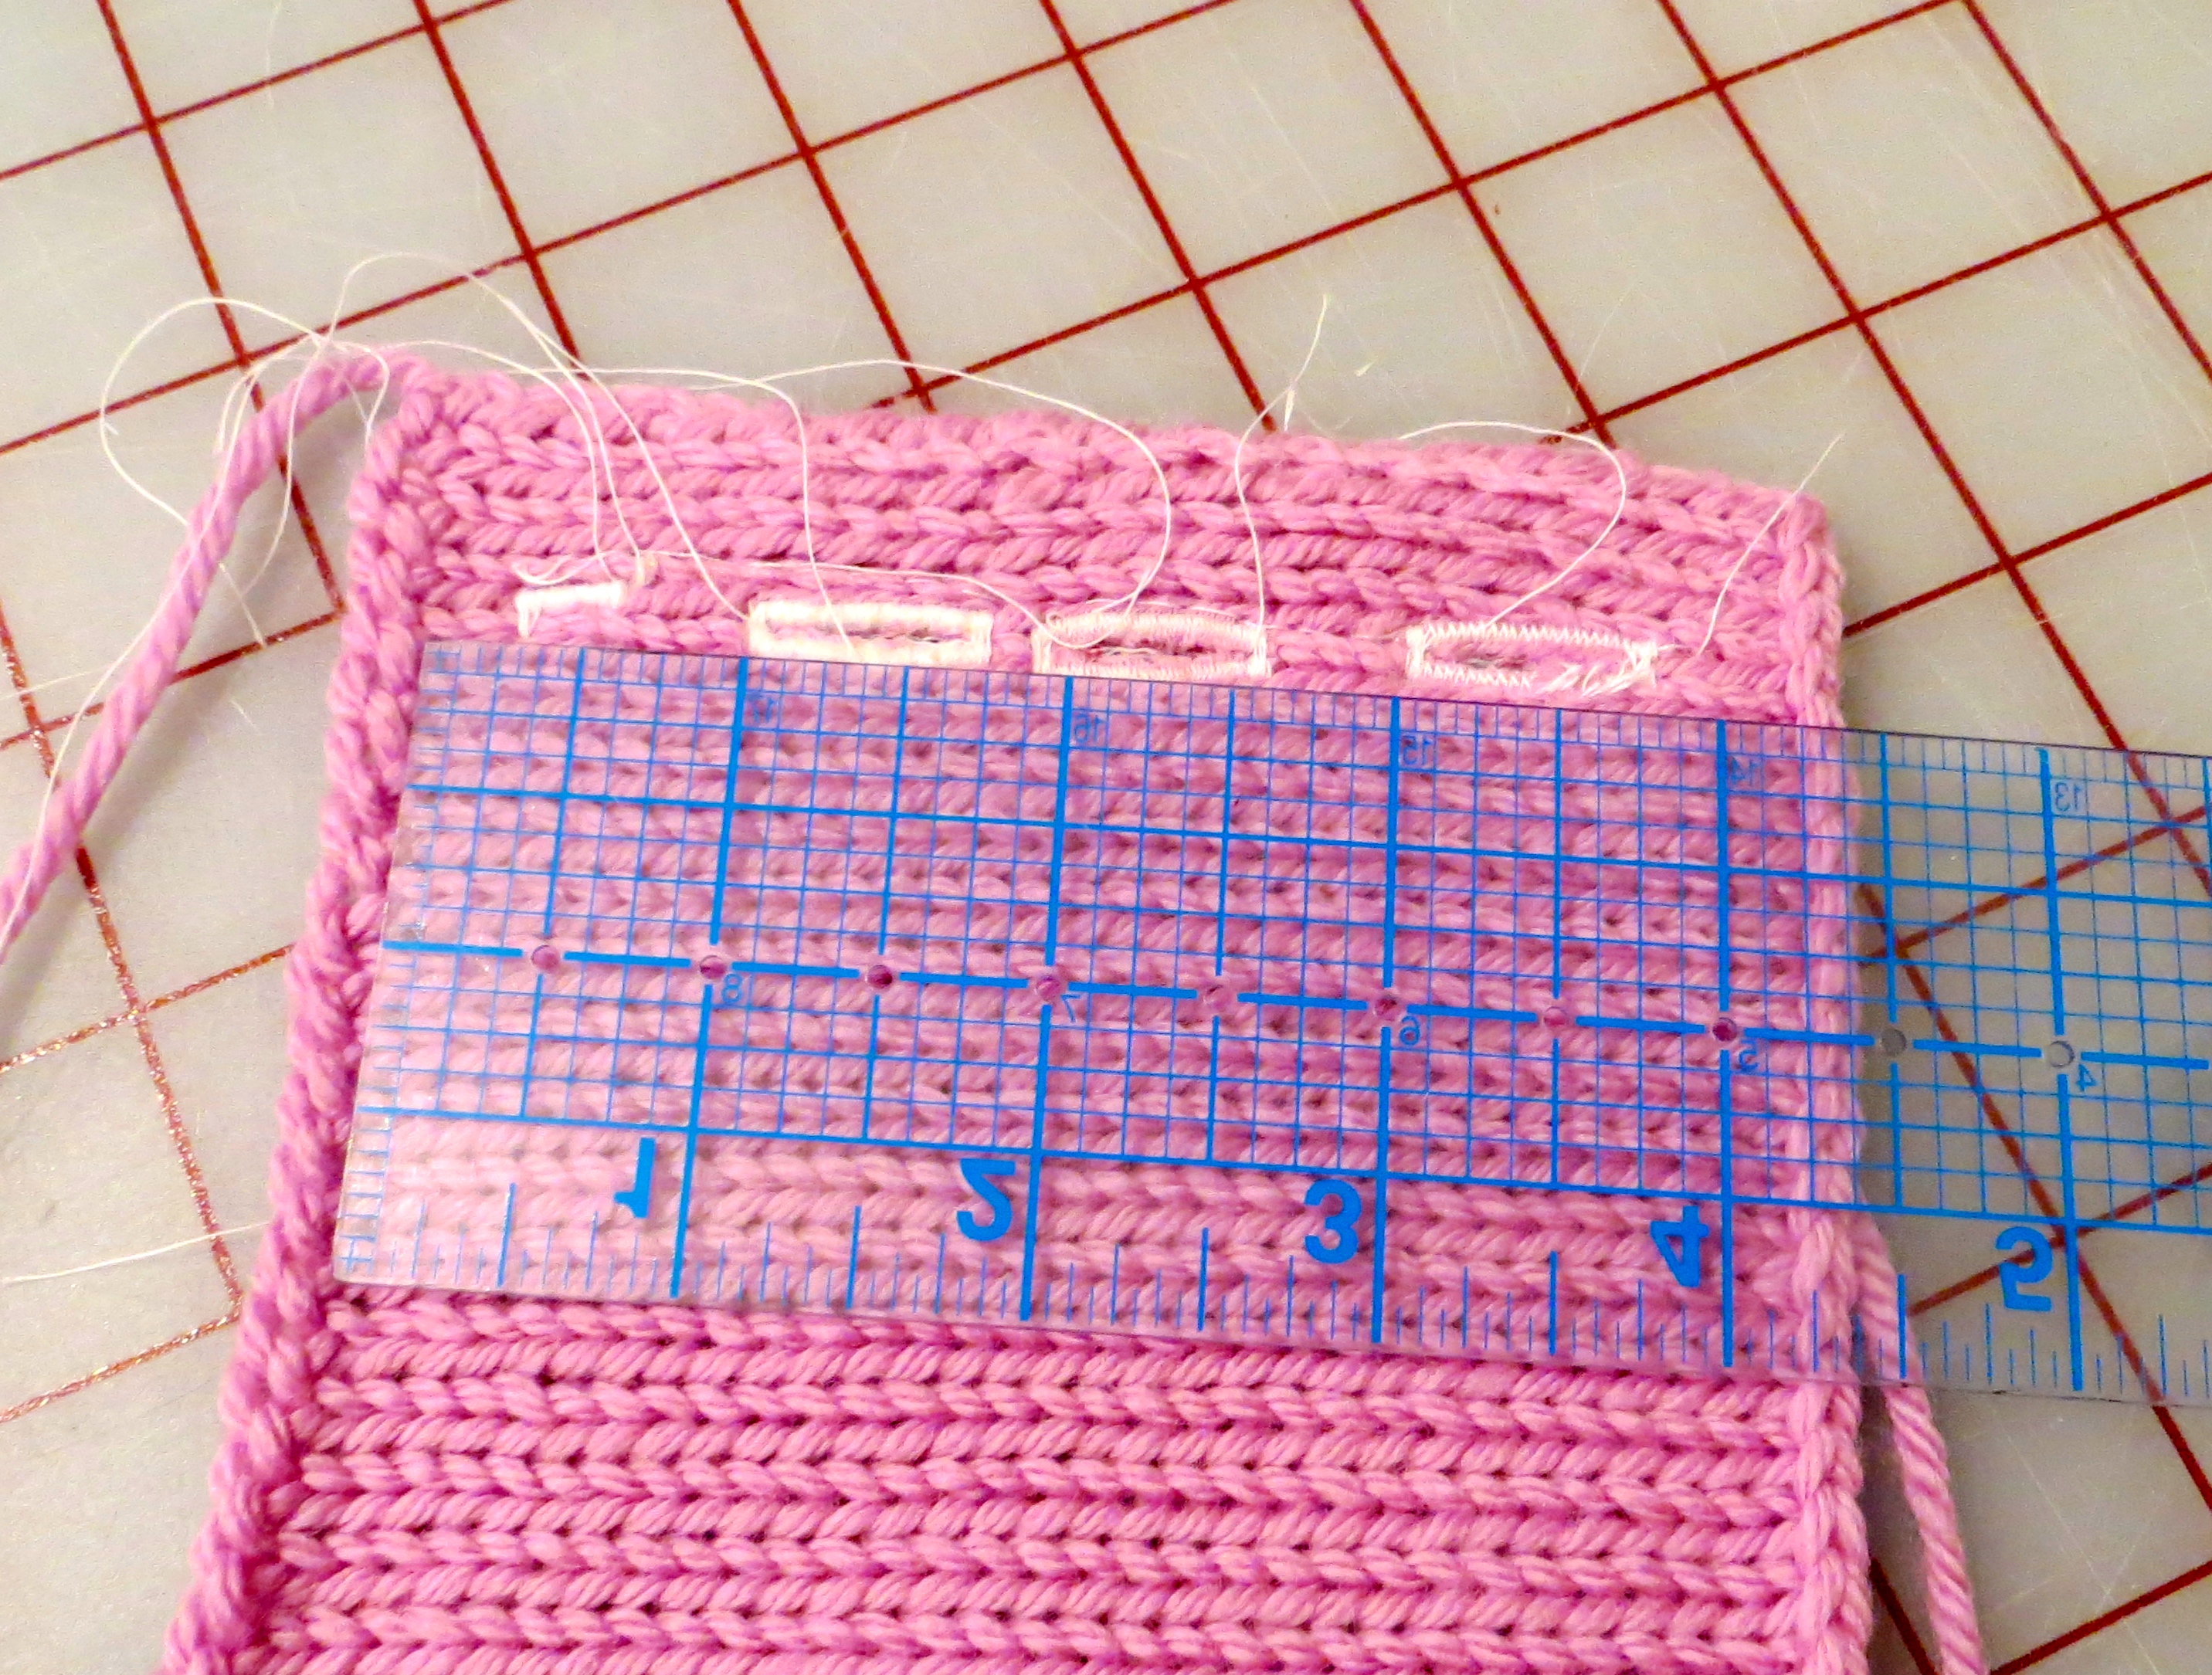
Now examine your sample buttonholes and maybe even pass your button through them a few times to see which one holds up and looks the best. Set your machine to those settings for stitching the rest of the buttonholes in the garment. Now take a measurement of the overall length of your buttonhole to aid you in determining alignment and placement of your buttonholes.
Now identify the side of the cardigan to sew the buttonholes in — usually the right front as you wear it, but this may vary depending on personal preference.
Pin the Solvy strip to the top of the buttonhole side of the button band. You may use pins and/or a fabric marking pin on the Solvy to center your buttonholes and you will use the measurement you just took from the buttonhole on the swatch to help with accuracy. I won’t describe that step in detail since it is not specific to sewing buttonholes in a hand knit garment. It is the same process as sewing buttonholes in any garment. Plus, other sewing machines may do buttonholes differently than mine and I don’t want to create confusion.

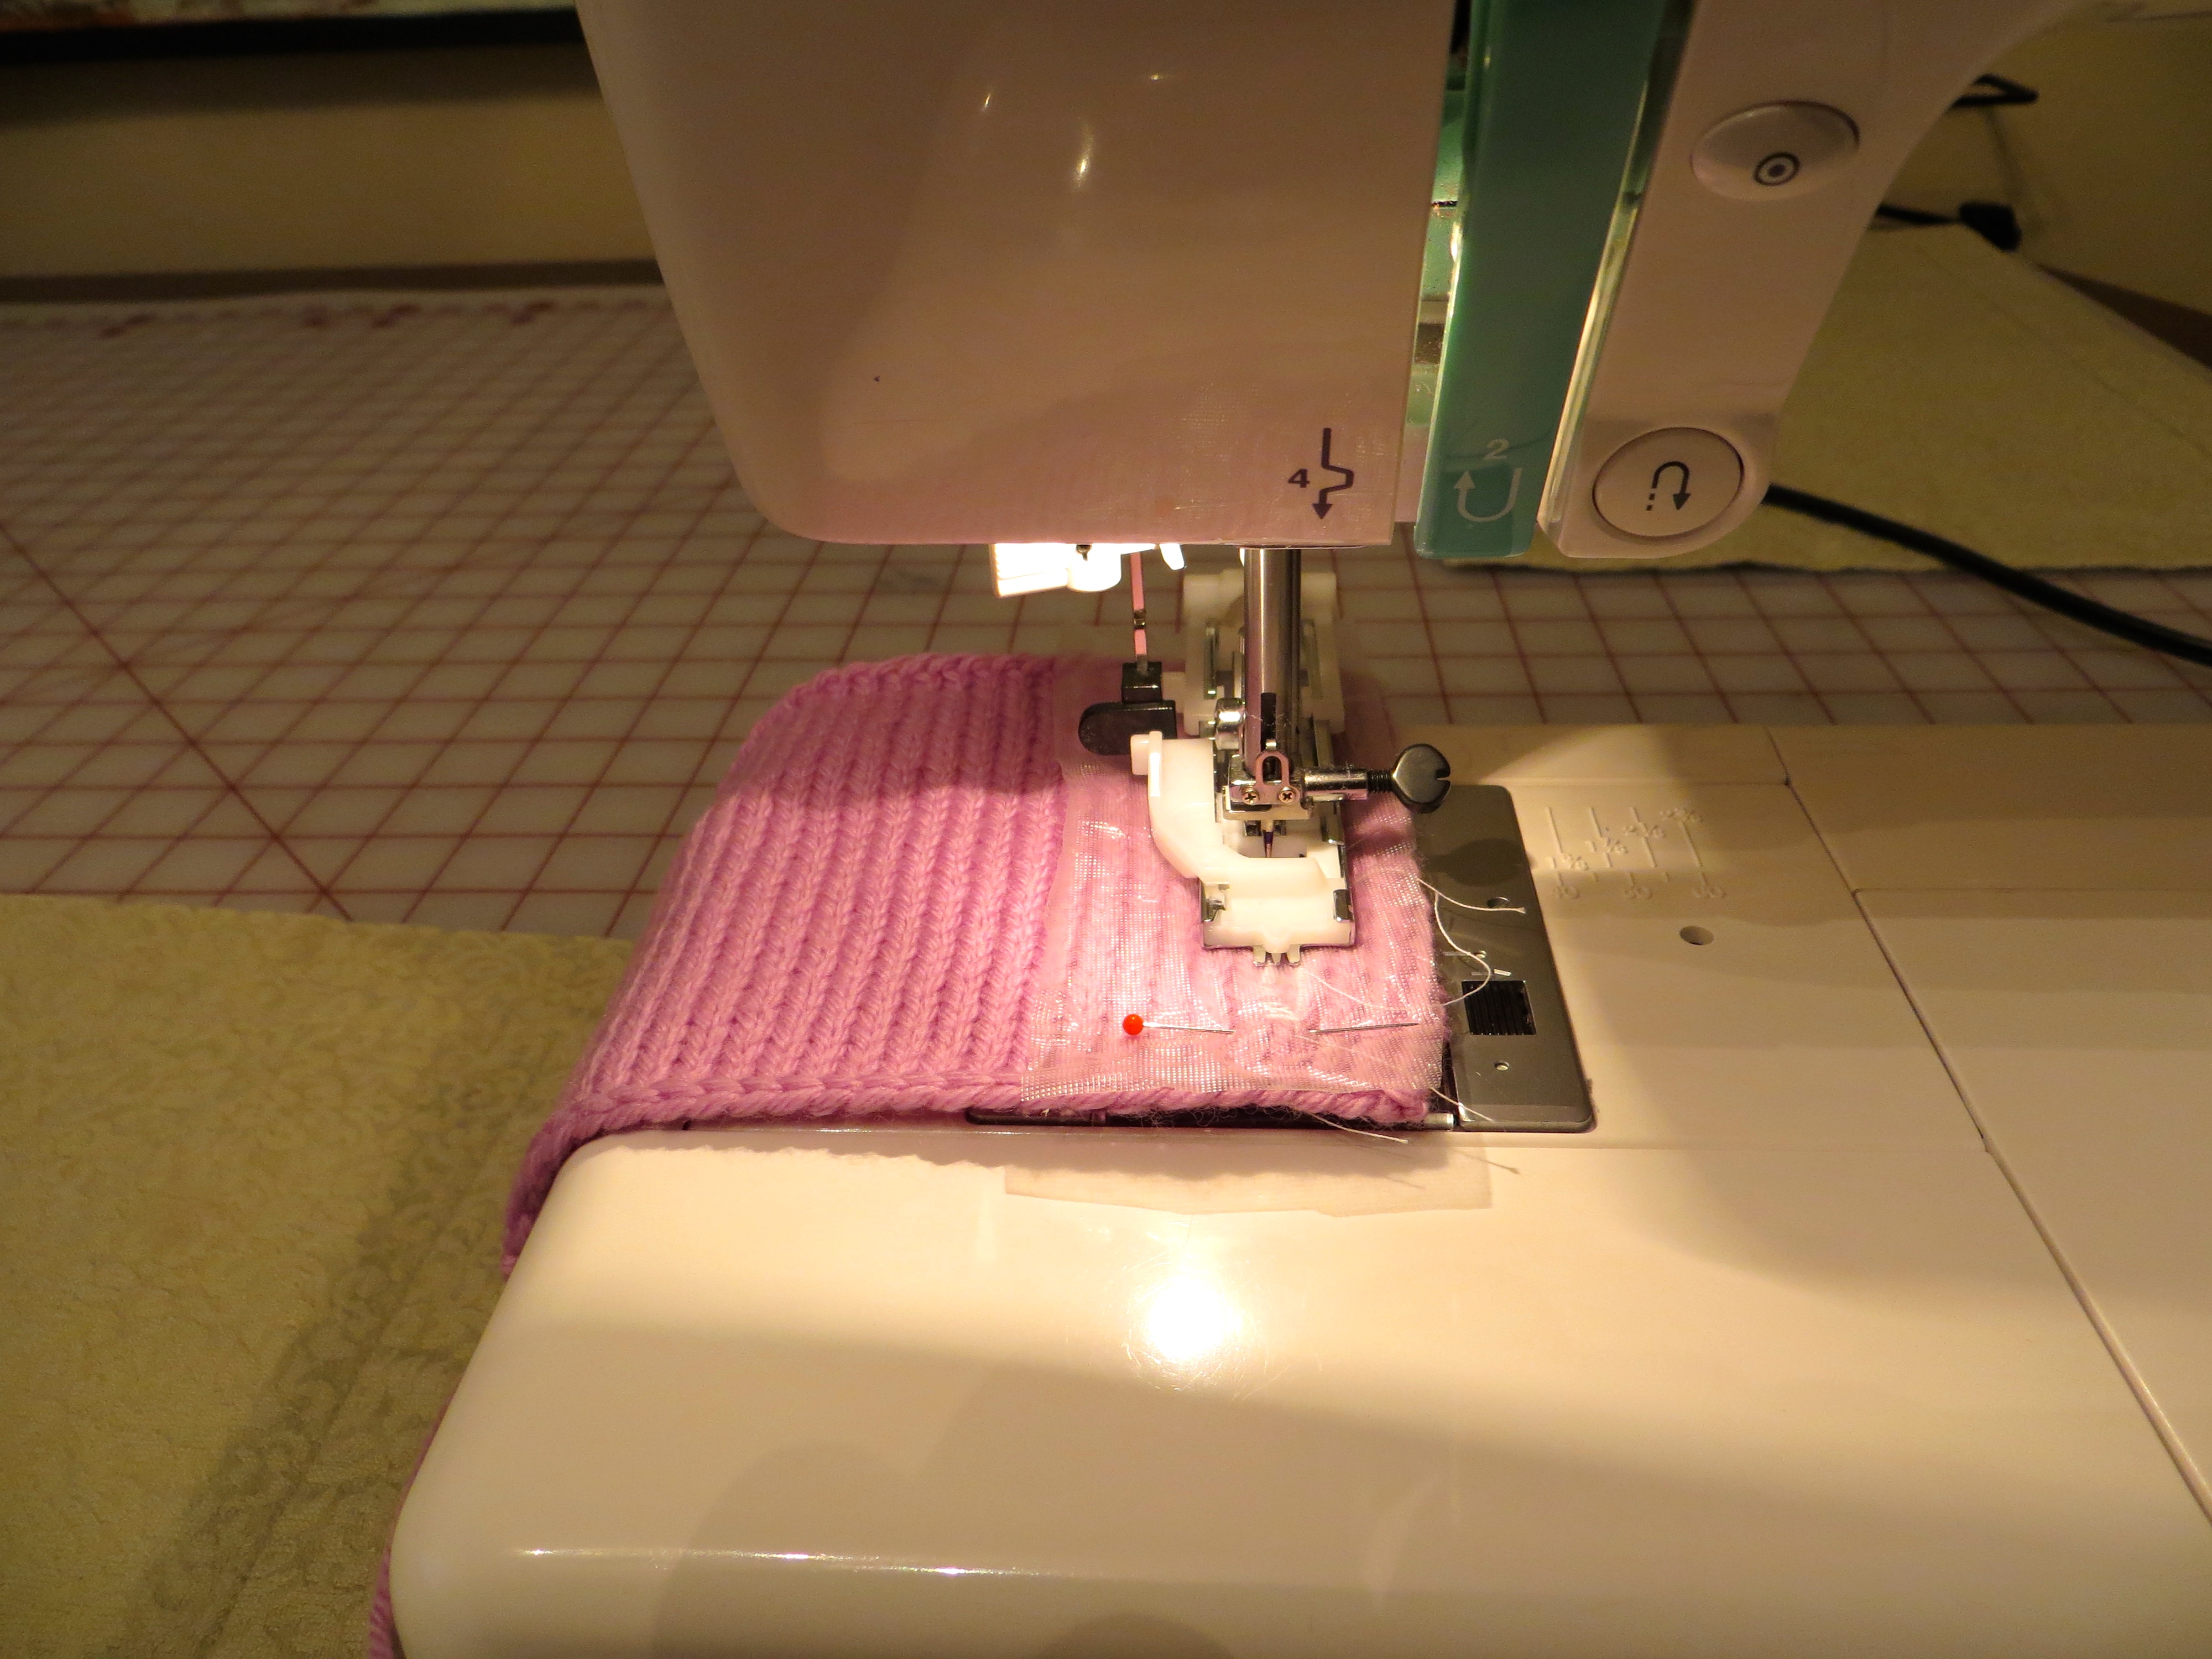
Once you have decided on the placement and alignment of each buttonhole, take the garment to the machine and arrange it with the ribbon to the feed dogs and the Solvy under the presser foot. Make sure your settings are still correct. I prefer to start with one of the middle buttonholes.

Stitch slowly. Provide just a slight amount of traction on the fabric to help it along — very slight, you are not pushing or pulling it but more trying to keep it from hanging up. But don’t fear, this really isn’t likely since we have stabilized and prepped properly. If you are worried, you could take the extra precaution of placing a piece of tissue paper or even printer paper between the garment and the feed dogs for more stability then tear it away after the buttonhole is sewn.

Once all the buttonholes are sewn, repeat the same process as with the swatch and dab some FrayCheck on both sides then steam dry. Cut open carefully.
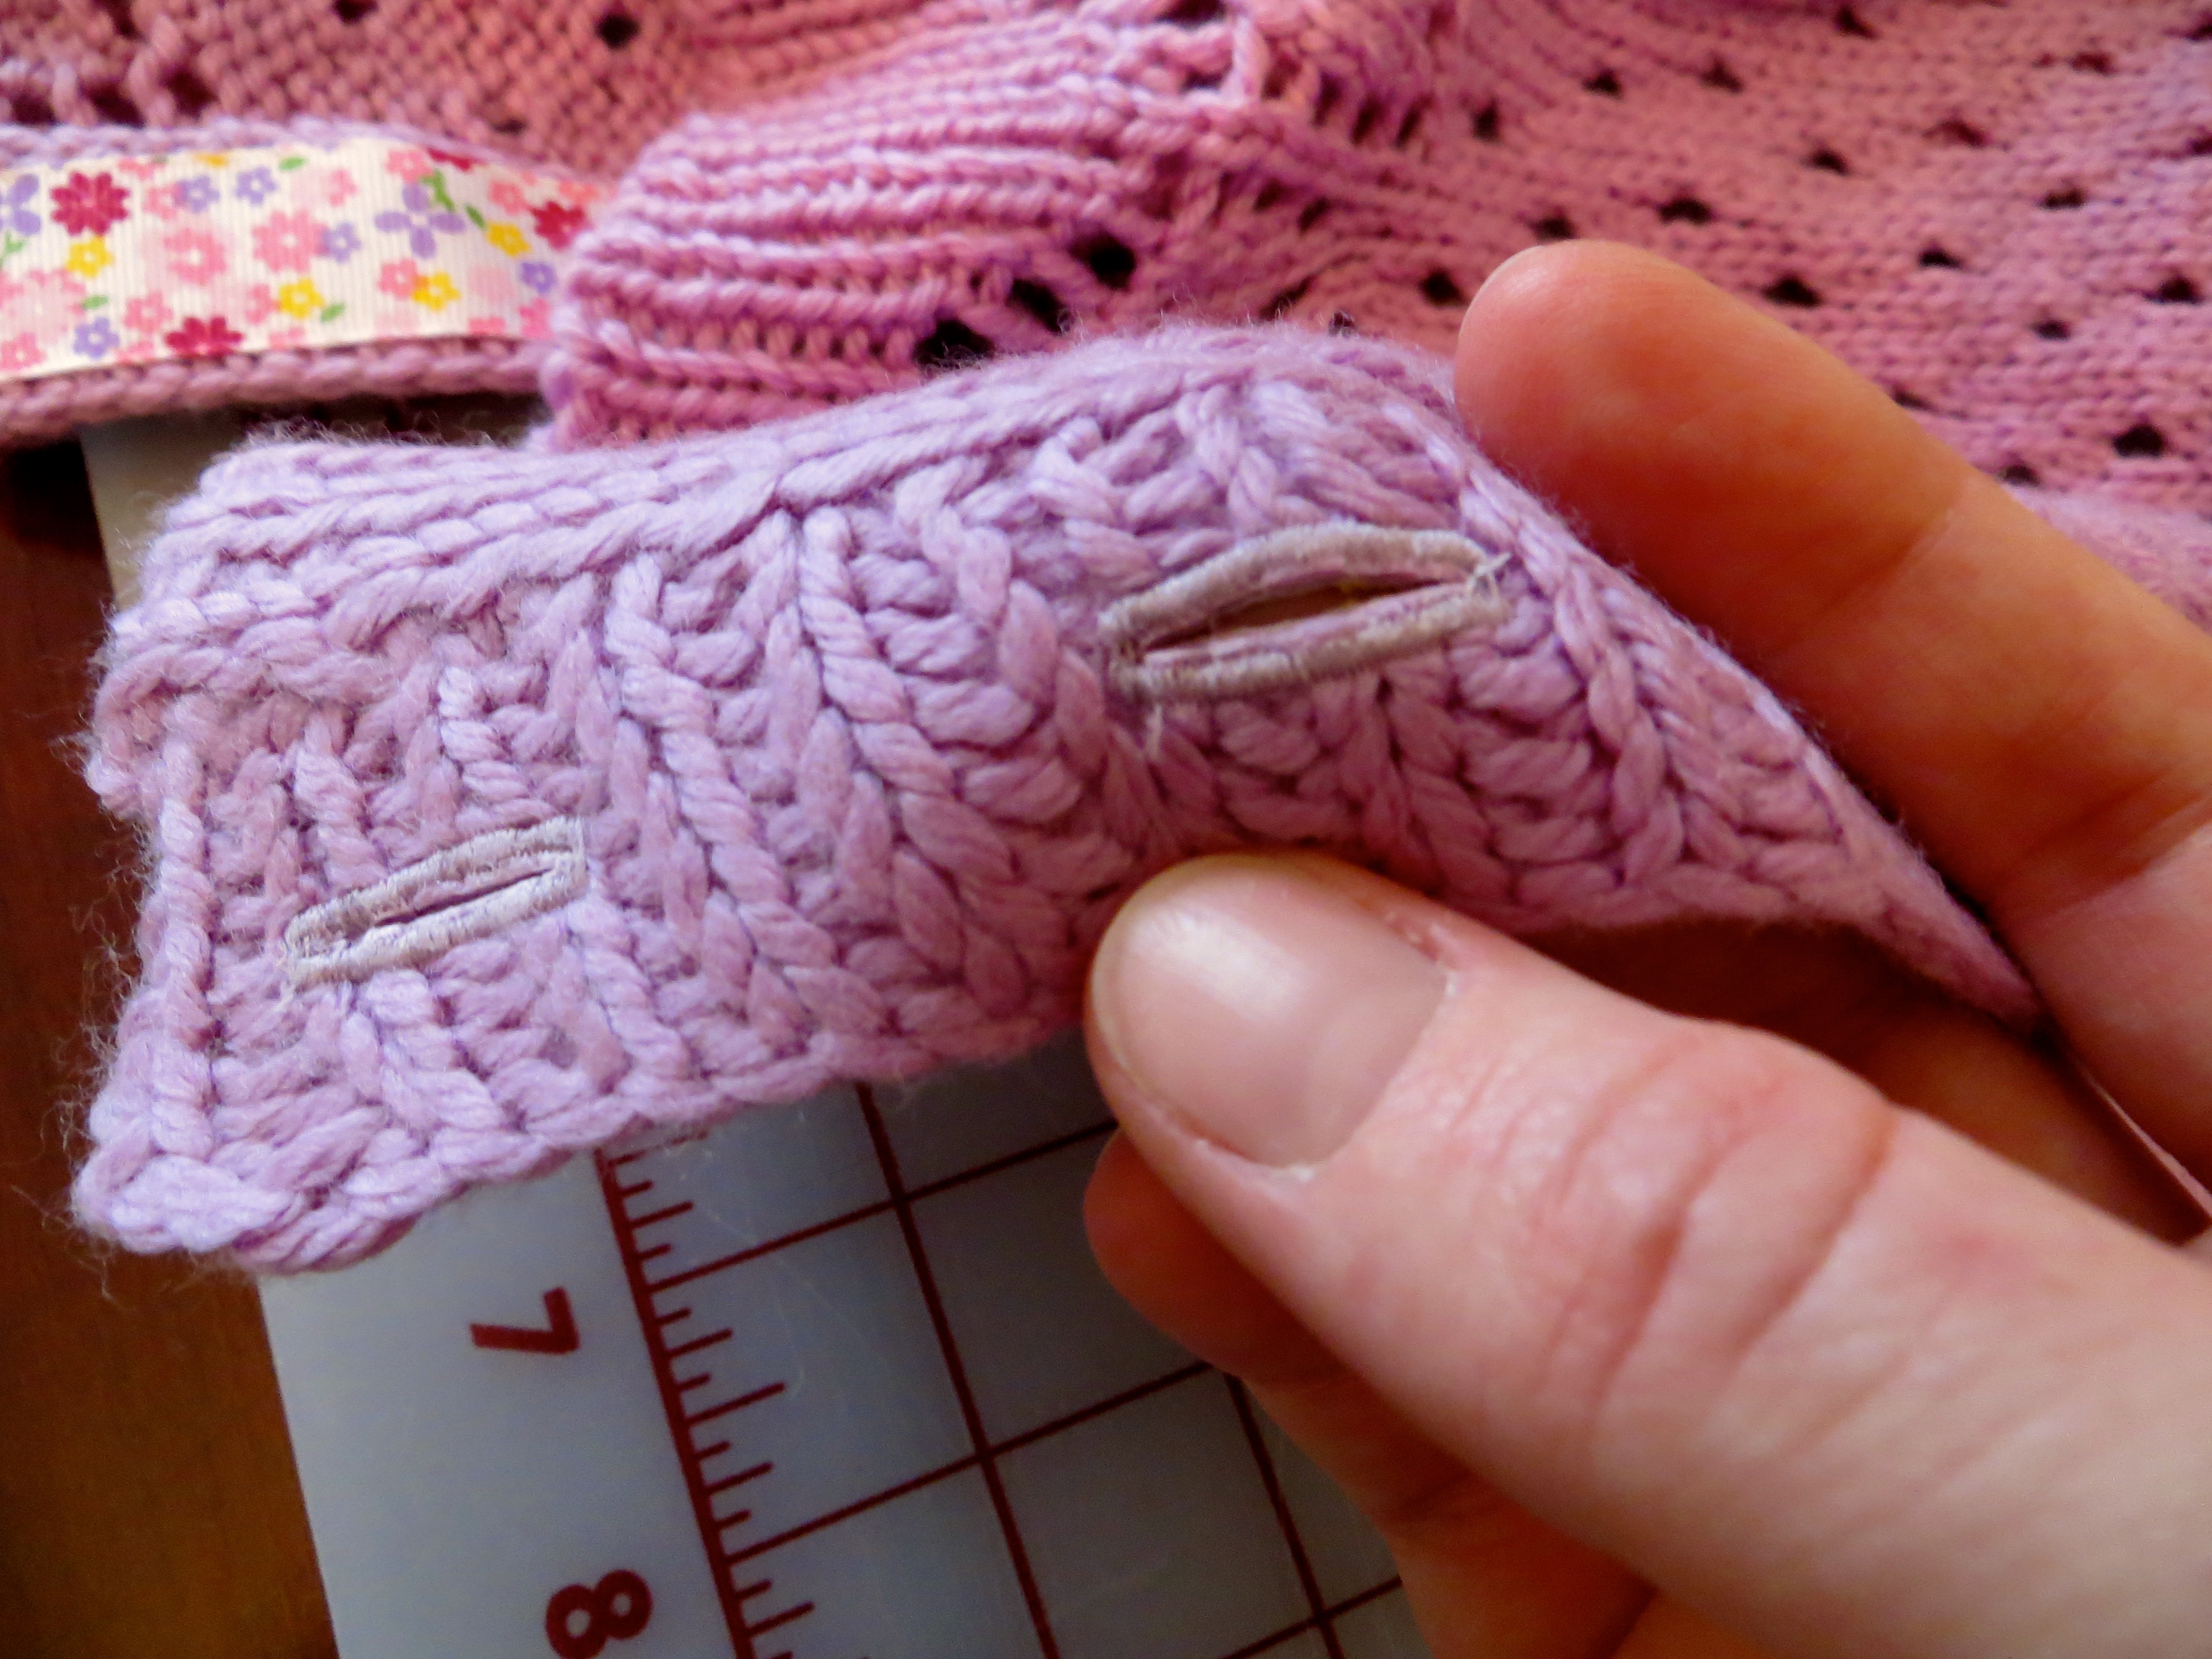
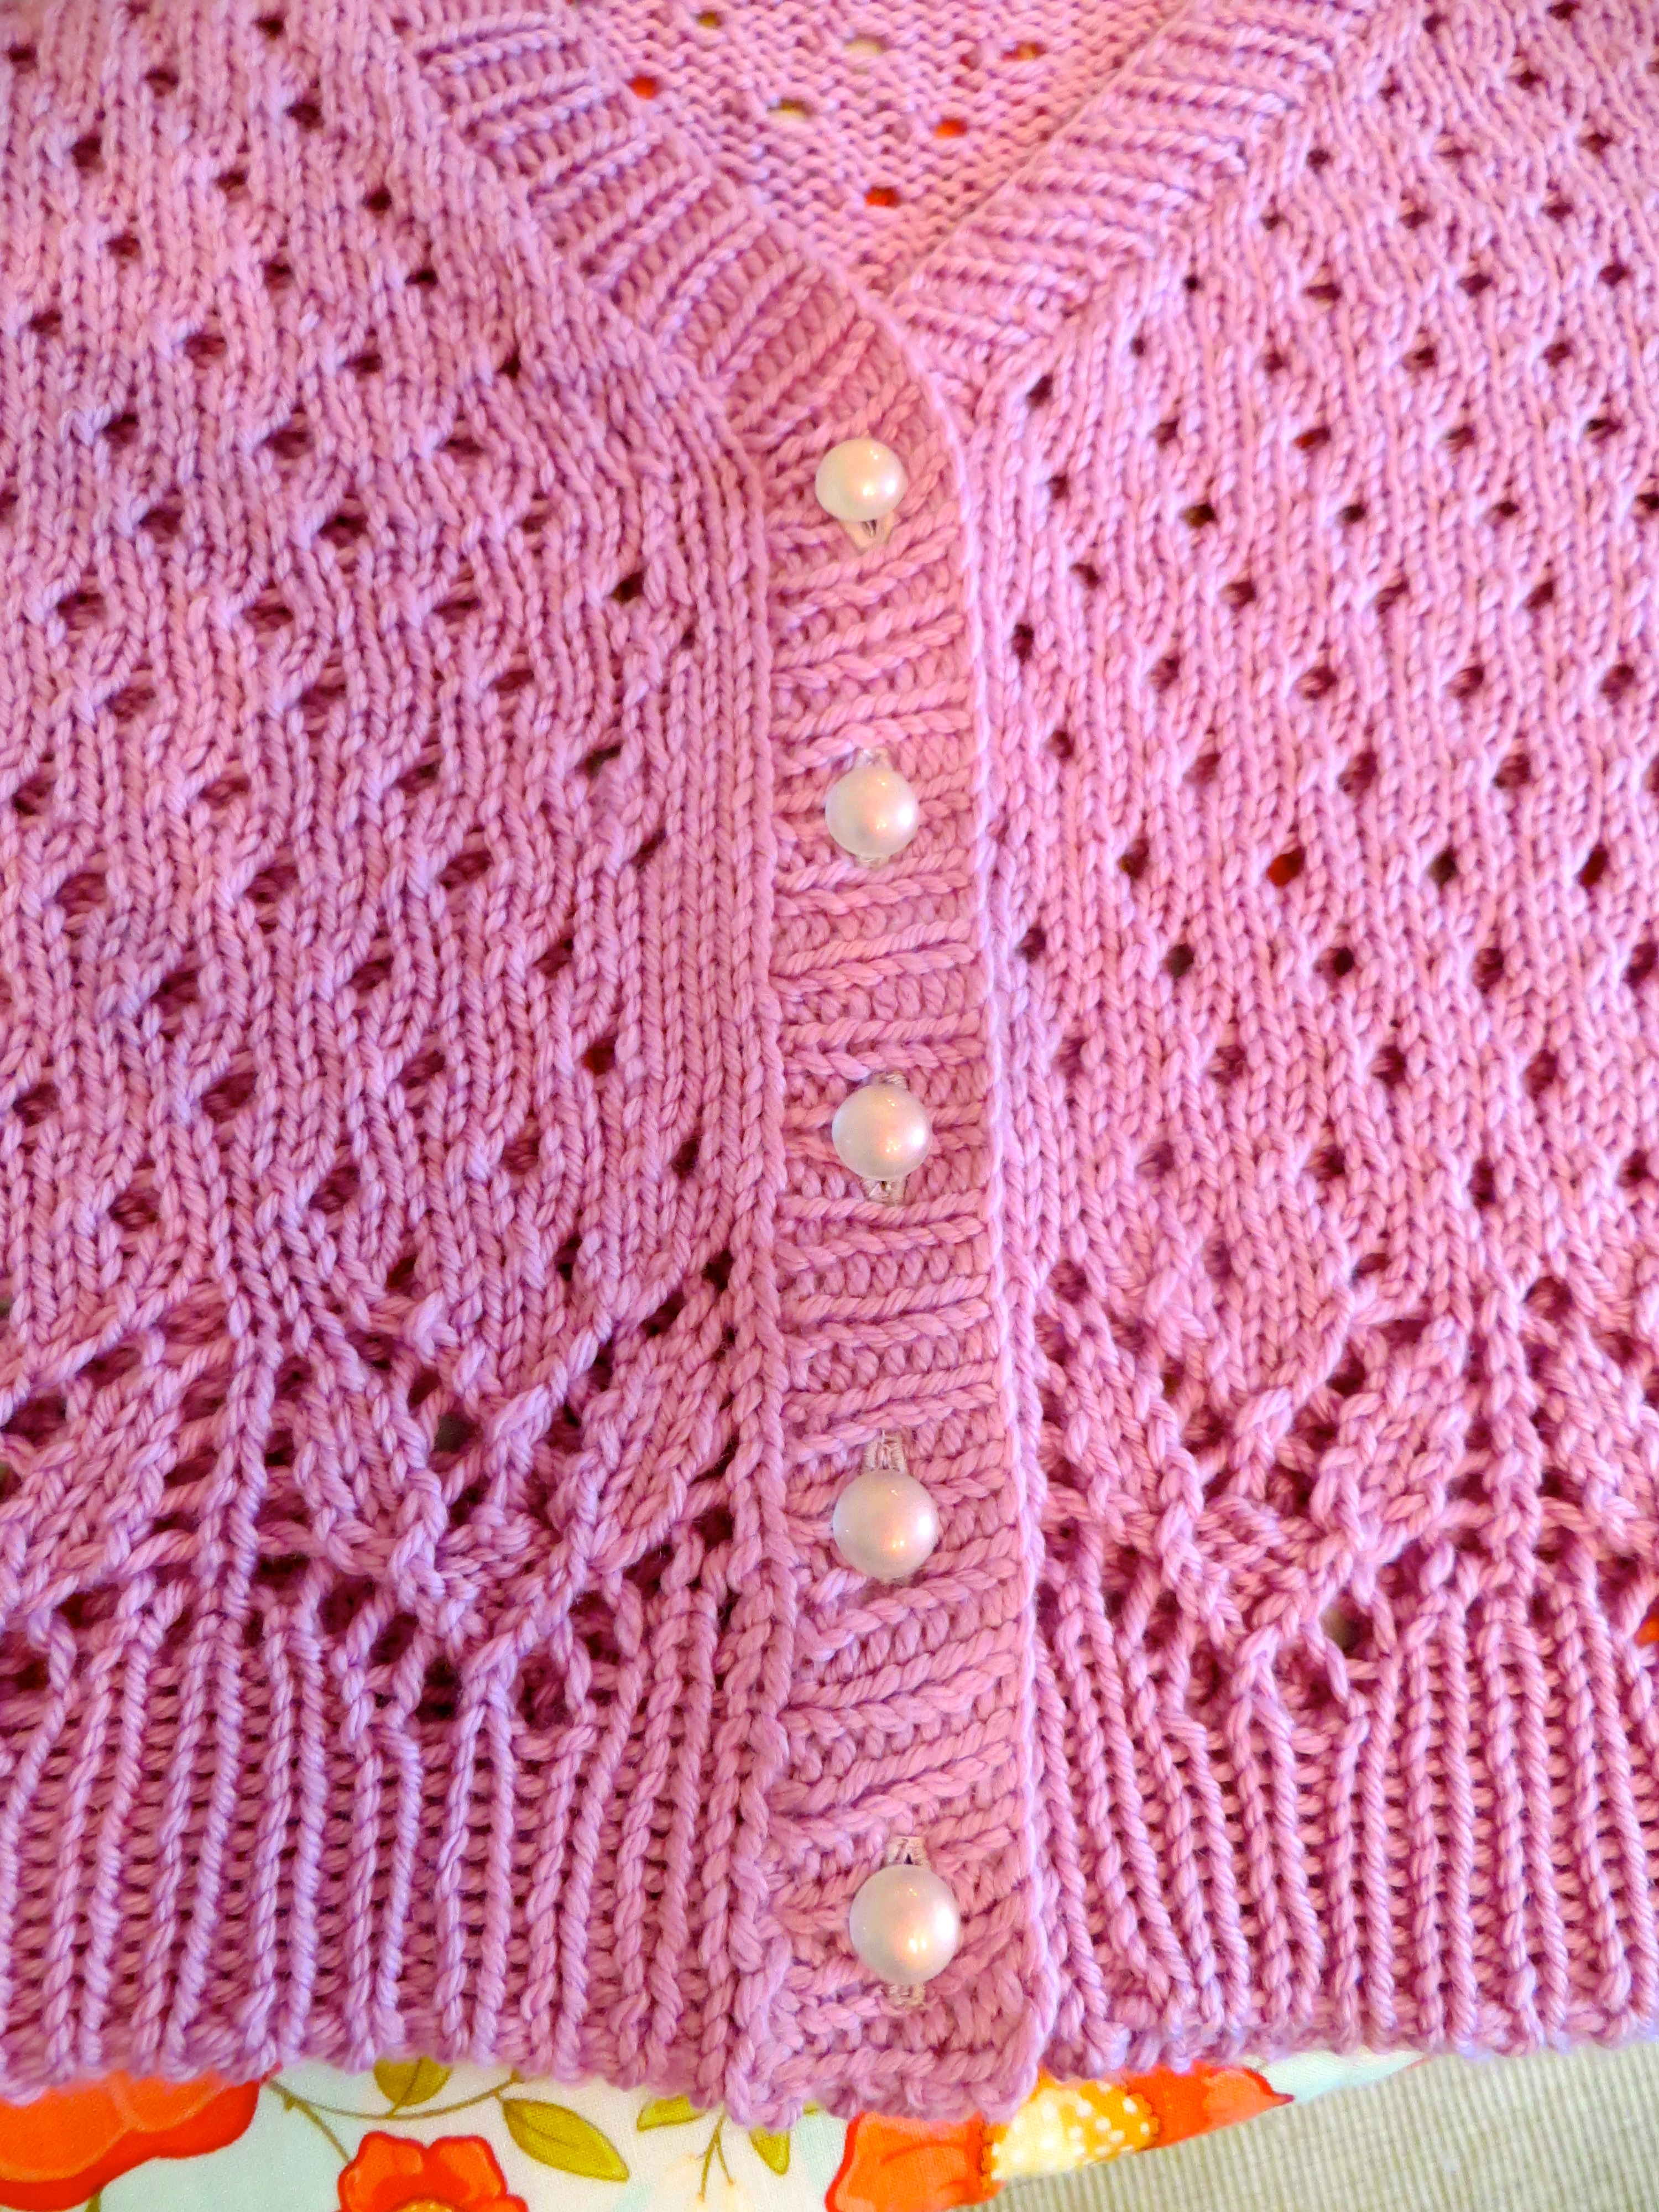
Now admire your beautiful, professional, and sturdy handiwork! And if you are really enjoying using your sewing machine for finishing your hand knits, consider sewing your buttons on with your machine!
I hope someone will find this tutorial helpful. Please let me know if anything needs clarification or if you have a chance to try this out.